Dell OptiPlex GX1p User Manual
Page 43
4. Locate the battery and remove it.
) is mounted in a socket labeled "BATTERY" in the front-right corner of the system board (as you face the front of
the system).
Pry the battery out of its socket with your fingers or with a blunt, nonconductive object, such as a plastic screwdriver.
5. Install the new battery.
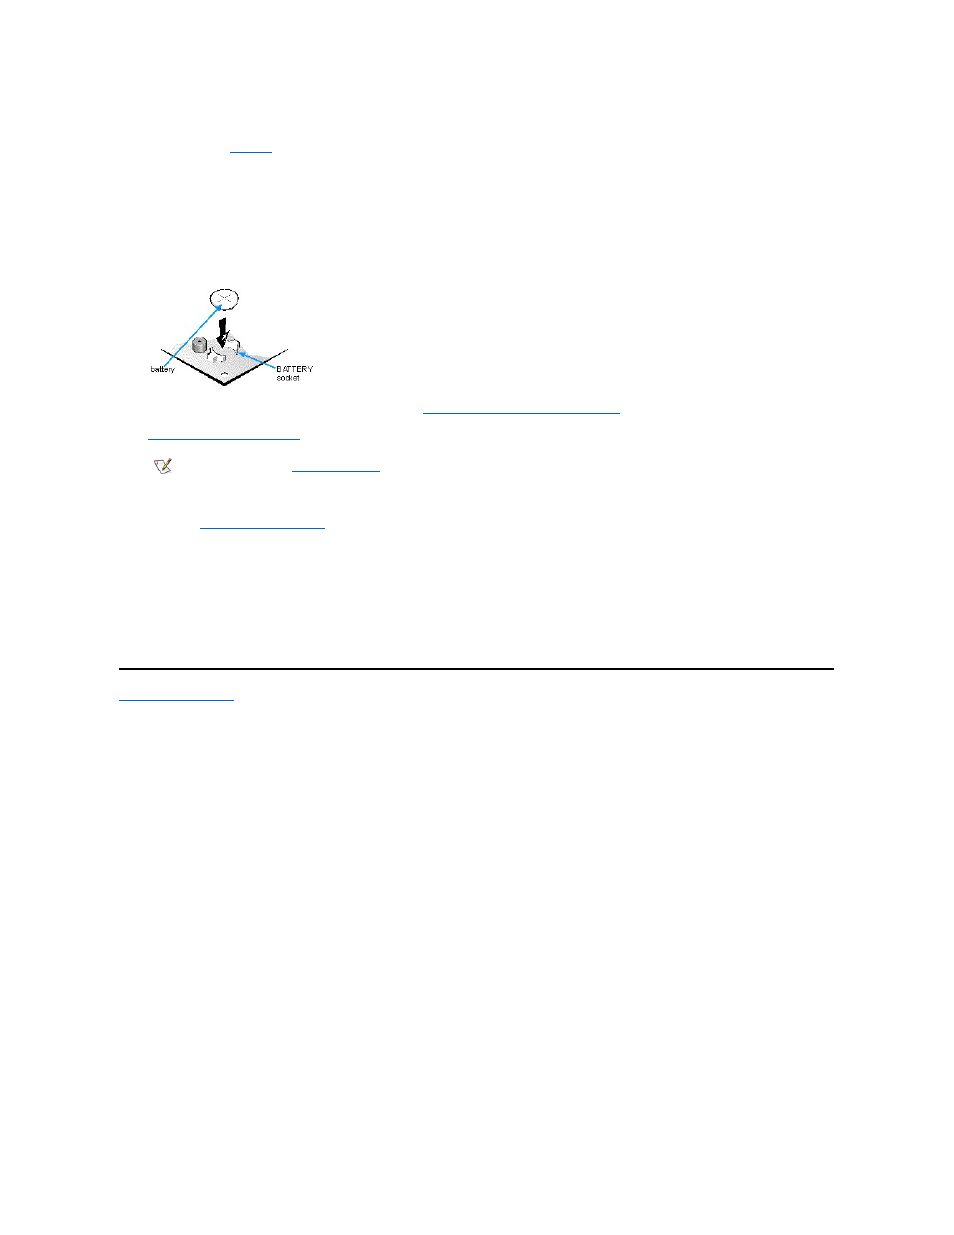
Orient the battery with the side labeled "+" facing up (see Figure 11). Then insert the battery into the socket, and snap it into place.
Figure 11. System Battery and Battery Socket
6. Replace the expansion-card cage as described in "
Replacing the Expansion-Card Cage
."
7.
Replace the computer cover
, and reconnect your computer and peripherals to their electrical outlets and turn them on.
8. Enter the
System Setup program
and confirm that the battery is operating properly.
9. Enter the correct time and date through the System Setup program's Time and Date categories. Also, use the copy you made in
step 1 to restore the correct settings for other system configuration information. Then exit the System Setup program.
10. Turn off your computer, and unplug it for at least 10 minutes.
11. After 10 minutes, plug in the computer, turn it on, and enter the System Setup program. If the time and date are still incorrect,
see the chapter titled "Getting Help" in your Diagnostics and Troubleshooting Guide for instructions on obtaining technical
assistance.
Back to Contents Page
NOTE: If Enabled, the
Chassis Intrusion
option will cause the following message to be displayed at the next system start-up:
ALERT! Cover was previously removed.