Installing a hard drive – Dell PowerEdge SC 430 User Manual
Page 48
4.
Press in the tabs on each side of the removable drive guide bracket and slide the guide bracket up and out of the drive bay.
5.
Close the system. See "
Closing the System
" in "Troubleshooting Your System."
6.
Reconnect the system to the electrical outlet, and turn on the system and attached peripherals.
Installing a Hard Drive
1.
Turn off the system and attached peripherals, and disconnect the system from the electrical outlet.
2.
Open the system. See "
Opening the System
" in "Troubleshooting Your System."
3.
Unpack the hard drive, and prepare it for installation.
4.
Check the documentation for the drive to verify that it is configured for your system.
5.
6.
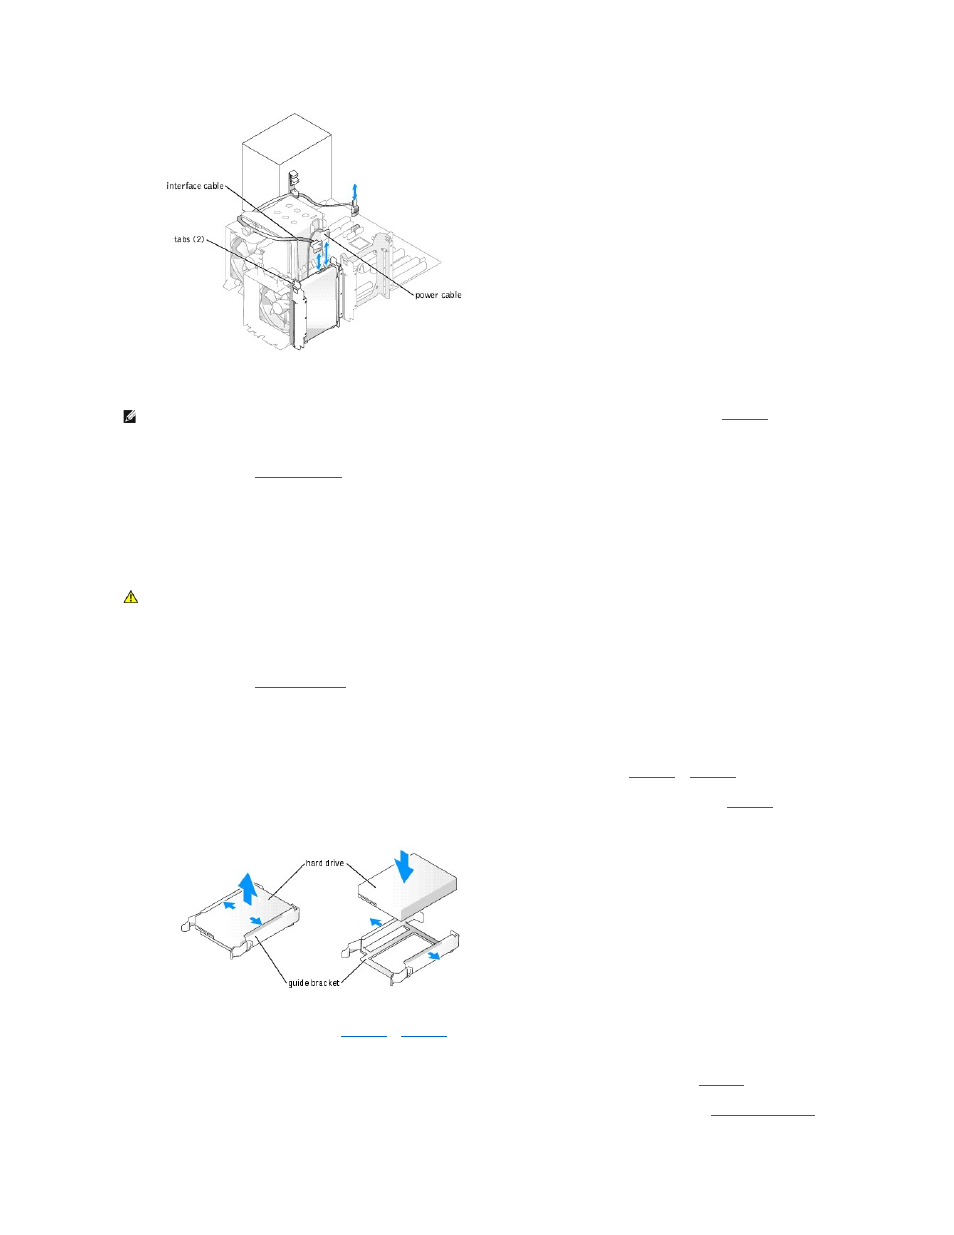
Figure 6-4. Removing and Installing a Hard Drive in the Guide Bracket Assembly
7.
Connect the power cable to the drive. See
.
8.
Connect the interface cable to the drive:
l
Connect SATA hard drives to the SATA0 (first drive) and SATA2 (second drive) connectors on the system board. See
Figure A
-3
for the location of
the drive interface connectors on the system board.
l
Connect SCSI hard drives to the SCSI controller card at channel A. See the documentation for the controller card and "
Installing an Expansion
NOTE:
the empty guide bracket back into the drive bay. This eliminates the likelihood that the empty bracket will be misplaced or improperly stored while not in
use.
CAUTION:
Only trained service technicians are authorized to remove the system cover and access any of the components inside the system.
Before performing any procedure, see your Product Information Guide for complete information about safety precautions, working inside the
computer and protecting against electrostatic discharge.