Ethernet configuration, Crestron cen-cn ethernet/cresnet interface, Initial ip setup – Crestron electronic CEN-CN User Manual
Page 17
Crestron CEN-CN Ethernet/Cresnet Interface
Operations Guide - DOC. 5721
Ethernet/Cresnet Interface: CEN-CN
••
13
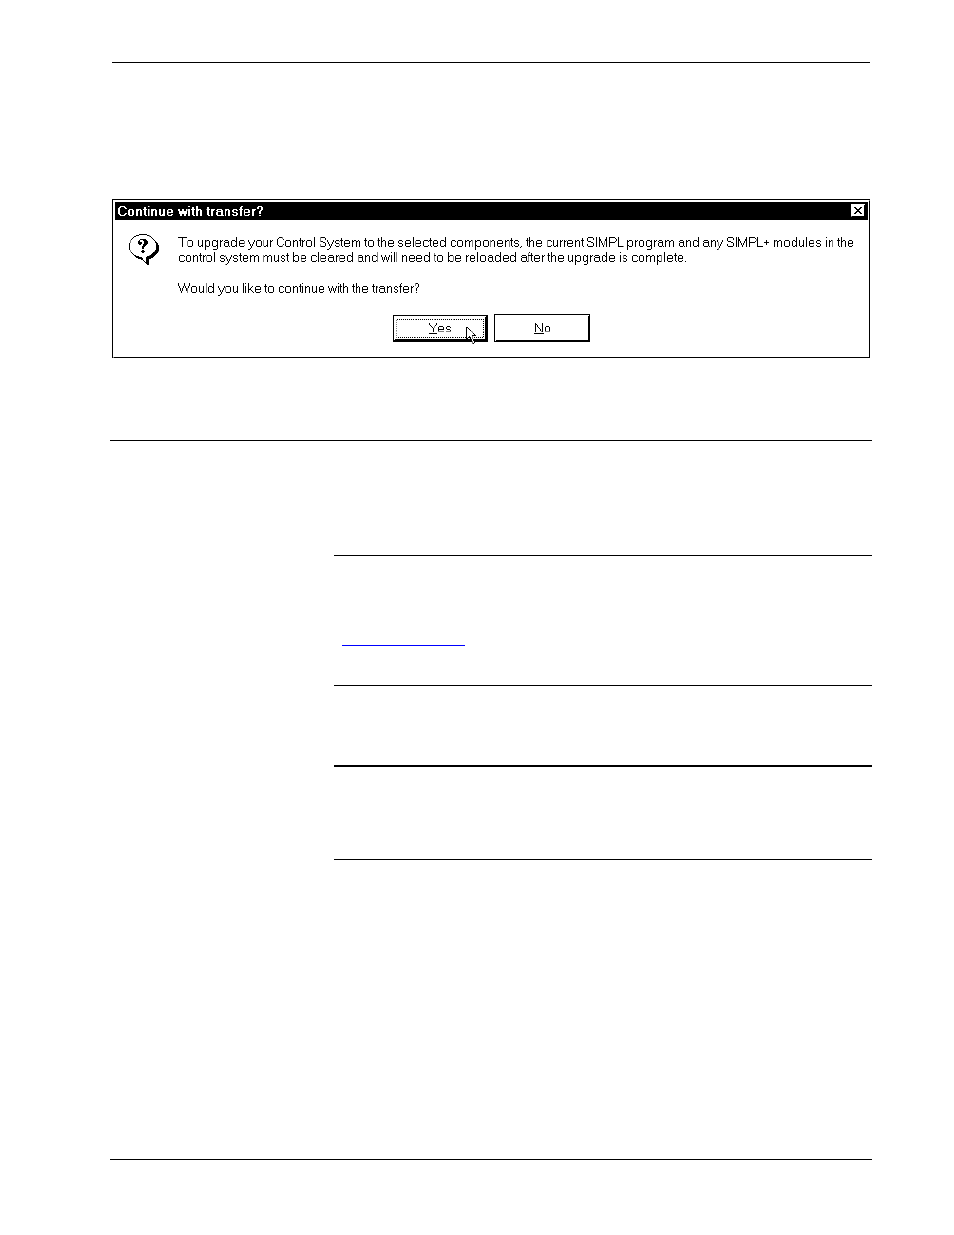
5. As a result of the update, a dialog box (similar to as shown below) may
open and the SIMPL program (and possibly SIMPL+ modules) must be
cleared. As shown below, click the Yes button.
Continue with transfer? Selection Box
6. Upload the SIMPL program and SIMPL+ modules after the transfer is
complete.
Ethernet Configuration
This section explains how to configure a CEN-CN to communicate over Ethernet
using the TCP/IP. Connection to a LAN/WAN via a hub is not required for these
procedures.
NOTE: For configuration of the host control system, refer to the latest revision of
the appropriate Operations Guide and the “IP Table Setup” section of the Operations
& Installation guide for the CNXENET+ (Doc. 8153). The latest version can be
obtained from the Downloads page (MANUAL Library) of Crestron’s website
(
www.crestron.com)
. New users are required to register in order to obtain access to
the FTP site. If the host control system uses the standard CNXENET card, contact
Crestron customer service for further information.
Initial IP Setup
NOTE: This initial IP setup MUST be done via the PC port of the CEN-CN. Before
performing the procedures in this section, refer to “Obtaining Communications” on
page 7 for cabling instructions. Thereafter, communications may be achieved by
using the Crestron Viewport to connect directly to the IP address assigned to the
CEN-CN.
1. From the Crestron Viewport, select Functions | Set Control System
IP Information, as shown on the next page.