Bio-Rad Sequi-Gen GT Sequencing Cell User Manual
Page 20
• Alternatively, prior to injecting the gel solution, insert the corner of the comb to facilitate
comb placement and insertion after gel casting.
12. Let the gel polymerize for 30–60 minutes.
• After gel polymerization, remove the luer taper from the precision caster base.
• The syringe, tubing, and luer taper can be cleaned of any remaining polymerized gel
solution by rinsing with hot tap water, followed by a distilled water rinse.
13. Remove the precision caster base from the IPC assembly and clean the caster base and
gasket of polymerized gel solution with tap water, followed by a distilled water rinse.
4.4 Preparing for Operation
1. Adhere a gel temperature indicator onto the outside of the outer plate, somewhere near the
center, to monitor the gel temperature during electrophoresis.
• Place the IPC assembly into the universal base, against the back wall, between the
alignment tabs.
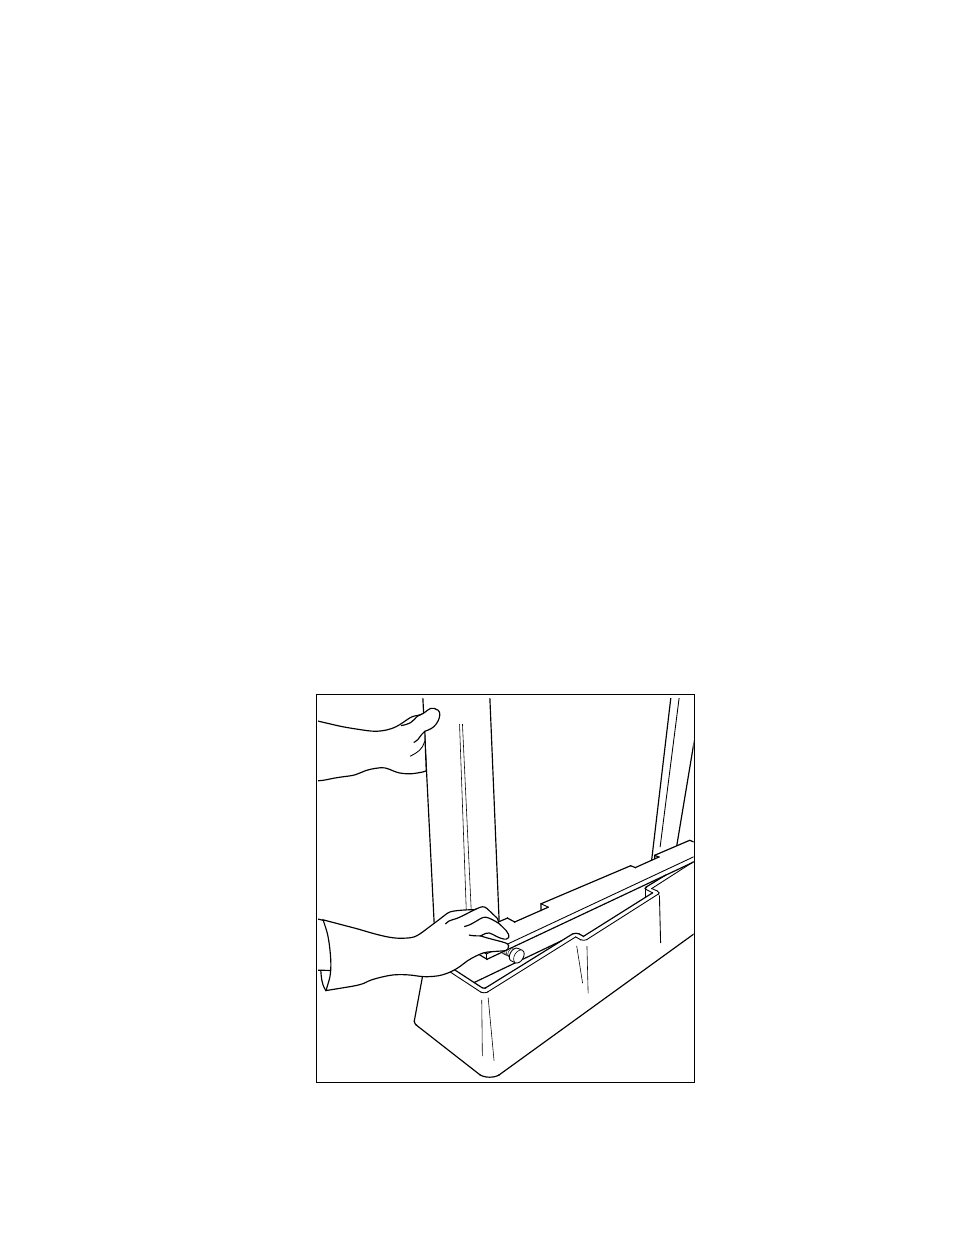
2. Insert the stabilizer bar (Figure 4.9).
• The stabilizer bar should slide into place with a snug fit, locking the IPC to the base
in a vertical position.
• The heads of the screws on the stabilizer bar should push against the front wall of the
base to press the IPC clamps against the back wall of the universal base.
Note: When first setting up your Sequi-Gen GT cell, adjust the screws on the stabilizer
bar if the fit seems too loose or too tight (turning the screws counterclockwise makes the
stabilizer bar fit more tightly). Too much pressure will make it difficult to insert and
remove the stabilizer bar. Too little pressure will result in the stabilizer bar sliding in and
out of position without pressing the IPC against the back wall of the base.
Fig. 4.9. Inserting the stabilizer bar into the universal base.
17