Bio-Rad Components for Older Model Spot Cutter User Manual
Page 7
2.3 Software Setup
Use the following steps to load the SpotOn software and the image acquisition software
onto the computer.
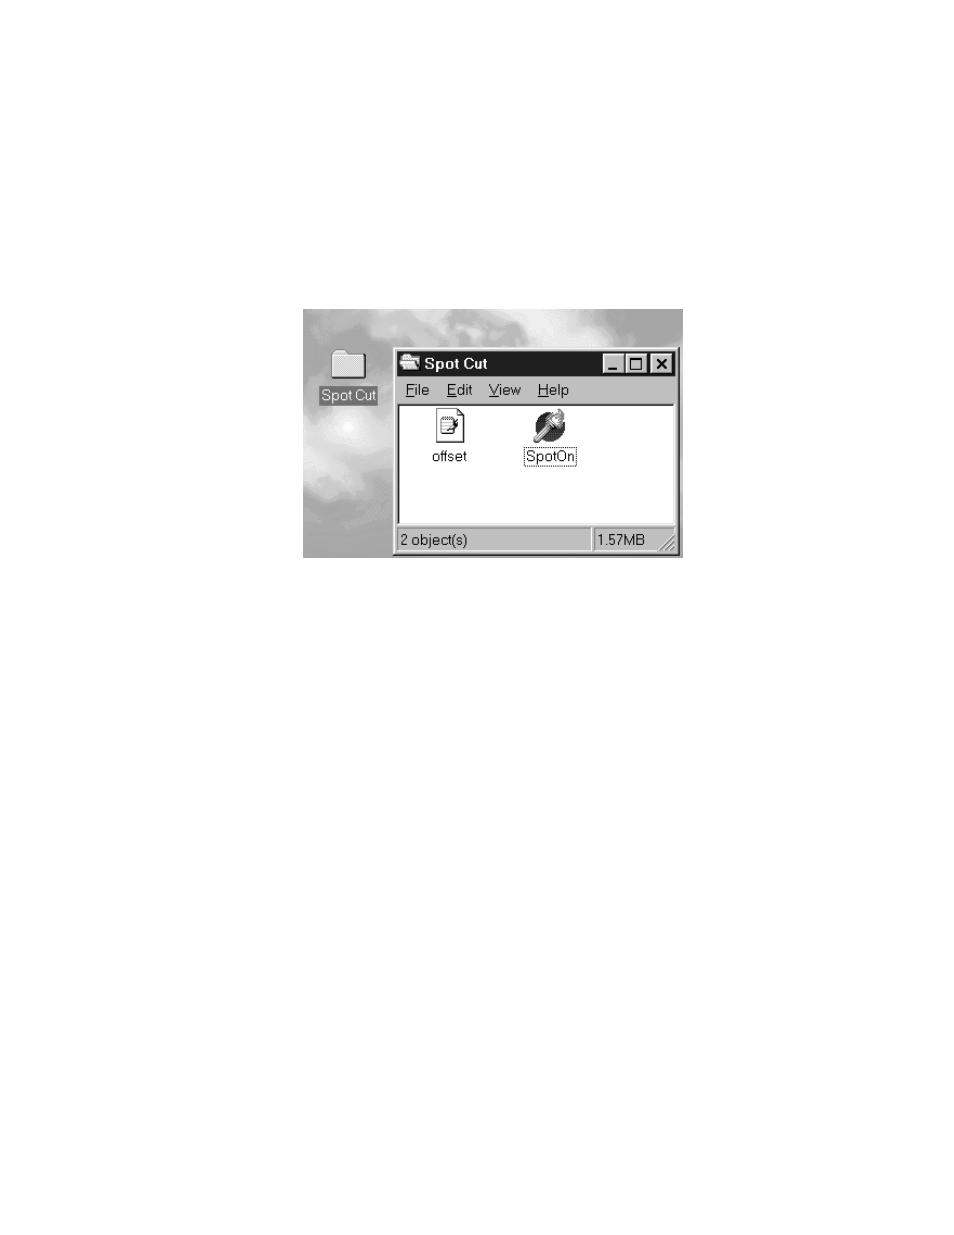
1. Create a folder in the C: drive with the name Spot Cut. The spot cutter will look for the
folder with this name to get its instructions for movement and orientation.
2. The SpotOn software and the offset file that contains calibration information are loaded
into the Spot Cut folder.
3. The Kodak image acquisition software is loaded into the Program File folder of the
computer. The Kodak software will self install in the Program Files folder.
2.4 Initial System Set Up
After connecting the system to the computer and loading the software, the system is ready
for use. The first step will be to calibrate the x-y axis of the spot cutter to the image that is
acquired by the camera. See Section 6 for calibration method.
2.5 Quick Guide to Spot Excision
The following is a quick guide to the operation of the spot cutter system. Details on individual
steps and features are covered in the following sections of this manual.
1. Turn on the computer.
2. Turn on the Protean 2-D Spot Cutter System.
3. Double click on the SpotOn icon (the SpotOn Cutting System menu should now be
displayed.)
4. The system must be reset to its home. This is done by pressing the start/pause button located
on the system front panel. (See Appendix A) The excision head will now be homed to the
back right corner of the system.
5. Load a liquid into each well of the microtiter plate. Water or other liquid helps with gel
deposit, and it prepares the gel spot for downstream processing without drying out.
6. Place microtiter plate in position (refer to Section 5.4)
7. Place the cutting mat into the cutting stage area.
3