Bio-Rad PROTEAN Plus Dodeca Cell User Manual
Page 12
disturb the protein resolution pattern and need to be removed. Immediately after overlaying, use
the spatula and tap on top of the strip against the plastic backing to remove any bubbles. Allow
the agarose to fully set prior to loading the gel at a 90° angle into the PROTEAN Plus Dodeca
cell.
3.4 Cell Assembly
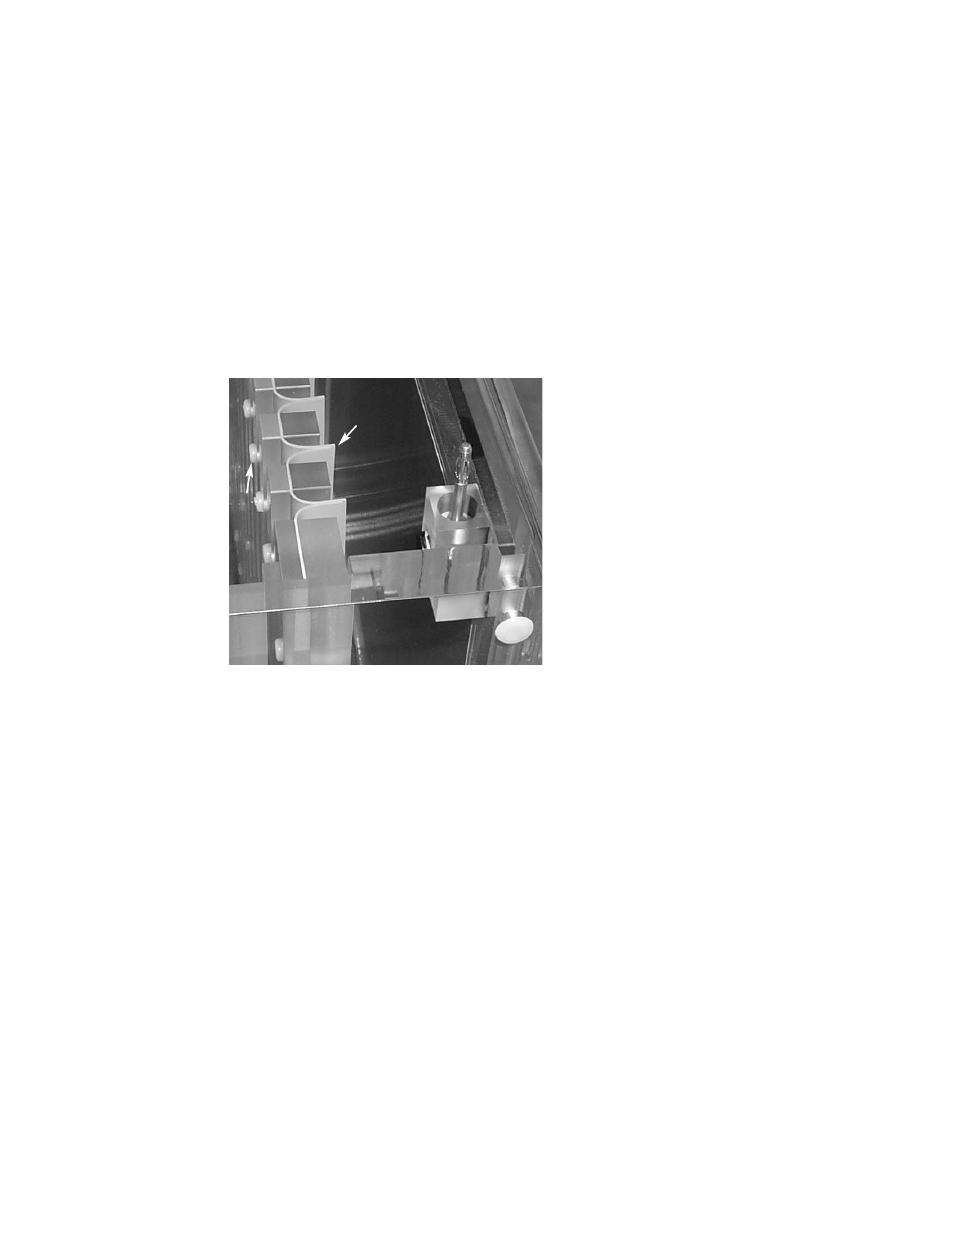
Before the cell is used for the first time, remove the gasket assembly and rinse the gasket
assembly and the cell thoroughly with distilled water to remove residual powder. Replace the
gasket assembly in its proper orientation, with the rivets to the inside and the rubber gaskets
flaring towards the plate electrodes (Figure 3.4A). Check after each use to make sure the gas-
kets are not torn or wrinkled.
Pour some buffer directly over
the gaskets assemblies to prewet
the rubber gaskets. This allows the
gel cassettes to slide into the tank
more easily and it helps prevent
the gaskets from tearing.
Attach the refrigerated circulator
to the PROTEAN Plus Dodeca cell.
The refrigerated circulator must be
able to maintain the buffer temperature
of 18-20ºC during electrophoresis.
Tubing with 3/8" ID connects the
Dodeca cell to the refrigerated
circulator. Insert the male quick-
connect fittings (included with the
Dodeca cell) into the inlet and
outlet tubing on the refrigerated
circulator. The buffer coil in the
Dodeca cell has no specific orientation, so direction of flow is not specified. An
ethylene glycol:water (20:80) solution is recommended as coolant.
Using two hands, insert the gel cassettes into the tank hinge side down (PROTEAN
Plus hinged spacer plates) or greased side down (PROTEAN II handcast or Ready Gel
precast gel cassettes).
Note: Do not bump or scratch the electrodes with the corners of the glass plates.
For Laemmli buffer system applications, the top of the gel is positioned next to the
cathode (negative/ black electrode card) so that the sample migrates toward the anode
(positive/ red electrode card).
Note: Be sure the gasket is flared out toward the electrode. Check to make sure the gasket
is not torn or wrinkled.
Fill the tank with the remaining buffer so that the level of the buffer is set just below
(about 3mm) the height of the plates. The level of the buffer is very important to obtaining
excellent results. If the buffer level is too high and the gels are completely immersed in buffer,
there will be a significant current leak on the top part of the gels and the results will be
negatively affected. The results will illustrate a "smiling effect" on that side of the gels. If the
buffer level is too low, the buffer will not be recirculated properly and the top portion of the
gels will get warmer and run faster. The results will illustrate a "frowning effect" on that side
of the gels.
10
Fig. 3.4A. Proper orientation for the gasket assembly.
Rubber
gasket
Rivet