Triton TCB 100 User Manual
Page 7
7
GB
Assembly
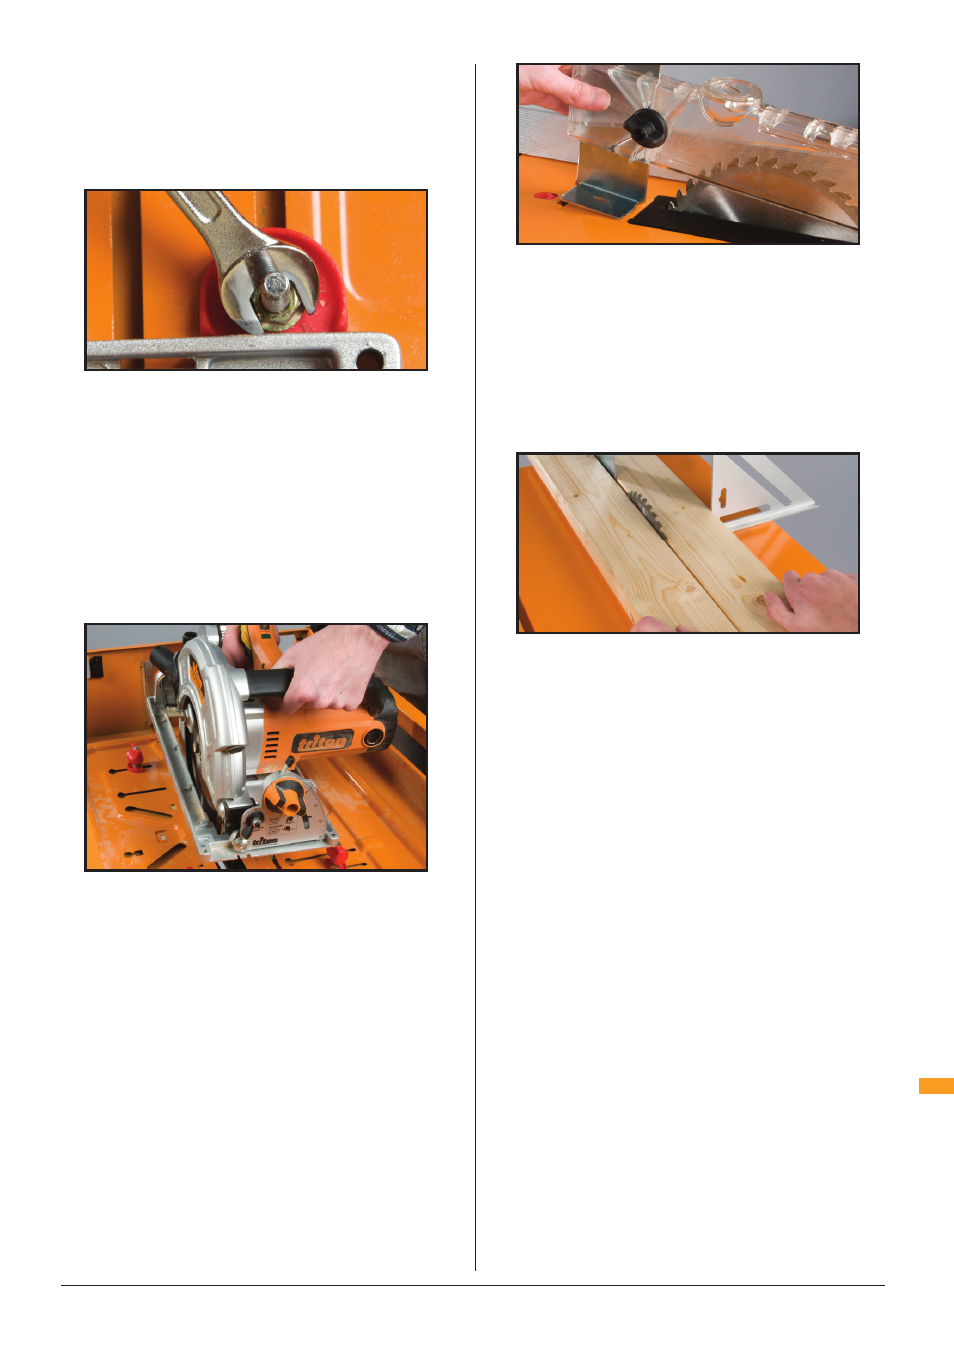
Insert the remaining short Coach Bolt (L) and a washer
into the keyhole slot at the rear of the saw. Fit the
Back Stop (O) and slide it along until it touches the
base plate. Re-check that the blade is free to spin.
Lock the back stop in position with a flange nut (Fig
10).
The clamp knobs have cut-away edges. When all four
cut-aways are facing the saw and correctly lined up,
you can lift the saw straight out of the clamps, for
hand-held use. When re-fitted, the clamp bases will
re-align the saw perfectly. Turn the knobs clockwise
about half a turn to tighten the saw back down.
When you finish work for the day, either remove your
saw from the table, or lower the saw blade using the
saw’s height adjuster to allow the saw guard to swing
closed as much as possible. This will prevent fatigue
in the return spring in the guard.
The saw slot is made from machinable material which
can be replaced if significantly damaged. Do not
remove this insert under any other circumstances.
FITTING THE OVERHEAD GUARD
Turn the unit right-way up. Unlock the fence and back
it away from the blade.
Fit the base of the Overhead Guard Support (G) front
first into the slot located behind the saw blade. Pull
back the red locking latch, and press the guard
support into the table depression. Then push the red
latch forward to lock it in position (Fig 12).
Try to wobble the guard support to ensure it is properly
locked. The red latch should pop up and be flush with
the table top when locked.
CHECKING SAW ALIGNMENT
Loosen the knob on the Overhead Guard (8) about one
turn, and remove it for the moment. Check that the
overhead guard support is square to the table.
Place two straight pieces of wood on the table and
hold them lightly against the blade. The overhead
guard support should fit between the pieces when
they’re held against the blade, parallel to each other
(Fig 13).
NOTE: If this is not the case, repeat Saw Fitting
procedures or refer to Troubleshooting.
Spin the blade by hand before connecting the power
to ensure the blade is not touching any part of the saw
table.
Refit the overhead guard to the support and tighten
the knob. Check that the teeth on your blade are
pointing in the same direction as the etched symbols
on the sides of the
guard. If not, you have the blade on
the saw backwards.
FITTING THE TRIGGER STRAP
Check that the saw is not connected to the power,
and that the switch on the front panel is in the OFF
position.
Wrap the trigger strap around the handgrip of the saw,
with the furry side facing outwards.
Pass the end of
the strap through the buckle, until the security
loop has passed through.
If your saw has a safety button on the side of
the hand-grip, press it and then tighten the strap
until the trigger clicks ON.
Wrap the free end of the strap around the trigger
and it will grip firmly (14).
Fig 10
Fig 11
Fig 12
Fig 13