Installation – tekmar 552 Thermostat Installation User Manual
Page 4
© 2014
552_D - 09/14
4 of 44
A Watts Water Technologies Company
Congratulations on the purchase of your new tekmar thermostat.
This manual will step through the complete installation, programming and sequence
of operation for this control. At the back, there are tips for control and system
troubleshooting.
Getting Started
Preparation
tekmar or jeweller screwdriver
Phillips head screwdriver
•
•
Wire Stripper
•
Tools Required
------------------------------------------------------
------------------------------------------------------
Materials Required
--------------------------------------------------
--------------------------------------------------
18 AWG LVT Solid Wire
(Low Voltage Connections)
•
Installation
Choose the placement of the thermostats early in the construction process to
enable proper wiring during rough-in.
Installation Location
-------------------------------------------------
-------------------------------------------------
Consider the following:
Interior Wall.
Keep dry. Avoid potential leakage onto the control.
Relative Humidity less than 90%. Non-condensing environment.
No exposure to extreme temperatures beyond 32-122°F (0-50°C).
No draft, direct sun, or other cause for inaccurate temperature readings.
Away from equipment, appliances, or other sources of electrical
interference.
Easy access for wiring, viewing, and adjusting the display screen.
Approximately 5 feet (1.5 m) off the finished floor.
The maximum length of wire is 500 feet (150 m).
Strip wire to 3/8" (10 mm) for all terminal connections.
Use standard 8 conductor, 18 AWG wire.
•
•
•
•
•
•
•
•
•
•
•
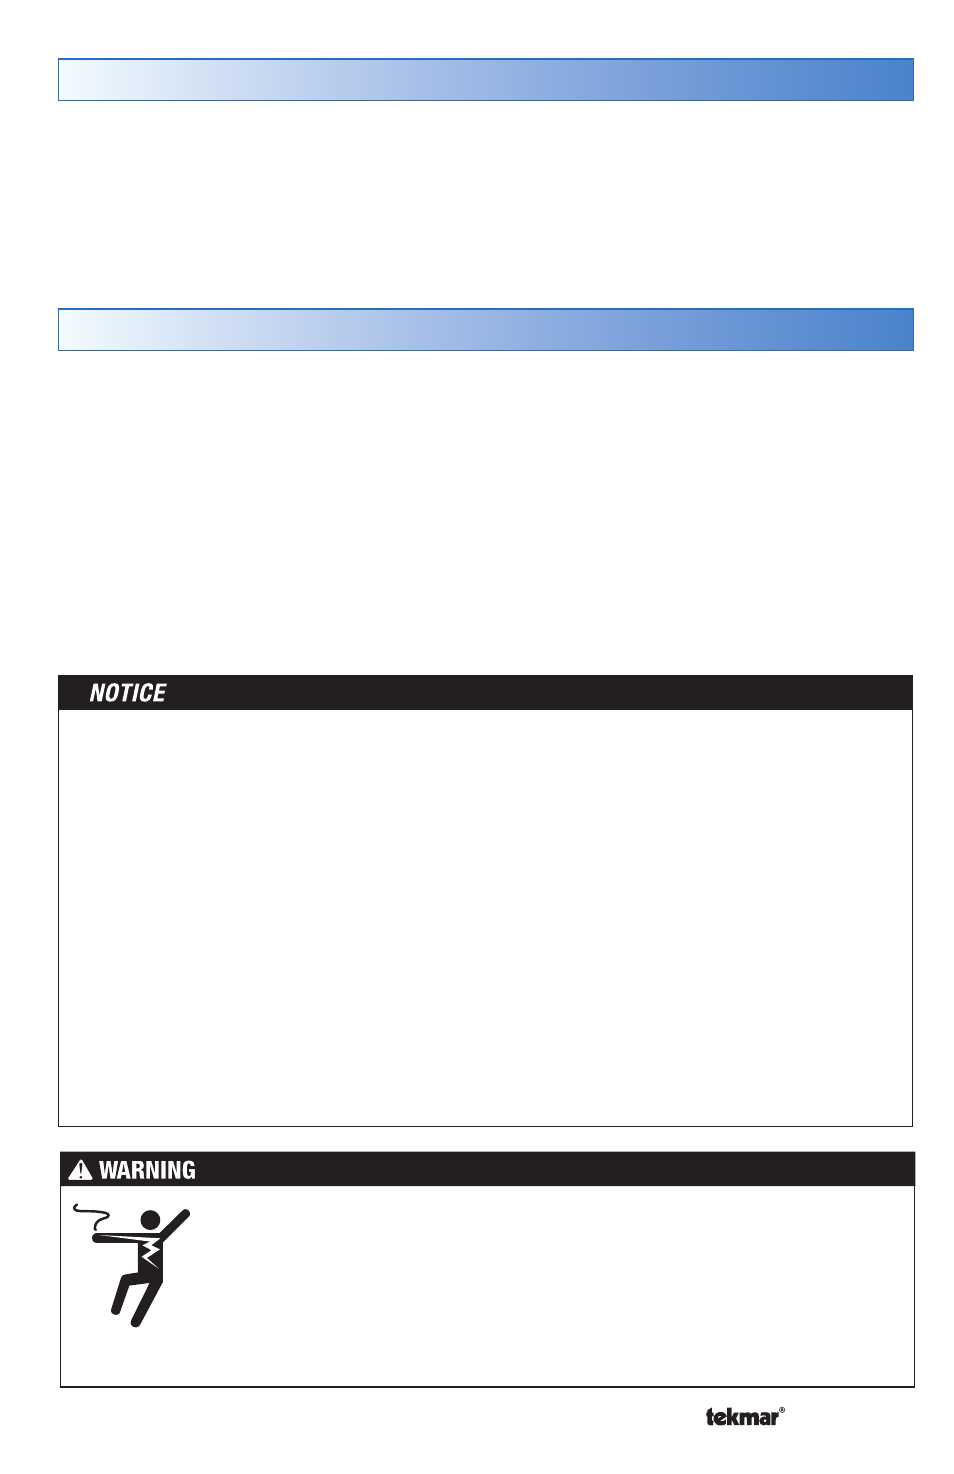
To prevent the risk of personal injury and/or death, make sure power
is not applied to the thermostat until it is fully installed and ready for
final testing. All work must be done with power turned off to the circuit
being worked on.
Please be aware local codes may require this thermostat to be installed
or connected by an electrician.