Misc. menu – tekmar 369 Zone Control User Manuals User Manual
Page 4
*Note: Depending on the settings the installer makes in the control, control menu items may not appear.
Copyright © U 369 -10/00
4 of 8
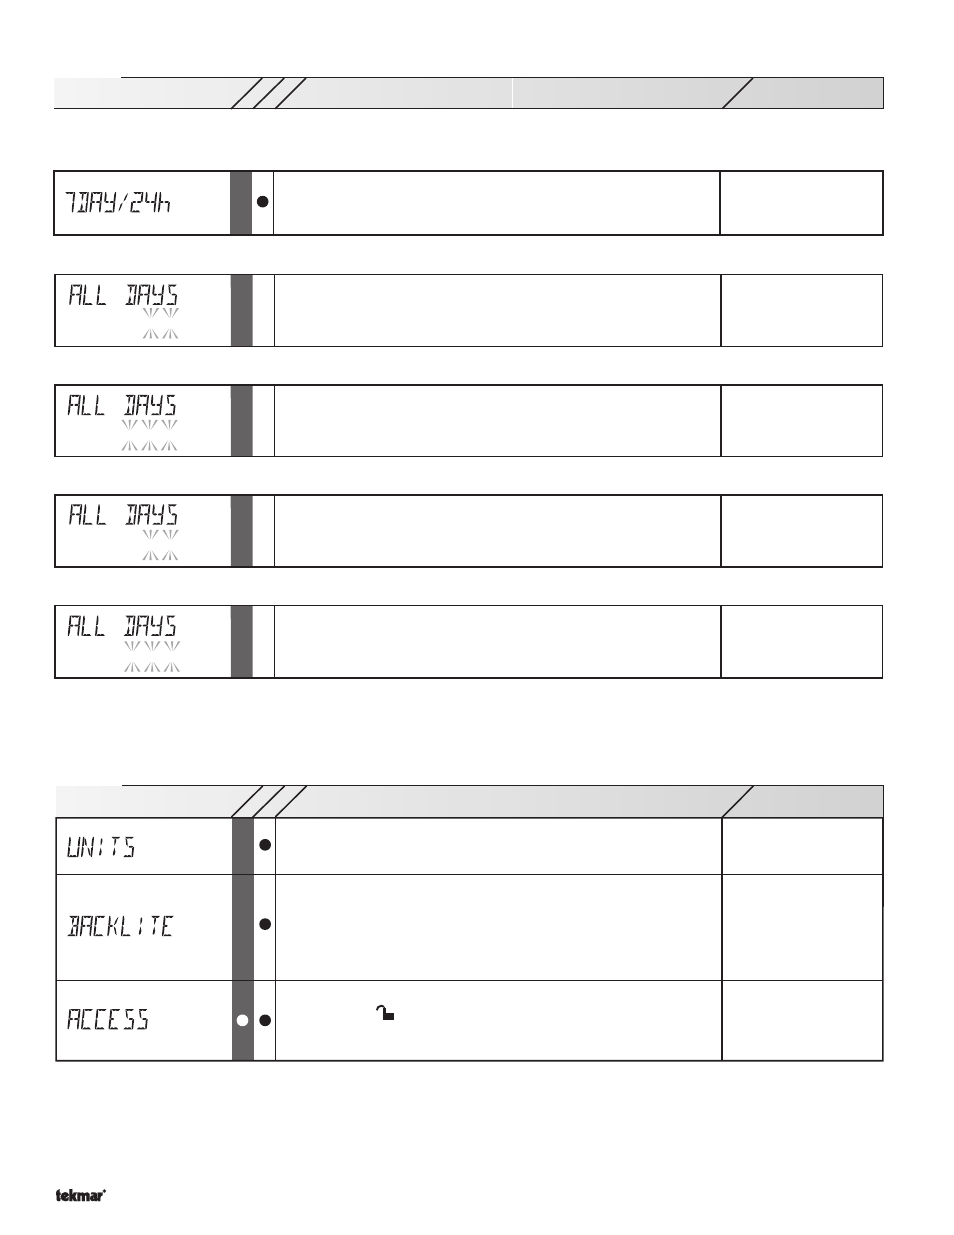
369 Misc (Miscellaneous) Menu
°F, °C
The units of measure that all of the temperatures are to be displayed.
OFF, 30 sec, ON
The operating mode for the back lighting of the LCD and the time
until the control returns to the view menu after any button was pressed.
If Backlight is set to OFF, the control returns after 10 seconds and
the backlight stays off.
If Backlight is set to 30 SEC, the control
returns after 30 seconds and the backlight stays on for 30 seconds
after any button press.
If Backlight is set to ON, the control returns
after 90 seconds and the backlight stays on.
ADV, INST, USER, LTD
The access level that is to be used by the control.
DIP switch =
Only qualified service people should adjust items in the ADV (Advance)
and (Installer) access levels.
Range
Item
LT
D
USER
PROGRAMMING THE SAME SCHEDULE FOR EACH DAY OF THE WEEK.
Once in the Schedule (Schd) menu, press and release the
Item button to select the 7DAY/24h item. Use the
▲ and ▼ buttons to select 24hr.
•
– –:– – to 11:50 PM or
– –:– – to 23:50
Time when the first occupied period begins every day.
Occ 1
Press and release the
Item button to select the first UnOccupied event. Use the
▲ and ▼ buttons to set the time for the first
UnOccupied event.
•
– –:– – to 11:50 PM or
– –:– – to 23:50
Time when the first unoccupied period begins every day.
UnOcc 1
Press and release the
Item button to select the second Occupied event. Use the
▲ and ▼ buttons to set the time for the second
Occupied event.
•
– –:– – to 11:50 PM or
– –:– – to 23:50
Time when the second occupied period begins every day.
Occ 2
Press and release the
Item button to select the second UnOccupied event. Use the
▲ and ▼ buttons to set the time for the second
UnOccupied event.
•
Time when the second unoccupied period begins every day.
– –:– – to 11:50 PM or
– –:– – to 23:50
UnOcc 2
PROGRAMMING A “NULL” EVENT
Once in the Schedule (Schd) menu, press and release the
Item button until the desired event is displayed. Use the
▲ and ▼ buttons
to select the “time” between 11:50 PM and 12:00 AM. “– –:– –” is displayed indicating that the event will not occur during the schedule.
Range
Item
LT
D
USER
369 Schedule (Schd) Menu (2 of 2)
Press and release the
Item button to select the first Occupied event. Use the
▲ and ▼ buttons to set the time for the first Occupied event.
7DAY24hr
Selects the same schedule for each day of the week, or a separate
schedule for each day of the week.