E-flite Pulse XT 25e ARF User Manual
Page 26
26
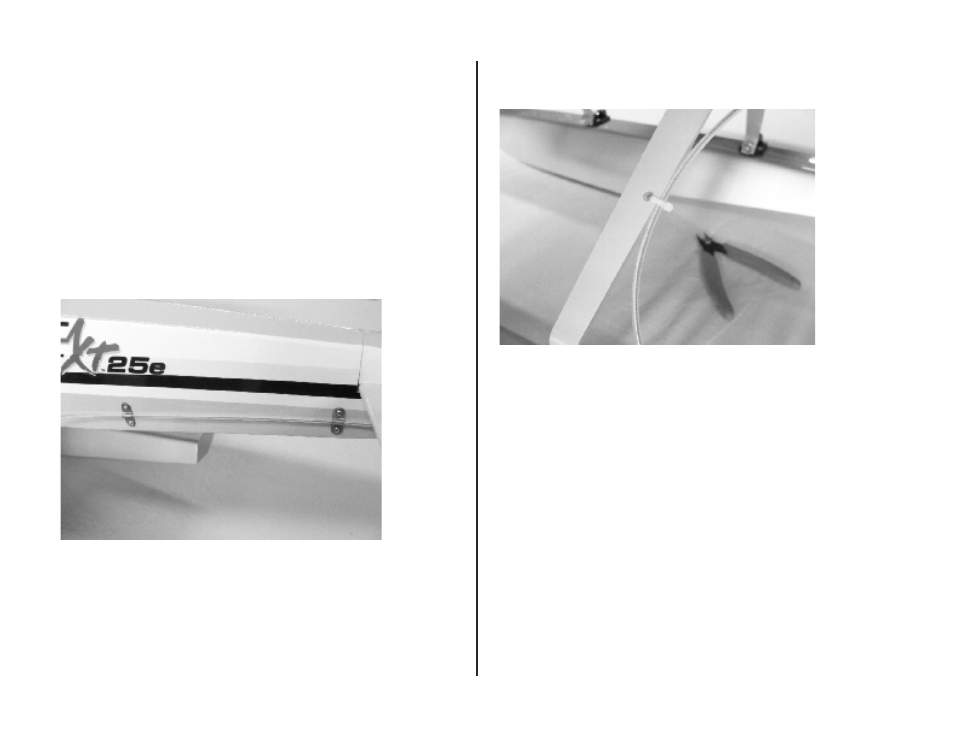
Ο 11. Use the two remaining full brass straps to attach the pushrod tube to the
left side of the Pulse fuselage. Locate the straps as shown in the picture below
using the following dimensions as a guide. There are fuselage frames at these
locations; ensure that the screws are located in the center of the frame and will
not interfere with any internal items such as pushrods.
Aft strap: approximately 3/8” forward of stabilizer leading edge, and
centered 9/16” up from bottom of fuselage.
Forward strap: approximately 6-1/2” forward of stabilizer leading edge, and
5/8” up from bottom of fuselage.
Use a 1/16” drill bit and pin drill to make the holes for the 2mm x 10mm
screws. Strengthen each hole with a small drop of thin CA and allow to cure.
Using a #0 Philips screwdriver, attach the straps over the pushrod tube with
both the air and water rudders centered.
13. Refer to page 16 in the Float Set assembly manual to finalize the
installation of the floats. This will involve final adjustment of linkages to ensure
that the rudder is aligned and operates correctly.
It is extremely important that you verify the center of gravity is still correct with
the floats installed. It will be more accurate to check the CG of your float
equipped Pulse with the model right side up, as opposed to inverted when the
wheels are installed.
Pages 26 and 27 of your Float Set assembly manual include some tips for
flying from floats. If you are a first-time water flier, please take the time to read
these pages before heading out to the lake.
Ο 12. Attach the water rudder cable housing to the left float mount strut using
the cable tie provided in the Float Set hardware bag. Trim the excess tie
material using cutters or a blade.