E-flite Pulse XT 25e ARF User Manual
Page 23
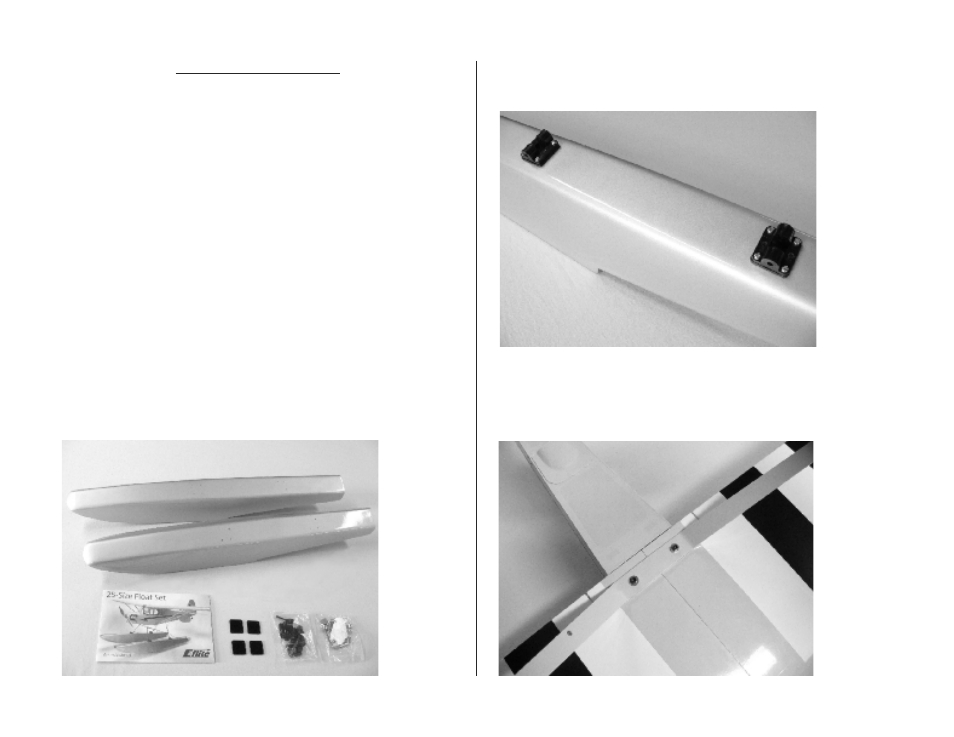
Optional Float Installation.
Required parts:
E-flite fiberglass 25-size Float Set
Sullivan 36” flex cable
Pulse XT 25e (assembled)
(4) 1/8” float mount spacers (included in Pulse kit)
Required tools and adhesives:
#1 Philips screwdriver
Sidecutters
7/64 in balldriver
5/64 in (2mm) drill bit
1.5mm Allen wrench
11/64 in (4.5mm) drill bit
1/16 in (1.5mm) drill bit
Thin CA
Pin drill
Flat file
Felt-tip pen
Drill
Threadlock
Ruler
Ο 1. Locate the parts from the float set as shown below, plus the four float
mount spacers from your Pulse kit. Not required for float installation on the
Pulse are the wire float mount, the sub-fin and the water rudder pushrod.
Refer to the Float Set assembly manual in addition to these instructions for
reference when assembling the floats.
Ο Ο 2. Using a #1 Philips screwdriver, attach two of the mounting brackets and
spacers to each of the floats with 3mm x 12mm sheet metal screws. For the two
floats a total of four brackets, four spacers and sixteen screws are required.
Ο Ο 3. Remove the wheel pants and wheels from the main landing gear on
your Pulse. The 1.5mm Allen wrench in the Float Set hardware bag will fit the
Pulse wheel collars. Install the aft float mount landing gear using the wing
attach bolts. When correctly installed the gear will angle forward and the hole
for the water rudder cable will be on the left.
23