E-flite Pulse XT 25e ARF User Manual
Page 19
Ο 8. Install the dihedral joiners in one wing slot and slide the other wing panel
onto the joiner. Wipe off any excess epoxy that squeezes out of the joint with
rubbing alcohol and a paper towel.
Using a 7/64” balldriver, install the wing on the fuselage with two 6-32” x 1”
socket head bolts. Tighten the bolts just enough that the wing sits snugly in the
wing saddle, and that the two wing panels are exactly aligned with each other
along their bottom surface. Wipe off any excess glue from the wing joint with
a paper towel.
9. Allow the glue to dry then remove the wing from the fuselage. Remove the
tape from the wing and fuselage.
Aileron Servo Installation.
Required Parts
(2) servos and hardware
(2) 6” servo extension leads
(2) 4-3/4" aileron pushrods
(2) nylon clevises and silicone keepers
(2) pushrod keepers
Radio system (Tx, Rx, battery)
JR MatchMaker (optional)
Required Tools and Adhesives
1/16 in (1.5mm) drill bit
Sidecutters
Pin drill
Felt-tip pen
5/64 in (2mm) drill bit
Thin CA
#0 Philips screwdriver
Tape/heat-shrink tubing/dental floss
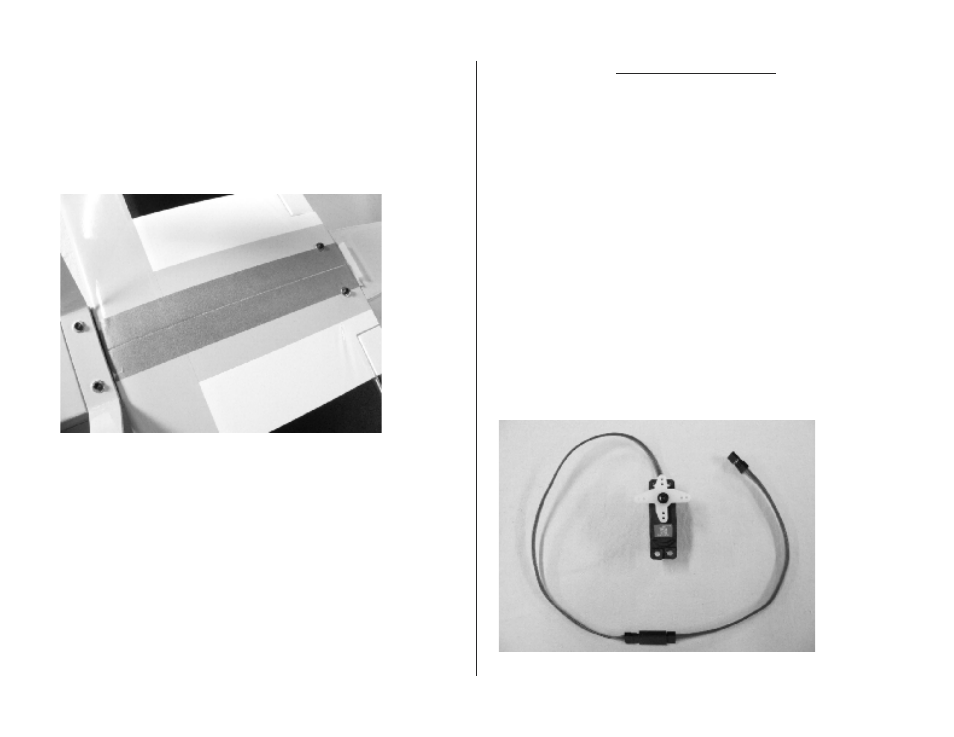
Ο 1. Install the rubber grommets and brass bushings in each aileron servo.
Attach a 6” servo extension lead to each servo and secure it with tape, heat
shrink tubing or dental floss.
19