Appendix – BMW III User Manual
Page 28
Navigator III Owner’s Manual
a
PPendix
a
PPendix
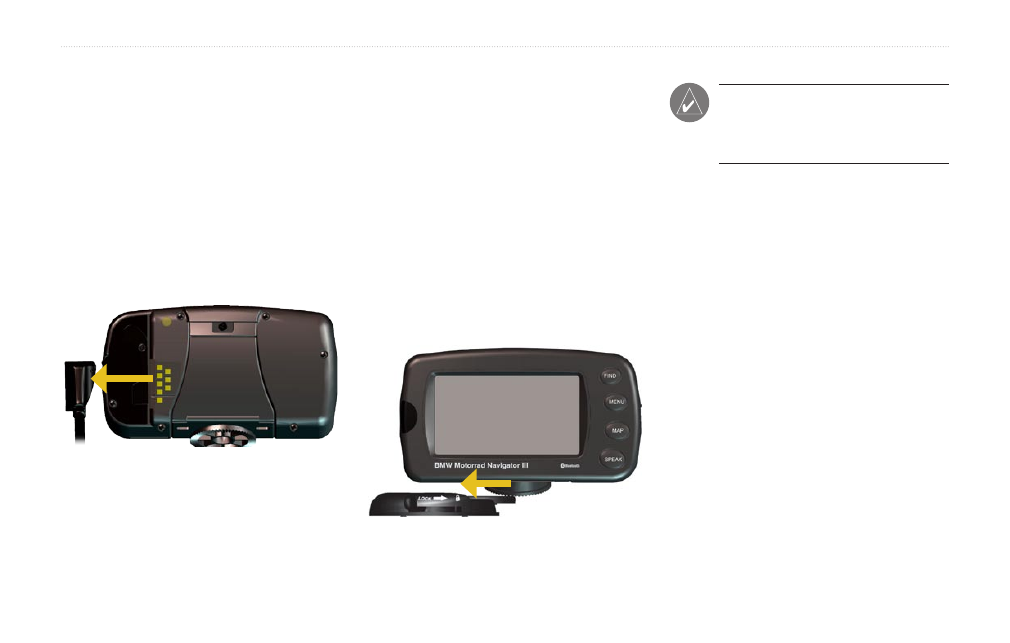
Using the Navigator III in your
Automobile
To remove your Navigator III from the
motorcycle mount:
1. Use the security screwdriver to loosen the
screw.on.the.top.of.the.cradle.lock..
2.. Lift.the.cradle.lock.up.until.it.clicks..
3. Pull the Navigator III out of the mount.
4.. Slide.the.power.plug.to.the.left.to.
disconnect the power cable.
To install the Navigator III to the non-skid
friction mount:
1.. Align.and.slide.the.power.plug.on.the.
vehicle power cable to the right until fully
seated.
2. Slide the locking lever on the base to the
left (unlocked).
3. Slide the bottom of the Navigator III into
the base until it clicks into place.
4. Slide the locking lever to the right (locked).
5. Connect the vehicle power cable into a
vehicle power outlet.
6. Route the cable so it does not interfere
with vehicle operation.
Connecting to Your Computer
NOTE: Do not connect the USB cable
to your computer until you have loaded
the USB drivers using the enclosed
DVD-ROM.
To update your software, load additional maps,
or load Custom POIs, connect your Navigator
III to your computer using the USB cable
provided.
Step 1: Load the USB Drivers
Before connecting the USB cable to your
computer, place the enclosed DVD-ROM into
your computer’s DVD-ROM drive.
If the DVD-ROM does not start automatically,
click
Start
and then
Run
. Type the letter of
your DVD-ROM drive followed by “setup”
(example: “D:\setup”). Then press
Enter
.
Follow the on-screen instructions.