Saving, Exporting, Exporting in jpg format – DgFlick CollageXpress User Manual
Page 67: 0 saving and exporting
User Manual-3.0
7.0 Saving and Exporting
Collage Xpress not only supports creation of collage but also allows you to save the file for future use,
send a viewable copy to the customer and export it as required. These features add to the versatility of
the software and also simplify working on it to a great extent. This section deals with the saving, opening
and exporting of files once the collage is created.
7.1 Saving
After the project is done, the next step is saving the project by clicking on
The default path for saving the project is
displayed in the textbox as ‘My
Documents\My Collage’. You could either
save the project in this path or provide the
path of your choice to save the project.
Click on ‘Ok’ to save a copy of the project or on ‘Cancel’ to abort the process.
7.2 Exporting
Exporting is nothing but creating a copy of the Collage in a printable format.
7.2.1 Exporting in JPG Format
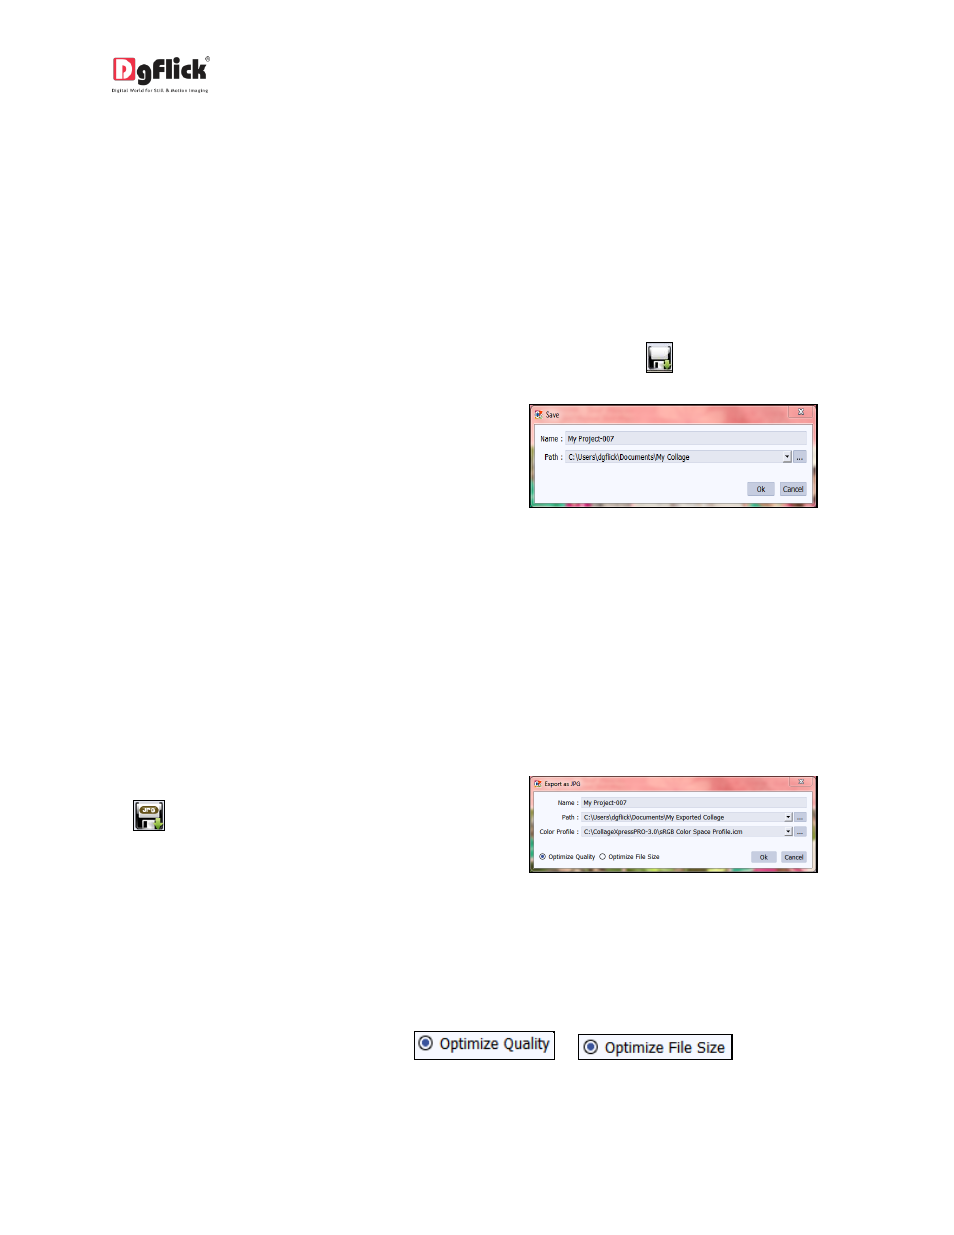
To save the project in a jpg format, click on
the lower right-hand corner. The default
path for saving the jpg file appears in the
textbox that is now visible on screen. The
path is ‘My Documents\My Exported
Collage’. However, you could change the path
and save it in any location of your choice.
Image 7.2.1.1: Exporting in JPG format
Set the color profile by clicking on Color Profile option.
Two formats are given to export JPG in
or