Dmx monitor, Midi, Remote – Clay Paky HandsOn User Manual
Page 8: Dmx m
Handson
Manual
DMX M
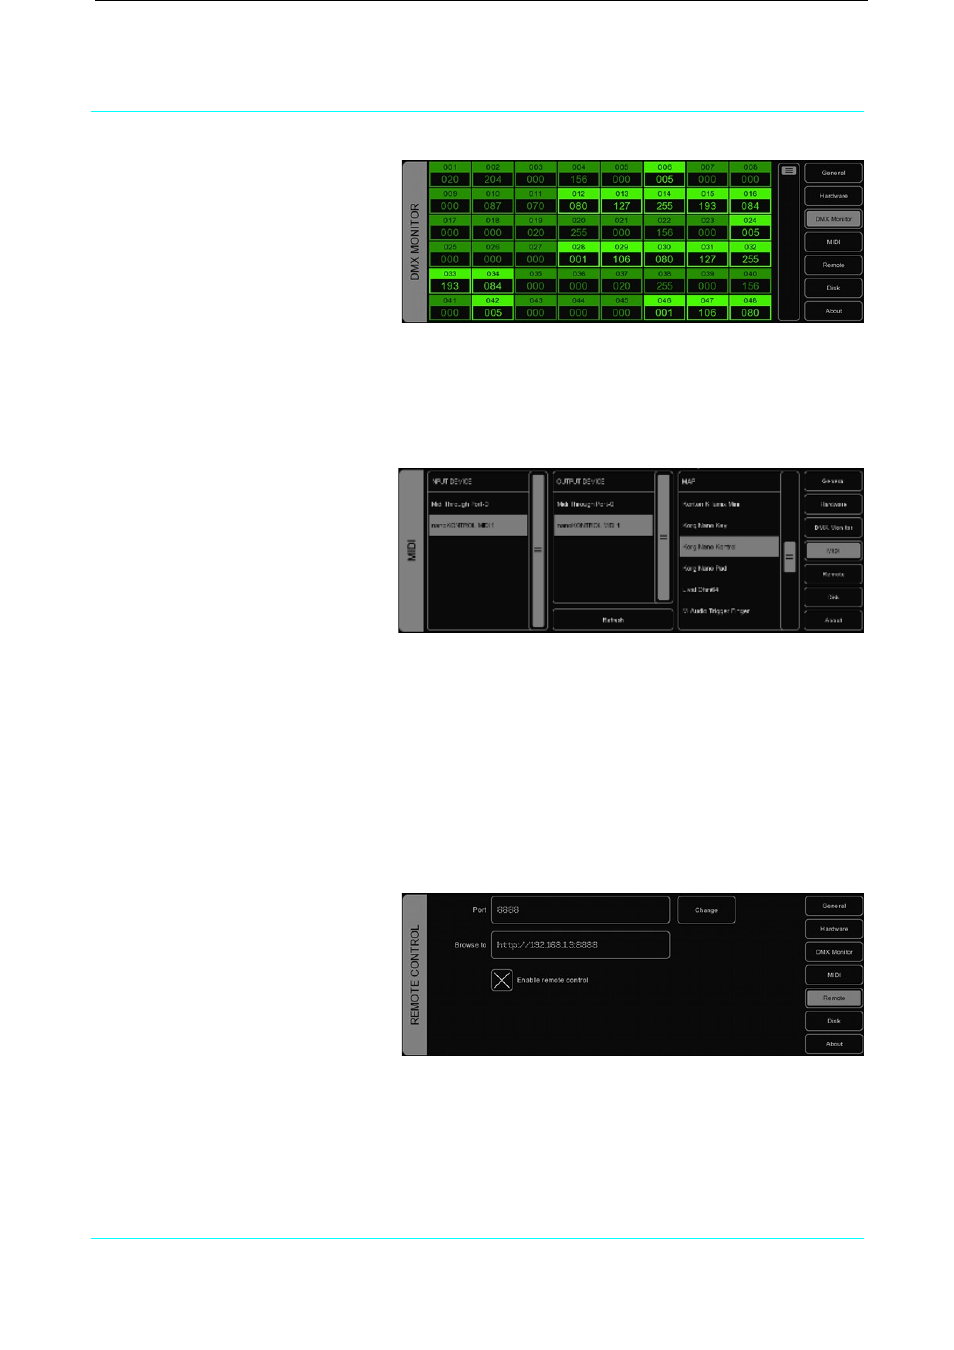
ONITOR
This tab shows you the DMX values that
are currently sent out.
MIDI
Handson supports various MIDI control surfaces; it allows you to control Handson' user interface (UI)
through the buttons and faders on the MIDI controller. The software ships with a list of predefned Midi-
maps. A midi-map fle describes the MIDI controller and how its features (buttons, faders, etc) are
mapped to the Handson UI.
To set up Handson for use with your
MIDI controller, select the appropriate
INPUT DEVICE and optionally an
OUTPUT DEVICE. The output device is
used by Handson to provide feedback
to MIDI controller's LEDs and
motorized faders. Then select the MAP
that corresponds to your MIDI
controller.
Please take into account that the MIDI controller needs to be connected to the computer before
Handson starts up; Handson only scans for MIDI devices at start up. After that you would need to use
the REFRESH button to scan again.
Please refer to page 24 for diagrams describing the layout of various Midi-maps.
R
EMOTE
The Remote feature allows you to view the patch including addresses and dip-switch settings per
fxture in real-time from your browser-enabled mobile device. It also allows you to trigger the playback-
buttons remotely.
To connect your device to this web-
based feature you would need to make
sure that the checkbox is enabled and
then type in your browser the exact
address as displayed in the BROWSE TO
feld.
Handson takes the IP address currently
assigned to the computer’s network interface. You cannot change this address in Handson, that would
need to be done in the computer’s network settings. Please do take into account that Handson uses the
frst available network interface, if you have multiple (e.g. wired network and WIFI), there is no way of
choosing which interface Handson uses. This means that sometimes you would need to disable one
interface to force Handson to use the preferred interface.
Please refer to page 29 for step-by-step instructions for setting up this feature with an iPhone.
7