Connect power and video cables – Autocue SSP07 Quick Start User Manual
Page 6
Getting started
- Prepare and connect the prompting hardware
SSP07-QStartUserManual.docx 2010-10-01
11.
Loosen the retaining thumbs
12.
Rotate the camera mounting
the hood.
13.
Slot the bracket over the thumbscrews and ti
Note: It is likely that the position of the unit will have to be adjusted after you have
mounted your camera so that it is balanced on the tripod. A balanced camera and
prompter assembly will make it easier to perform smooth pan and tilt shots.
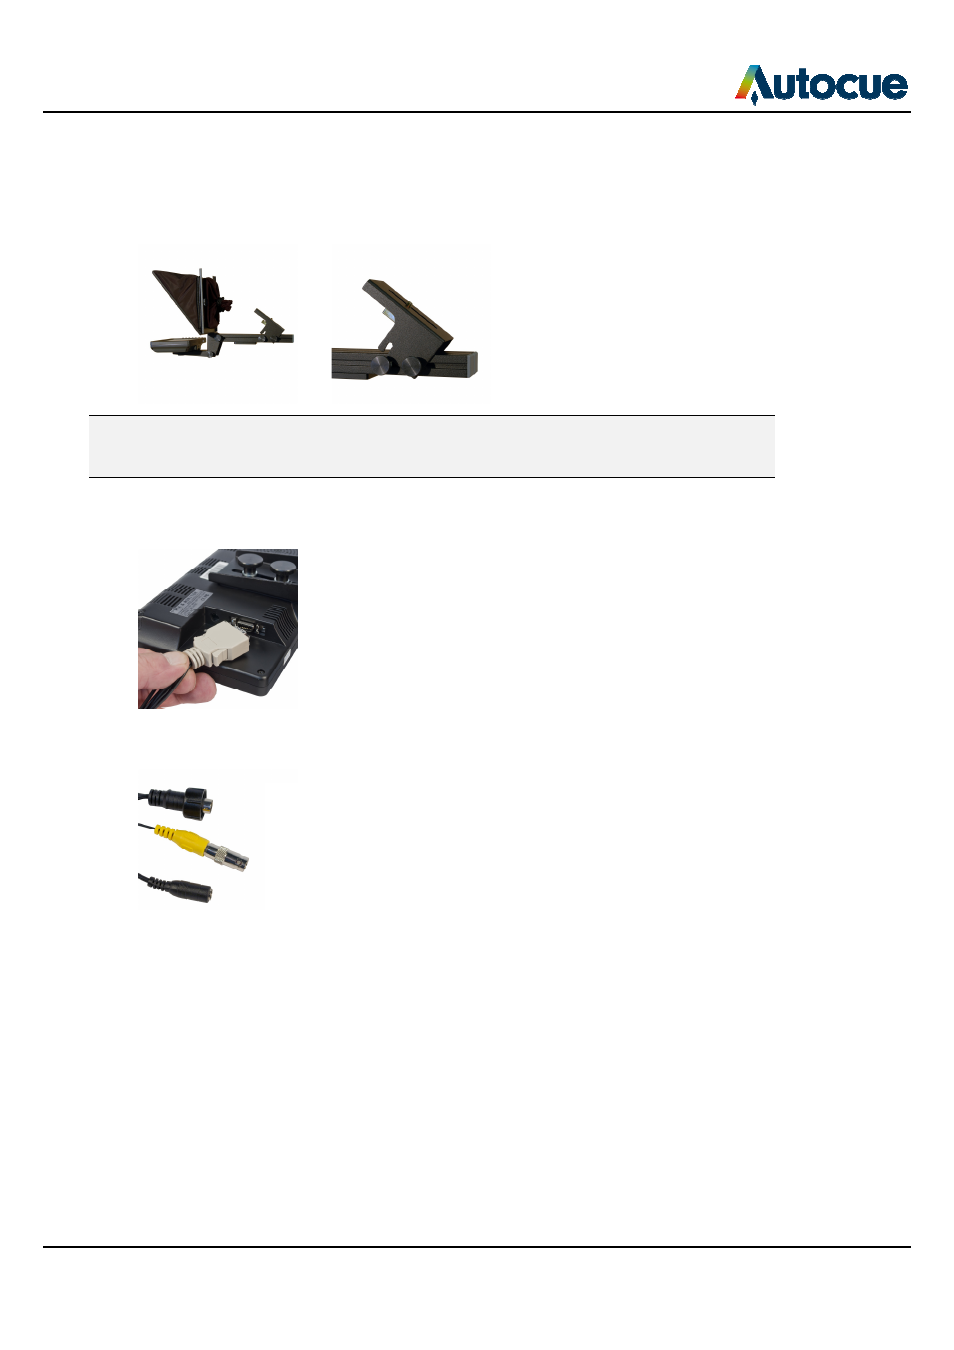
Connect power and video cables
1.
Attach the large plug to the socket on the side of the monitor.
2.
You can use either a composite or VGA video input
cable.
VGA
Composite
Power
Prepare and connect the prompting hardware
6
Loosen the retaining thumbscrews holding the camera mounting bracket.
Rotate the camera mounting bracket so that it is on the top of the unit and behind
er the thumbscrews and ti
ghten all four thumbscrews to secure it.
the position of the unit will have to be adjusted after you have
mounted your camera so that it is balanced on the tripod. A balanced camera and
prompter assembly will make it easier to perform smooth pan and tilt shots.
Connect power and video cables
large plug to the socket on the side of the monitor.
You can use either a composite or VGA video input by connecting the appropriate
Composite
© 2003-2010 Autocue Group Ltd.
.
and behind
ghten all four thumbscrews to secure it.
the position of the unit will have to be adjusted after you have
mounted your camera so that it is balanced on the tripod. A balanced camera and
prompter assembly will make it easier to perform smooth pan and tilt shots.
by connecting the appropriate