Autocue SSP07 Quick Start User Manual
Page 24
Use your prompter in different situations
SSP07-QStartUserManual.docx 2010-10-01
3.
Remove the hood mounting bracket
carry case.
4.
Remove the two thumbscrews attaching the monitor
bracket.
5.
Remove the two thumbscrews
6.
Align one of the screw holes on the back of the monitor with the hole in the centre
of the drop bracket and use one of the thumbscrews to attach the monitor to the
drop plate.
Note: The control buttons should be to the right of the screen when you read text on th
monitor.
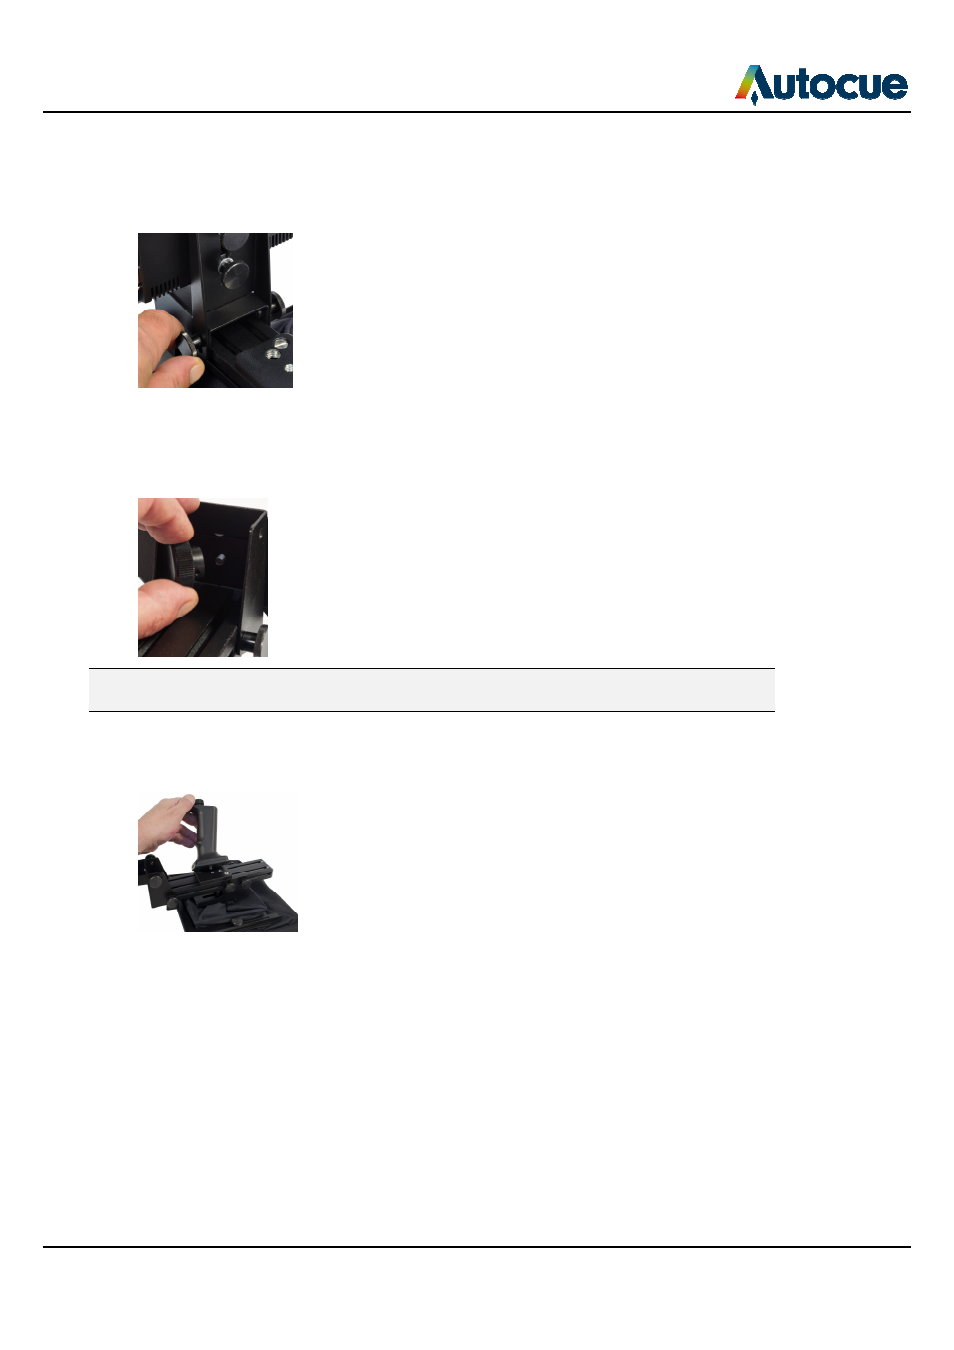
7.
Attach an optional pistol grip to t
bolt of the grip into the appropriate screw hole on the slider plate.
24
mounting bracket completely and carefully place it in the SSP07
Remove the two thumbscrews attaching the monitor mounting bracket to the drop
thumbscrews securing the monitor to the monitor mounting bracket.
of the screw holes on the back of the monitor with the hole in the centre
of the drop bracket and use one of the thumbscrews to attach the monitor to the
The control buttons should be to the right of the screen when you read text on th
tach an optional pistol grip to the underside of your SSP07 unit. Fasten the locking
into the appropriate screw hole on the slider plate.
© 2003-2010 Autocue Group Ltd.
in the SSP07
mounting bracket to the drop
the monitor to the monitor mounting bracket.
of the screw holes on the back of the monitor with the hole in the centre
of the drop bracket and use one of the thumbscrews to attach the monitor to the
The control buttons should be to the right of the screen when you read text on the
he underside of your SSP07 unit. Fasten the locking