Assembly instructions, Pick up seeder assembly, Chapter 2 – Landoll SS/SSB/SSP/SSBP 8, 10, 12 Sure Stand Seeder User Manual
Page 11
2-1
Chapter 2
Assembly Instructions
CAUTION
NOTE
Your exact seeder model may vary slightly from the
illustration. (Additional parts identification and location
can be obtained from reviewing parts catalog 1P481.)
IMPORTANT
If a pre-assembled component or fastener is temporarily
removed, ensure it is correctly re-installed per these
instructions.
• Check that all working parts move freely, bolts are
tight and cotter pins are spread.
• Park the seeder in a work area that has a level
surface and make sure it is blocked securely so that it
cannot roll.
NOTE
“Left” and “Right” refer to directions seen as if standing
behind the machine and facing in the direction of forward
travel.
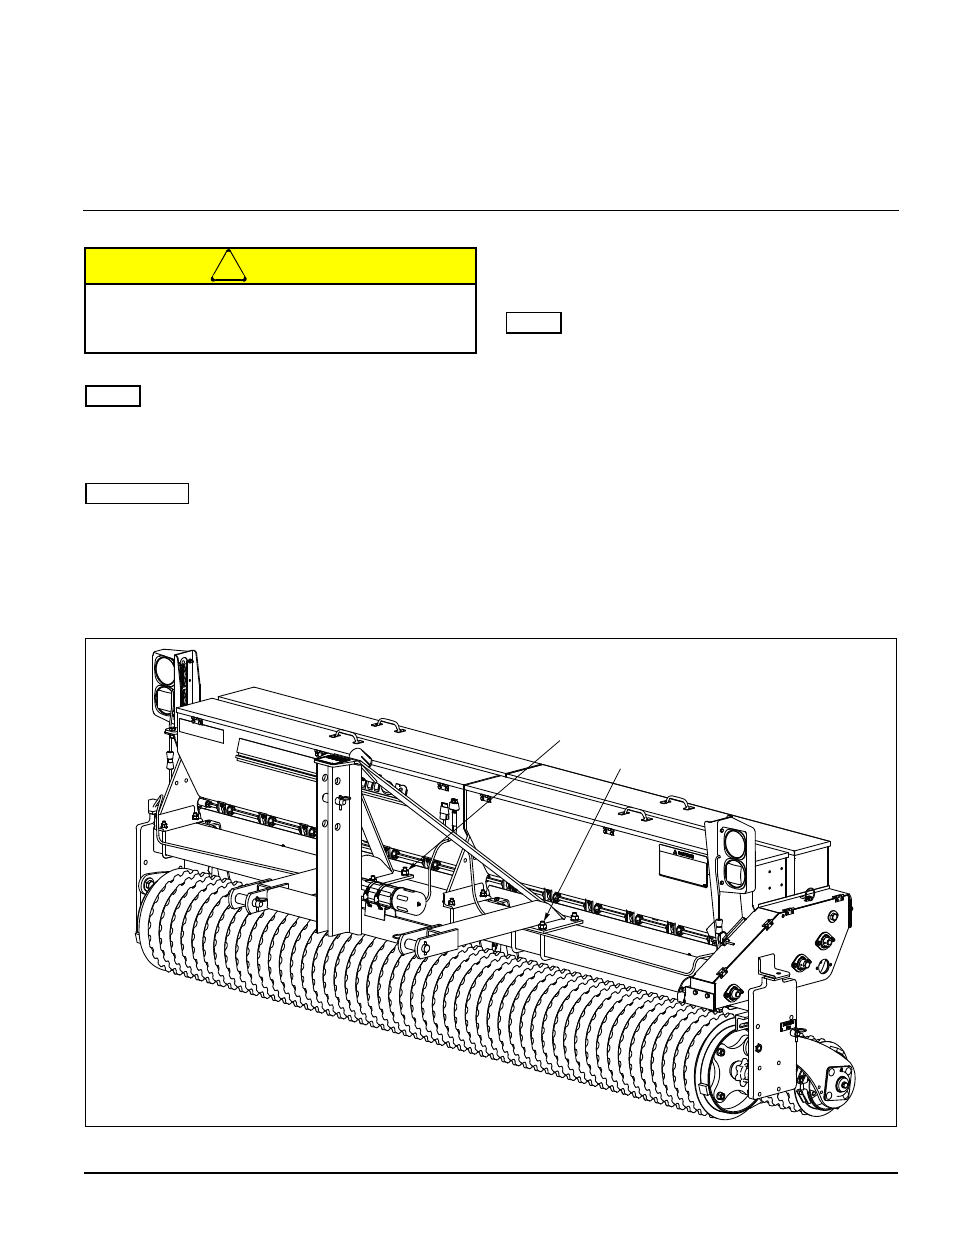
Pick Up Seeder Assembly
When shipped, seeder comes assembled except for
lights and 3 pt. Hitch.
1.
Support seeder assembly with a hoist or by similar
means capable of supporting its weight without
tipping.
2.
Position 3 point hitch assembly on center of frame
and fasten with four 5/8” U-bolts, Lockwashers and
Nuts from bag in seedbox. See Figure 2-1.
Figure 2-1: Attach 3 Pt. Hitch
Do Not Work On Or Under This Machine Unless
Securely Blocked And Supported By A Hoist Or
Tractor Or By Other Sufficient Means!
U-Bolts, 5/8” X 6-11/16” X 5-1/2”
Lock Washers, 5/8
Nuts, 5/8-11