Introduction and safety information, Introduction, Description of unit – Landoll MCL/MCC/MCLS/MLCS/MCCS 1483, 1643, 1803 RIGID PULVI-MULCHER User Manual
Page 5: Owner assistance, Warranty registration, Chapter 1
1-1
Chapter 1
Introduction and Safety Information
Introduction
The implement described in this manual has been
designed with care and built by skilled workers using
quality materials and processes. Proper assembly and
maintenance will provide you with satisfactory use for
seasons to come.
DANGER
Description of Unit
The front rollers of the Brillion Pulvi-Mulcher break up
surface clods. Conventional “C” teeth or “S-Tine” teeth
loosen the soil up to 6” in depth and pull clods to the
surface. The rear roller wheels then crush those clods
and convert the soil into a firmed, mulched seedbed that
locks in moisture at the root level. The result is a
uniformly firmed and tilled seedbed from top to bottom,
but not compacted. The growing environment receives
the full benefit of capillary action of the soil for better
germination, better moisture retention and faster
decomposition of residue.
Using this Manual
This manual will familiarize you with safety, assembly,
operation, adjustment, and maintenance. Read this
manual and follow the recommendations to help ensure
safe and efficient operation.
• The information in this manual is current at time of
printing. Some parts may have changed to assure top
performance.
• Location reference: Right and Left designations in this
manual are determined by facing the direction the
implement will travel during field operation, unless
otherwise stated.
Owner Assistance
If customer service or repairs are needed, contact your
Brillion dealer. They have trained personnel, parts and
service equipment specially designed for Brillion
products. Your implement’s parts should only be replaced
with Brillion parts. If items covered in this manual are not
understood, contact your local Brillion Dealer.
Warranty Registration
for step by step
instructions regarding product registration.
Enter your product information below for quick reference.
MODEL NUMBER
SERIAL NUMBER
DATE OF PURCHASE
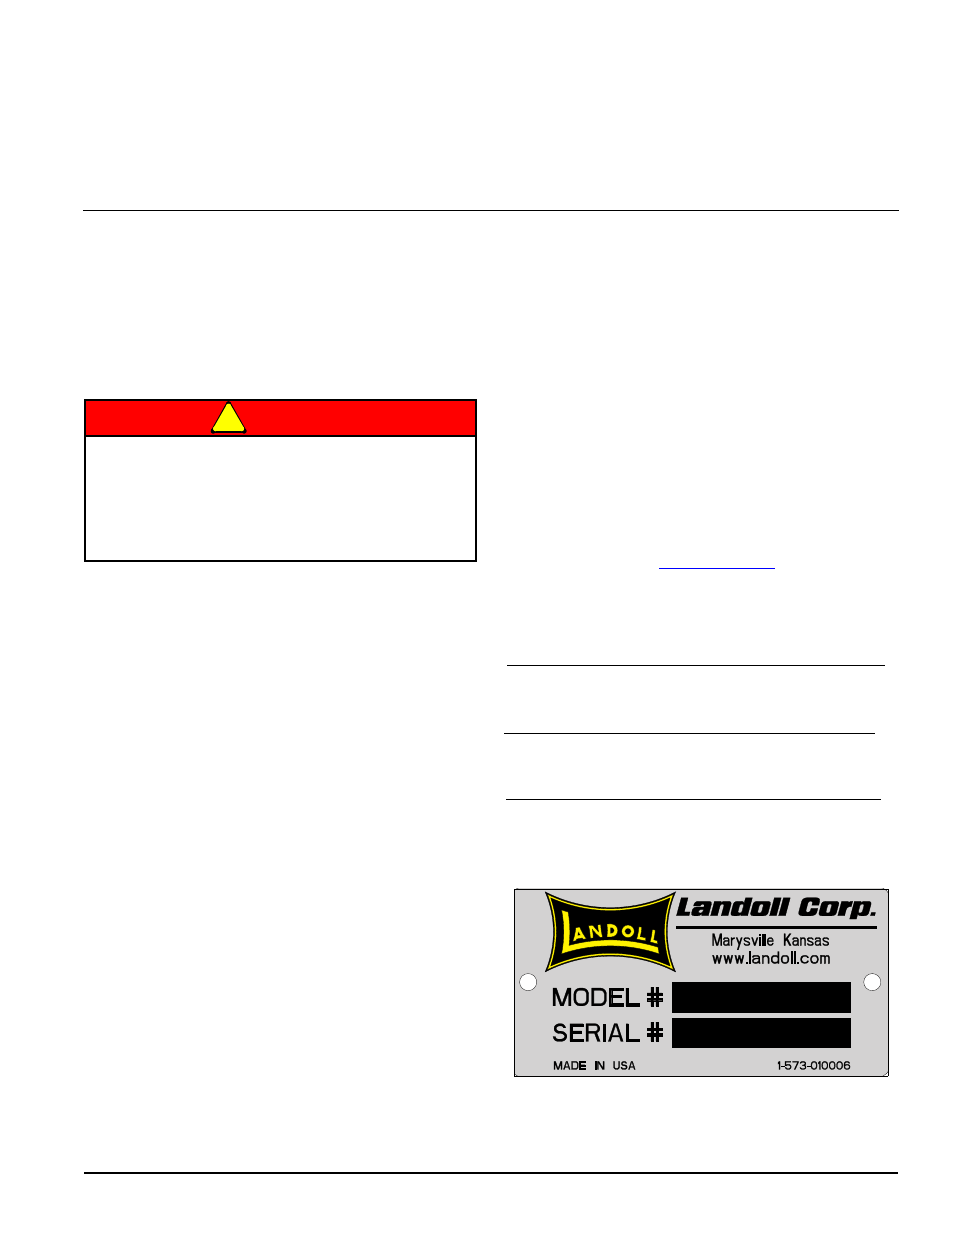
Refer to the ID plate as shown. See Figure 1-1.
Figure 1-1: ID Plate
Read this entire manual before attempting to
assemble, adjust or operate this implement.
Failure to comply with this warning can result in
personal injury or death, damage
to the
implement or its components and inferior
operation.