Dakota Ultrasonics PVX User Manual
Page 7
PVX Precision Visual Thickness Gauge
3
3) Press the ENTER key to display the confirmation screen.
4) Press the OK key to select the setup and return to the measure screen, or
ESC to cancel the selecting a setup.
2.2 Calibration
The next step is to calibrate the PVX to the material and transducer being used. If a
sound velocity is not known, the PVX can be calibrated to a known thickness sample.
This demo will briefly explain each of possible calibration techniques. Read through
the various calibration techniques and select one of the following:
Known Velocity
If the material velocity is known, the user may wish to simply enter the velocity
number into the PVX, rather than have the PVX calculate the velocity value using a
know thickness. The steps for entering the velocity are outlined below:
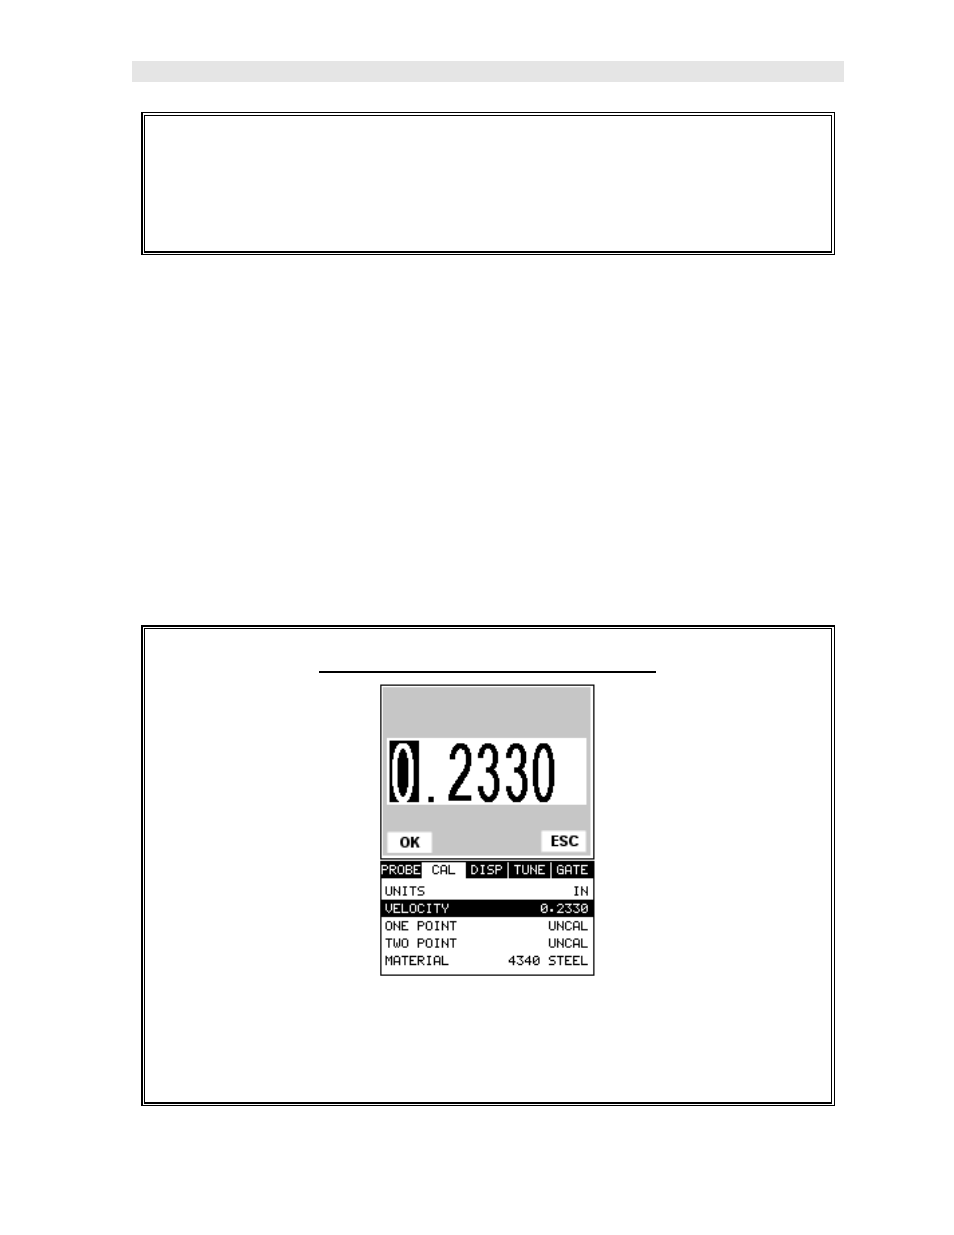
Using a Known Material Velocity
1) Press the MENU key once to activate the menu items tab. Press the MENU
key multiple times to tab right and the ESC key multiple times to tab left until
the CAL menu is highlighted and displaying the submenu items.