3 installation site preparation, 2 rear panel – AirLive POE-FSH1008AT User Manual
Page 12
2. Installation of the Switch
AirLive POE-FSH1008AT
User’s Manual
7
* Note: Be sure that you recorded the setting of your device, else all the setting will be
erased when pressing the “Reset” button.
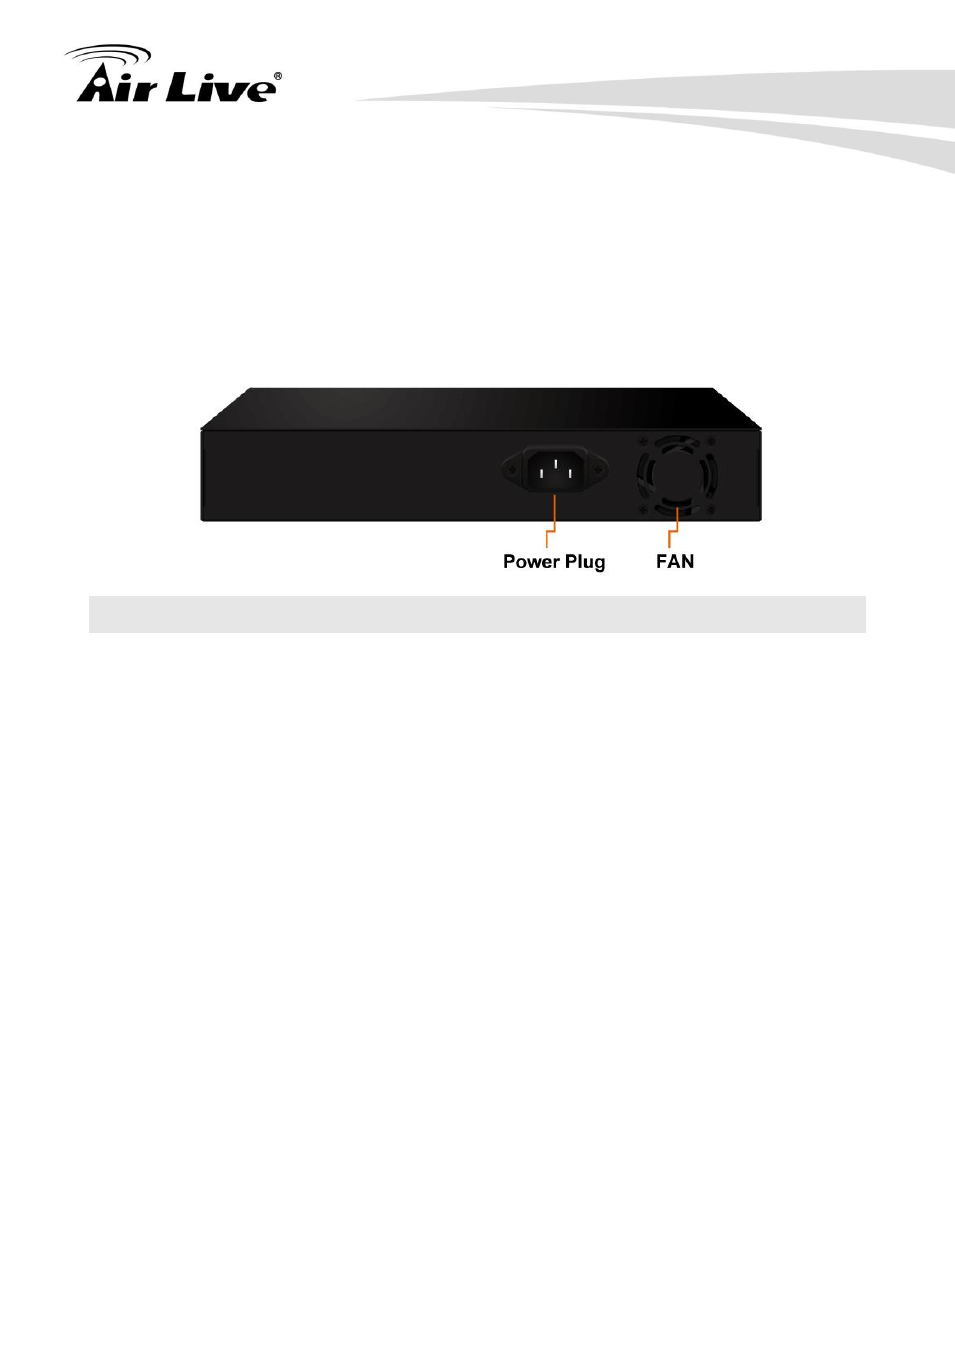
2.2.2 Rear Panel
The 3-pronged power plug and on/off switch are placed at the rear panel of the switch right
side shown as below.
2.3 Installation Site Preparation
You can mount POE-FSH1008AT either on desktop or on a 19-inch rack. If you plan to
mount the switch on desktop, please choose a steady, level surface in a well-ventilated
area that is free from excessive dust. In any case, the installation site chosen for your
switch has to comply with the following requirements:
The surface where you want to mount the switch must be able to sustain at least 1.5kg.
Do not place heavy objects (more than 3kg) on top of the switch.
The location must preferably be free from excessive dust, away from heat vent, hot-air
exhaust and direct sunlight.
The switch should not be placed near large electric motors or other strong
electromagnetic sources. As a reference, the strength of the electromagnetic field on
site should not exceed the (RFC) standards for IEC 801-3, Level 2(3V/M) field strength.
The air temperature in the location should be within a range of 0 to 65°C.
The relative humidity in the location should not exceed 90% non-condensing humidity.
The distance between the RJ-45 port and the standard network interface should not
exceed 100 meters.
Adequate space should be allowed in front of all the ports, so that each port is easily
accessible for cable connections.
Leave at least 10cm(4 inch) of space around the switch to allow heating dissipation