Advance adapters inc. p/n: ranger od – Advance Adapters RANGER OD User Manual
Page 6
SPECIAL NOTE:
The components packaged in this kit have been assembled and machined for specific type of conversions. Modifications to any of the components
will void any possible warranty or return privileges. If you do not fully understand modifications or changes that will be required to complete your conversion, we
strongly recommend that you contact our sales department for more information. This instruction sheet is only to be used for the assembly of Advance Adapter
components. We recommend that a service manual pertaining to your vehicle be obtained for specific torque values, wiring diagrams and other related equipment. These
manuals are normally available at automotive dealerships and parts stores.
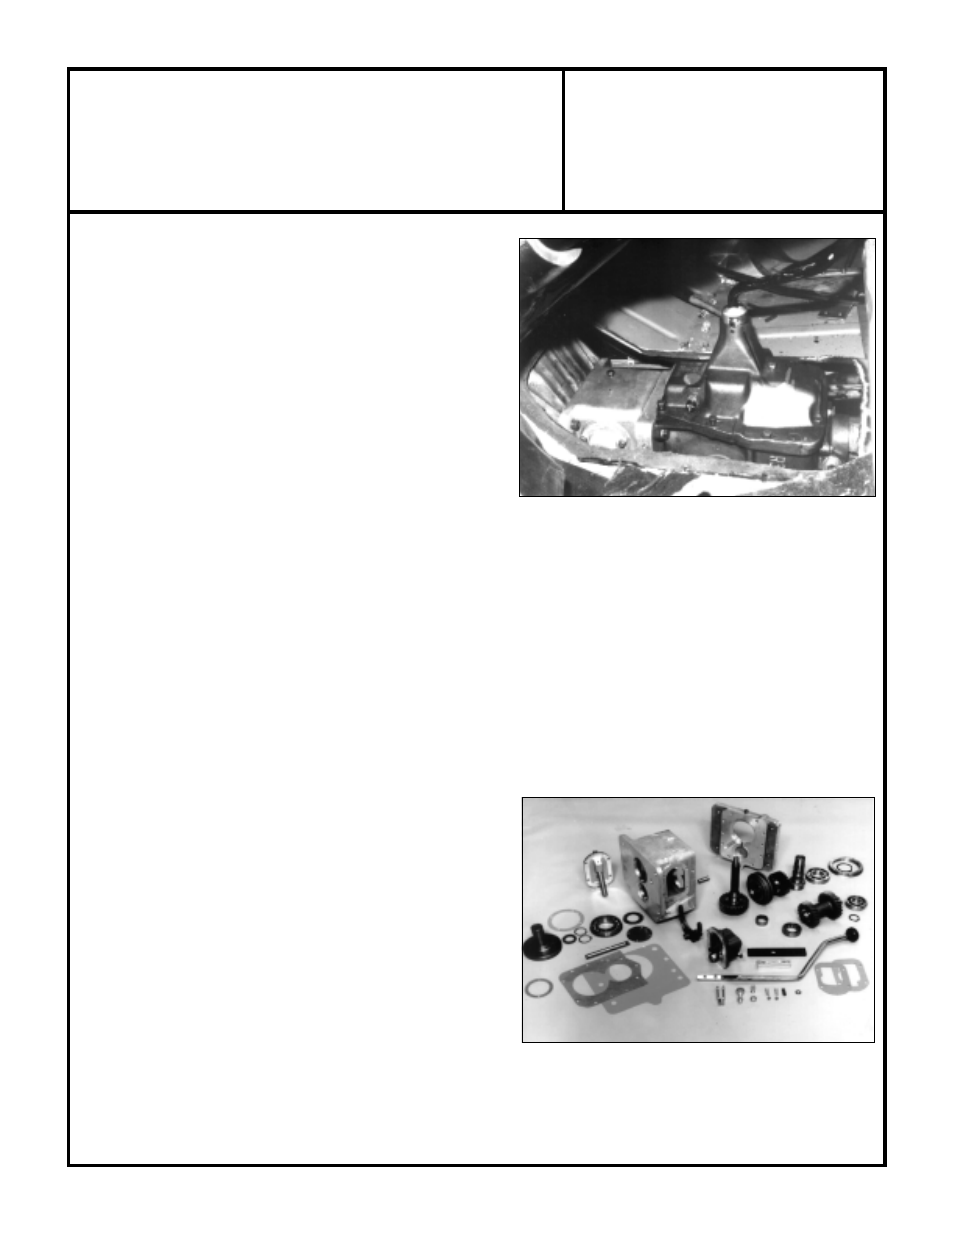
Ranger Torque Splitter installed with a GM
Ranger Torque Splitter installed with a GM
Ranger Torque Splitter installed with a GM
Ranger Torque Splitter installed with a GM
Ranger Torque Splitter installed with a GM
SM465 transmission.
SM465 transmission.
SM465 transmission.
SM465 transmission.
SM465 transmission.
Ranger Torque Splitter
Ranger Torque Splitter
Ranger Torque Splitter
Ranger Torque Splitter
Ranger Torque Splitter
Assembly Kit
Assembly Kit
Assembly Kit
Assembly Kit
Assembly Kit
ADVANCE ADAPTERS INC.
P/N: RANGER OD
P.O. Box 247, 4320 Aerotech Center Way
Paso Robles, CA 93447
PAGE 6 OF 11
Telephone: (800) 350-2223
Fax: (805) 238-4201
Page Rev. Date:
03-02-12
floorboards. The handle hole location can now be
determined from the actual Ranger position. On 4WD
vehicles, it will also be necessary to relocate the transfer
case shifter hole, or extend linkage to fit new transfer
case location.
27.
Cover original transmission hole with sheet metal using
sheet metal screws and silicone. Reinstall carpet or
mat. You can use a piece of carpet from under your seat
to cover your original transmission hole.
28.
Install the original boot and screw it to the floorboard.
(You may cover the original hole with a small piece of
sheet metal. All cracks should be siliconed).
29.
Remove the shift lever and reinstall the carpet or mat. At
this point, you will have to make a new hole in the carpet
or mat. The original hole can be patched from excess
material beneath the seat.
30.
Reinstall the 4 speed shift lever, the shift lever pin (if it was removed), the shift switch and wiring, and the shift knob.
31.
With the stock four-speed shifter handle installed and the original boot back in position, all that remains is the shifter
handle for the Ranger Torque Splitter.
32.
The handle can now be installed onto the handle bracket. There are two positions that the handle can be bolted to.
The front two should be used when the handle needs to be further forward and the back two when the driver uses
the seat in the back position. Use lock washers when bolting the handle to the bracket.
33.
Advance Adapters recommends that a special break-in procedure be used for a period of 15 to 30 minutes prior to
finalizing your installation. The Ranger Torque Splitter is a precision piece of equipment that has been assembled
with precision bearing sand brass synchronizers. By using this simple break-in procedure, all of the gears and the
bearings will be assured of maximum life. The proce-
dure would be to simply install 1-1/2 quarts of regular 30
wt. motor oil and drive the vehicle for approximately 15-
30 minutes. Drain the motor oil.
34.
Refill the Ranger with a high performance gear synthetic
lube (or equivalent). Viscosity rating on the oil (Mobile,
Valvaline, Shell, etc.) should be SAE75W-90.
CAUTION: Failure to fill transmission and Ranger
Torque Splitter with oil, will void all possible war-
ranty claims. Double check your oil level!!
WARNING:
To properly change gears, the clutch MUST
BE DISENGAGED. Warranties will be voided on units
shifted improperly.