Belkin PM01110 User Manual
Page 61
59
G Wireless Router
sections
table of contents
1
2
3
4
5
7
8
9
10
6
UsInG THe Web-based adVanCed UseR InTeRfaCe
4� Under the “Wireless Networks”
tab, click the “Configure”
button and you will see the
following screen�
Using the access Point Mode
Note: This advanced feature should be employed by advanced users
only� The Router can be configured to work as a wireless network
access point� Using this mode will defeat the NAT IP sharing feature
and DHCP server� In Access Point (AP) mode, the Router will need
to be configured with an IP address that is in the same subnet as
the rest of the network that you will bridge to� The default IP address
is 192�168�2�254 and subnet mask is 255�255�255�0� These can be
customized for your need�
1�
Enable the AP mode my selecting “Enable” in the “Use as Access
Point only” page� When you select this option, you will be able to
change the IP settings�
2�
Set your IP settings to match your network� Click “Apply Changes”�
3�
Connect a cable from the “Modem” port on the Router to your
existing network�
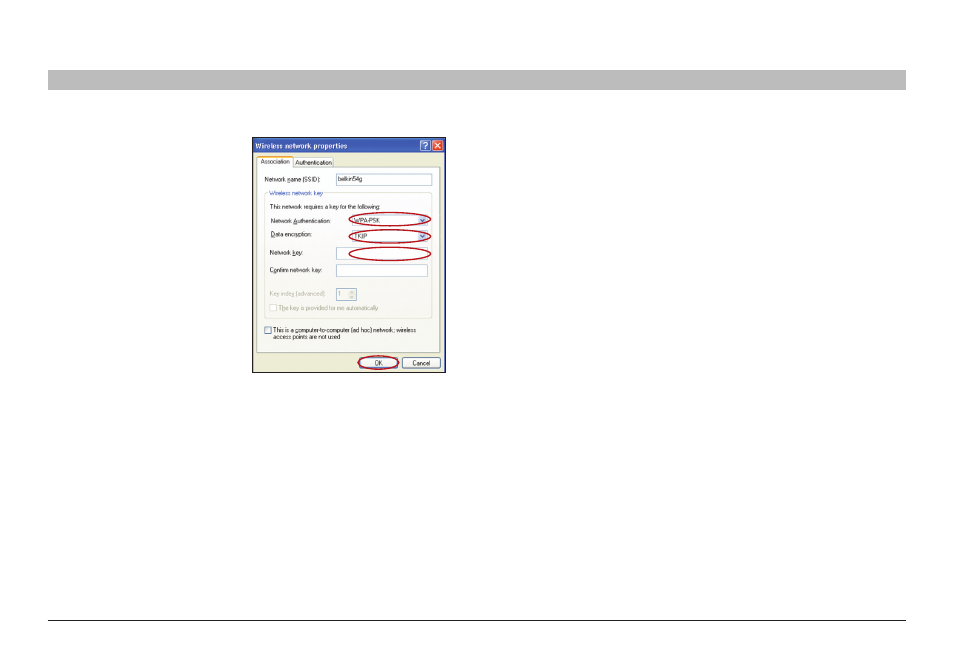
5�
For a home or small business user, select “WPA-PSK” under
“Network Authentication”�
6�
Select “TKIP” or “AES” under “Data Encryption”� This setting will
have to be identical to the Router that you set up�
7�
Type in your encryption key in the “Network key” box�
Important: Enter your pre-shared key� This can be from eight to 63
characters and can be letters, numbers, or symbols� This same key
must be used on all of the clients that you set up�
8�
Click “OK” to apply settings�