Apple AppleShare IP 6.0 User Manual
Page 55
Setting Up AppleShare IP 6.0
55
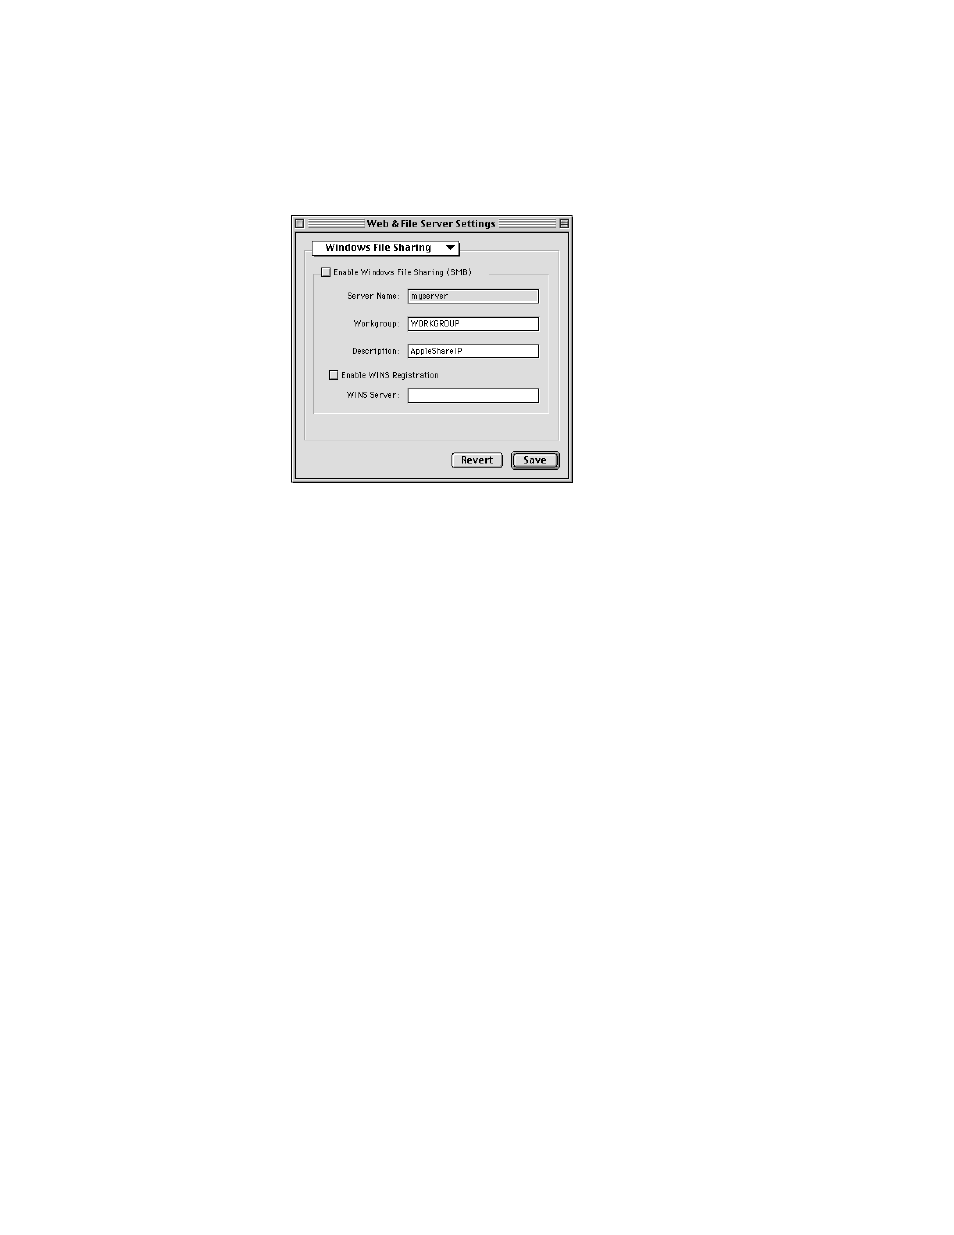
The Windows File Sharing panel appears.
4
Click the “Enable Windows File Sharing” checkbox so that an X appears.
Windows File Sharing services become available immediately.
5
If necessary, enter a new name for the Web & File Server in the Server Name text field.
By default, the Web & File Server assigns the AppleShare IP server’s unqualified DNS name
(the first name before the first dot) as the Windows file sharing server name. (For example,
an AppleShare IP server with the DNS name “myserver.company.com” has the unqualified
Windows server name “myserver.”) Apple recommends you use the name provided because
it makes it easier for some clients to connect to the Web & File Server.
If you decide to change the server name, it must be a valid Windows host name with 15
characters or fewer and no special characters or punctuation (such as ./\[]:+"|<>=;,*? or
space).
6
Type the workgroup name for your server in the Workgroup text field.
The workgroup name is the name Windows computers use to describe their local group of
computers on the network. Consult your Windows network administrator for the correct
name of the workgroup in which your Web & File Server is located.
7
If you like, type a description for the server in the Description text box.
You can enter up to 48 characters. Users see this information in their Network
Neighborhood. You may want to enter your name and phone number so users know whom
to contact for information.
8
Click Save.
Windows file sharing service will become available after you restart the Web & File Server.