Apple AppleShare IP 6.3 User Manual
Page 16
16
Chapter 2
4
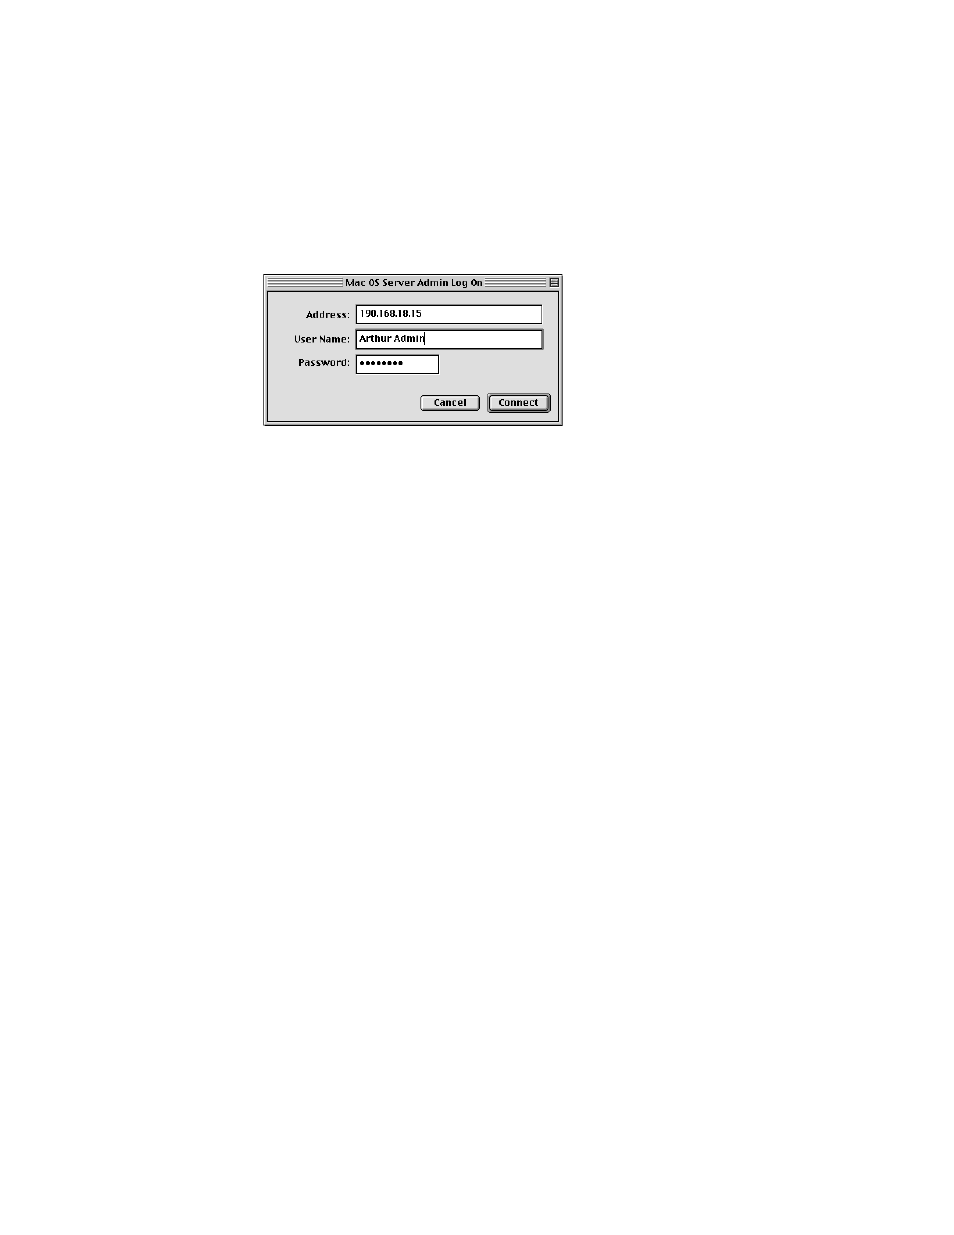
Enter the owner password for the server.
This is the password you entered in the Network Identity section of the File Sharing control
panel (page 12).
5
Click Connect.
Follow the instructions in the next section for configuring AppleShare IP services.
Configuring Your AppleShare IP Services
Immediately after you run AppleShare IP Easy Setup, you need to complete a number of
tasks to configure the services you want to use. To get services up and running you don’t
need to make many changes to the default settings.
At the very least you should
m
register a user and create a group (page 17)
m
create a share point (page 20)
m
set access privileges to the Web folder (page 21)
m
set up Windows file sharing (if you have Windows clients) (page 22)
m
turn on mail for registered users (page 24)
m
create a print queue (page 26)
m
enable Web-based Remote Admin (page 27)
m
tell your users how to use AppleShare IP services ( You can print Appendix C, “Using
AppleShare IP Services From a Client Computer,” and give it to your users.)
To customize AppleShare IP services for your network, you should follow the instructions
you’ll find in AppleShare IP Help for these tasks:
m
configuring file services
m
setting up file transfer protocol (FTP) services
m
configuring mail services
m
configuring the print server