1 ip control setting – Pioneer KRP-500M User Manual
Page 68
68
En
06
Use Other Equipment With Your Flat Panel Display
6.8.1
IP Control Setting
To apply the IP Control Setting, follow the directions below.
1 ) Access
IP Control Setting through the Control Setup menu.
2 ) Select IP Control from the IP Control Setting menu.
3 ) Select Enable from the IP Control menu.
Note:
The default IP Control menu is Disable.
Confirm the IP Address
Enter DHCP, IP Address, Subnet Mask, Default Gateway and LED.
1 ) Access IP Control Setting through the Control Setup
menu.
2 ) Select
DHCP from the IP Control Setting menu.
3 ) Select
On or Off from the submenu.
If you select On, an IP Address is automatically acquired.
If the panel fails to assign the IP Address or if you want to obtain different addresses, select Off in Step 3
then enter an IP Address and Subnet Mask.
4 ) Press
RETURN to make your selection.
5 ) Select LED from the IP Control Setting menu.
6 ) Select On or Off from the submenu.
Selecting On causes the LAN terminal indicator to light while in use.
7 ) Press
EXIT to exit the menu.
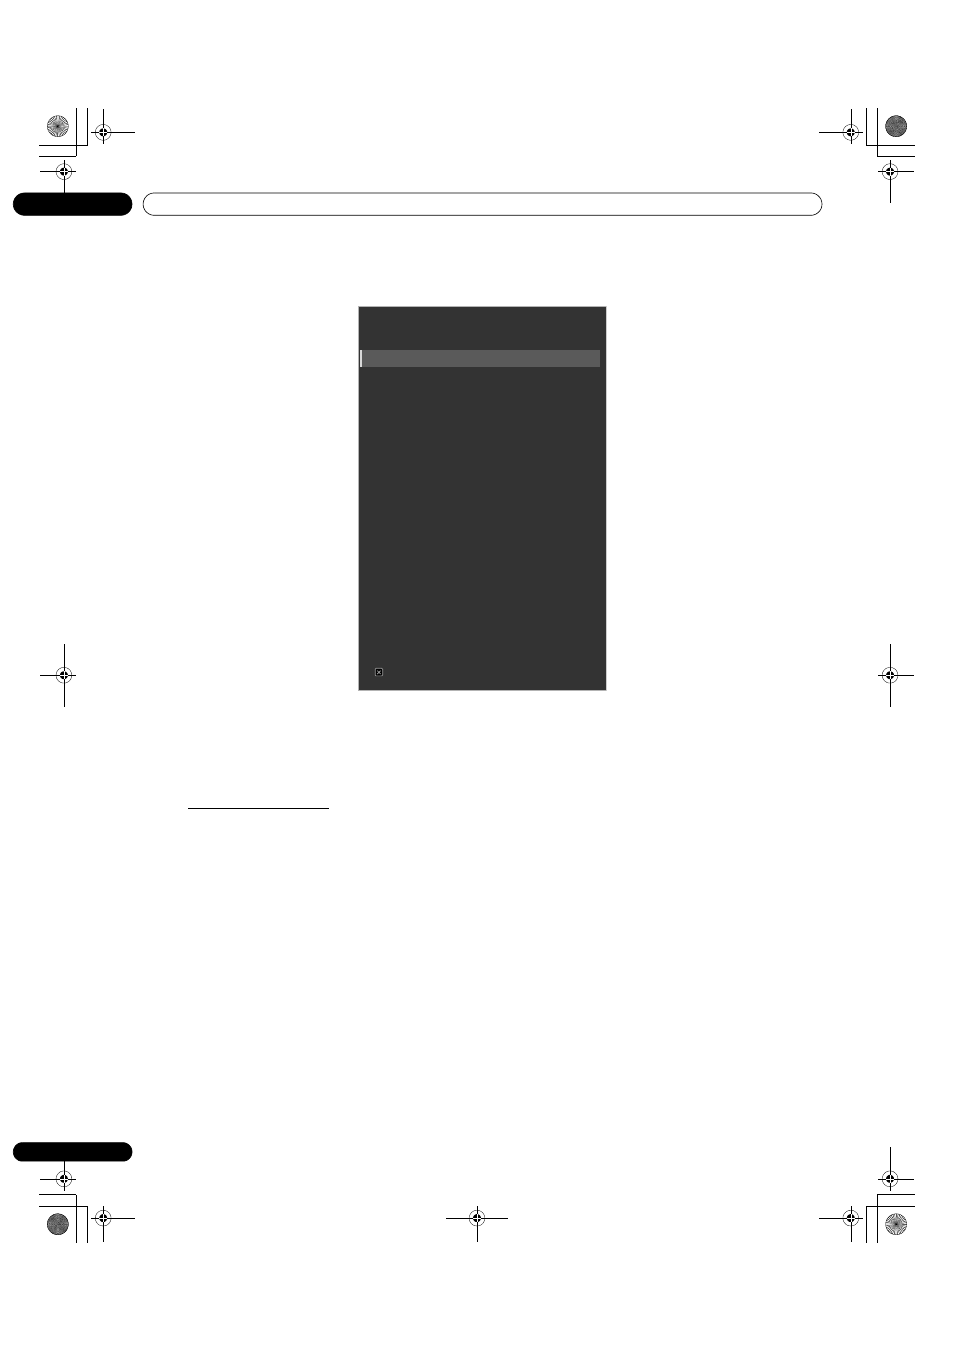
IP Control Setting
IP Control
:
Disable
DHCP
:
Off
IP
Address
Subnet Mask
Default Gateway
MAC Address
LED
:
On
KURO LINK Setting
Input
Setting
:
Off
Power Off Control
:
Off
Power On Ready
:
Off
Hold Sound Status
:
Off
Power
On
Test
: Off
Power
Off
Test
: Off
Serial Setting
ID No. Set
:
All
Baud Rate
:
9600bps
Control Setup
Exit
KRP-600M_500M.book Page 68 Tuesday, May 13, 2008 12:47 PM