4 basic picture and sound adjustment, 1 adjust the picture quality, 04 basic picture and sound adjustment – Pioneer KRP-500M User Manual
Page 28
28
En
04
Basic Picture and Sound Adjustment
4 Basic Picture and Sound Adjustment
This chapter explores basic picture adjustment options for your flat panel display.
4.1
Adjust the Picture Quality
Your flat panel display has many adjustment options for the picture to make it just right for you. This section
provides basic adjustments but for detailed video modifications, refer to “5 Additional Picture Adjustment
Options.”
4.1.1
Adjust the Picture for Your Room Lighting
The flat panel display senses the amount of light in your room and automatically adjusts the screen brightness
for the best picture. Bright rooms require stronger coloring so images appear crisp while dimly lit rooms allow
the picture to use more subtle coloring.
The panel ships with the Room Light Sensor turned Off. The sections below provide directions to turn the room
lighting sensor On/Off.
Room Lighting Sensor
To deactivate/reactivate the room lighting sensor, follow the steps below.
1 ) Access
Room Light Sensor through the Option menu.
2 ) Select
On (or Off ) from the submenu.
3 ) Press
HOME MENU to exit the menu.
4.1.2
General Picture (Video) Adjustment
The directions below apply to all AV Selection options except OPTIMUM and DYNAMIC. If the viewing option is
OPTIMUM, your flat panel display automatically adjusts the picture to the best possible level. If the preferred
viewing option is DYNAMIC, please refer to “5.1 Choose an AV Option (Video, Game, etc.).”
For standard picture adjustments, follow the steps below.
1 ) Press
HOME MENU.
2 ) Select
Picture from the main menu.
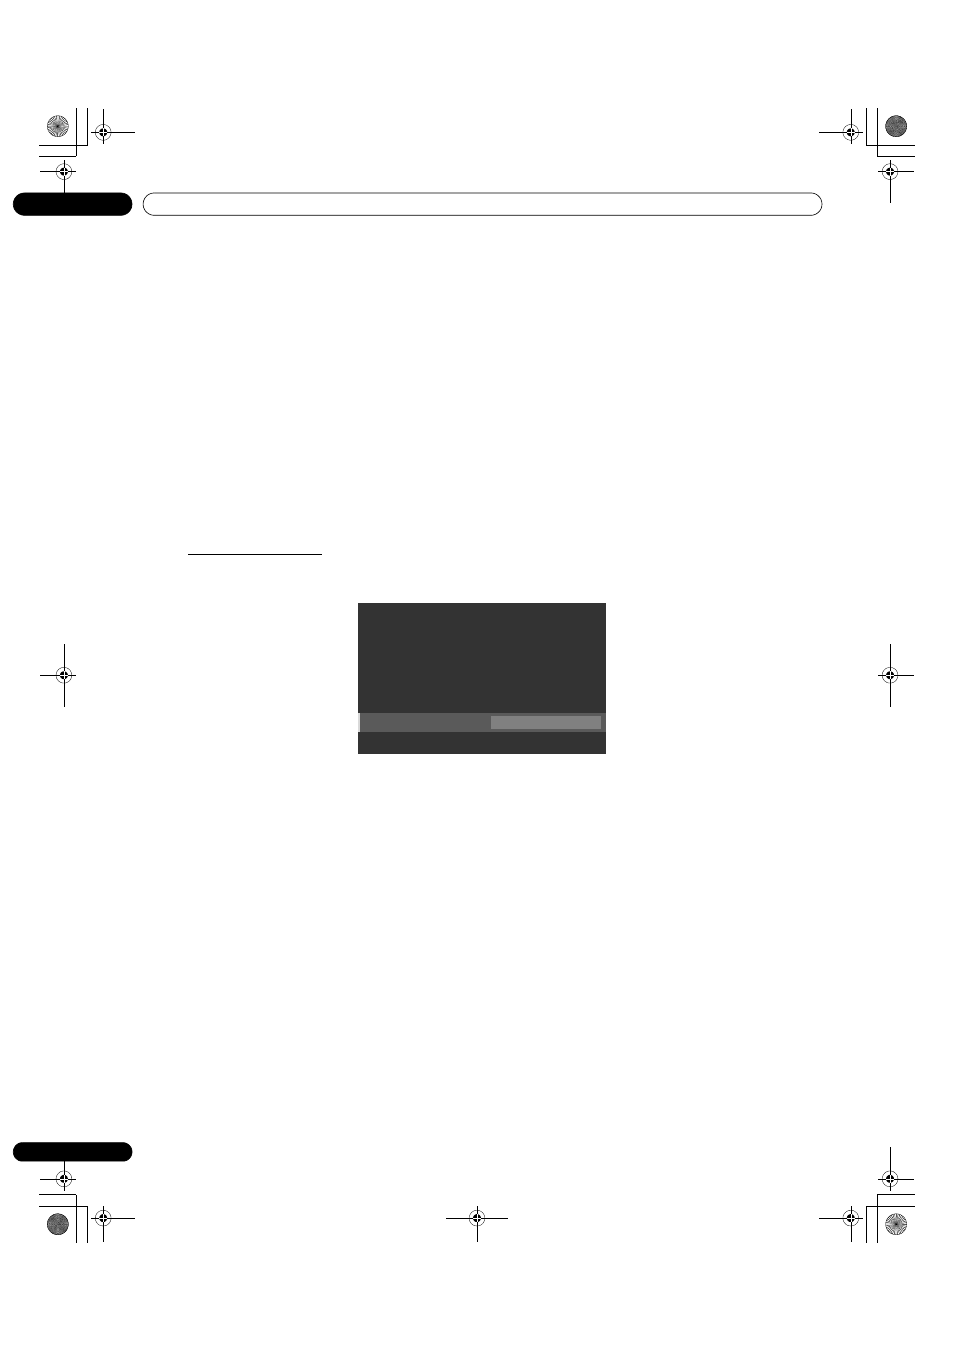
Use the arrow buttons to highlight an option then press ENTER.
Language :
English
Input Priority
:
Off
Blue LED Dimmer
:
Low
Orbiter :
Off
Video Pattern
:
Off
Long Life Settings
:
No
Room Light Sensor
:
Off
PIP Detect
:
Auto
KRP-600M_500M.book Page 28 Tuesday, May 13, 2008 12:47 PM