Using other functions 13, Reducing the level of an analog signal, Using the sleep timer – Pioneer SC-LX81 User Manual
Page 97: Dimming the display
Using other functions
13
97
En
1
Select the source you want to record.
Use the input source buttons (or
INPUT SELECT).
• If necessary, set the operation selector switch to
RCV,
then press
SIGNAL SEL to select the input signal
corresponding to the source component (see
Choosing the input signal on page 38 for more on
this).
2
Prepare the source you want to record.
Tune to the radio station, load the CD, video, DVD etc.
3
Prepare the recorder.
Insert a blank tape, MD, video etc. into the recording
device and set the recording levels.
Refer to the instructions that came with the recorder if
you are unsure how to do this. Most video recorders set
the audio recording level automatically—check the
component’s instruction manual if you’re unsure.
4
Start recording, then start playback of the source
component.
Reducing the level of an analog signal
The input attenuator lowers the input level of an analog
signal when it’s too strong. You can use this if you find
that the
OVER indicator lights often or you can hear
distortion in the sound.
1
•
Set the operation selector switch to RCV, then press
A.ATT to switch the input attenuator on or off.
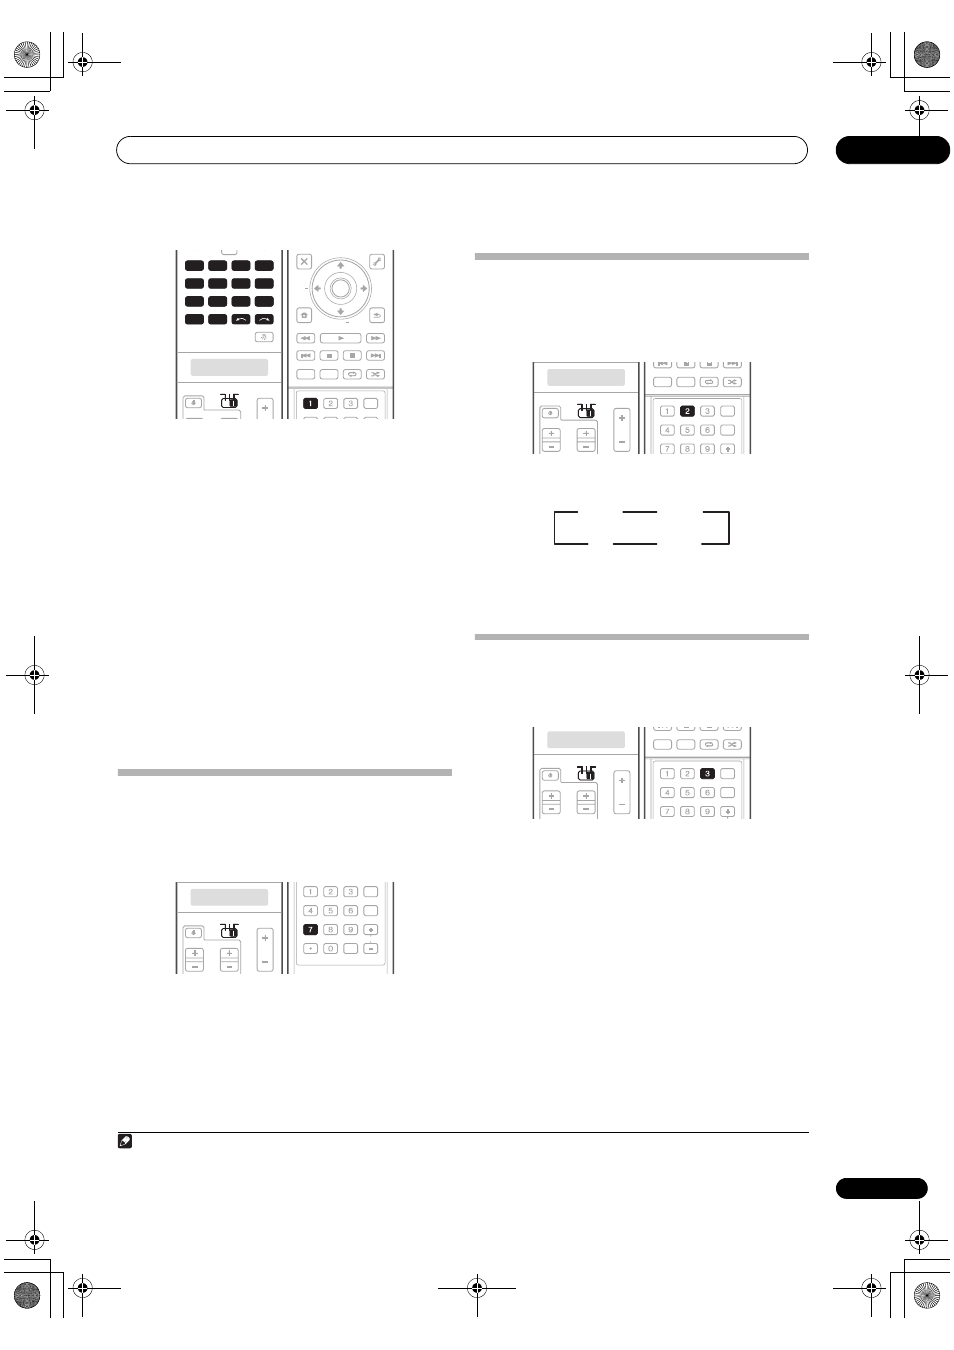
Using the sleep timer
The sleep timer switches the receiver into standby after a
specified amount of time so you can fall asleep without
worrying about the receiver being left on all night. Use
the remote control to set the sleep timer.
•
Set the operation selector switch to RCV, then press
SLEEP repeatedly to set the sleep time.
• You can check the remaining sleep time at any time
by pressing
SLEEP once. Pressing repeatedly will
cycle through the sleep options again.
2
Dimming the display
You can choose between four brightness levels for the
front panel display. Note that when selecting sources, the
display automatically brightens for a few seconds.
•
Set the operation selector switch to RCV, then press
DIMMER repeatedly to change the brightness of the
front panel display.
Note
1 The attenuator isn’t available with digital sources, or when using the Stream Direct (ANALOG DIRECT) modes.
DVD
MULTI
OPERATION
SOURCE
TV
RCV
VIDEO1
GALLERY
HOME MEDIA
CD
HDMI
VOL
VOL
CH
TUNER
PHONO
VIDEO2
VIDEO3
DVR2
BD
TV
DVR1
CD-R
INPUT SELECT
DVD
VIDEO1
GALLERY
HOME MEDIA
CD
HDMI
TUNER
PHONO
VIDEO2
VIDEO3
TV
BD
DVR1
DVR2
CD-R
SOURCE
TV
RCV
PARAMETER
TOP MENU
BAND
iPod CTRL
EXIT
TOOLS
HOME
MENU
STATUS
THX
MPX
PHASE CTRL
CH LEVEL
MENU
T.EDIT
PARAMETER
PGM
STEREO/
A.L.C.
BD MENU
SIGNAL SEL SLEEP
AUDIO
DIMMER
SR+
SBch
MCACC
AUTO/
DIRECT
STANDARD ADV SURR
RETURN
PTY
SEARCH
EON
TUNE +
TUNE
ST
ST +
SIGNAL SEL
ENTER
SOURCE
TV
RCV
VOL
VOL
CH
SOURCE
TV
RCV
SIGNAL SEL SLEEP
AUDIO
DIMMER
SR+
CLR
SBch
MCACC
A.ATT
GENRE HDMI OUT
D.ACCESS
ENTER
CLASS
DISP
CH
A.ATT
2 You can also switch off the sleep timer simply by switching off the receiver.
SOURCE
TV
RCV
VOL
VOL
CH
SOURCE
TV
RCV
PGM
STEREO/
A.L.C.
BD MENU
SIGNAL SEL SLEEP
AUDIO
DIMMER
SR+
SBch
MCACC
A.ATT
GENRE HDMI OUT
DISP
AUTO/
DIRECT
STANDARD ADV SURR
SLEEP
30 min
60 min
90 min
Off
SOURCE
TV
RCV
VOL
VOL
TVCONTROL
CH
SOURCE
TV
RCV
PGM
STEREO/
A.L.C.
BD MENU
SIGNAL SEL SLEEP
AUDIO
DIMMER
SR+
SBch
MCACC
A.ATT
GENRE HDMI OUT
DISP
AUTO/
DIRECT
STANDARD ADV SURR
DIMMER
SCLX81_71.book Page 97 Monday, June 2, 2008 6:16 PM