The system setup menu, The system setup menu 08, Chapter 8 – Pioneer SC-LX81 User Manual
Page 56: Manual speaker setup
The System Setup menu
08
56
En
Chapter 8:
The System Setup menu
Making receiver settings from the
System Setup menu
The following section describes how to change the
speaker-related settings manually and make various
other settings (input selection, OSD language selection,
etc.).
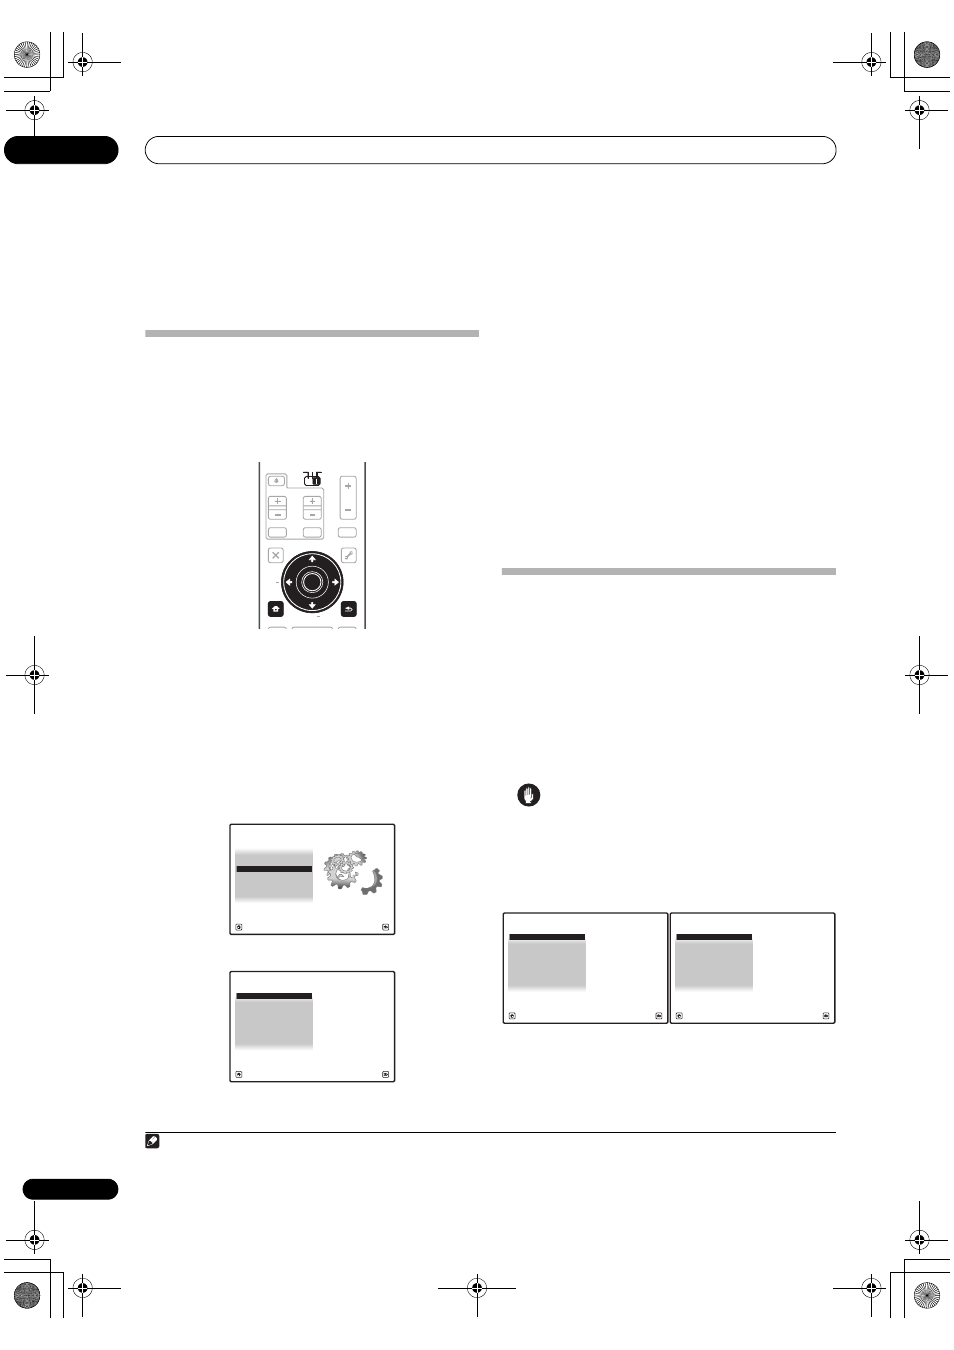
1
Set the operation selector switch to RCV, then press
HOME MENU.
1
An on-screen display (OSD) appears on your TV. Use
/
// and ENTER to navigate through the screens
and select menu items. Press
RETURN to confirm and
exit the current menu.
• Press
HOME MENU at any time to exit the HOME
MENU.
2
Select ‘System Setup’ from the HOME MENU, then
press ENTER.
3
Select the setting you want to adjust.
•
Manual SP Setup – Sets the type of connection used
for surround back terminals and the size, number
distance and overall balance of the connected
speakers (see
Manual speaker setup below).
•
Input Setup – Specifies what you’ve connected to
the digital, HDMI and component video inputs (see
The Input Setup menu on page 90).
•
OSD Language – The OSD’s display language can
be changed (see
Changing the OSD display language
(OSD Language) on page 91).
•
Other Setup – Makes customized settings to reflect
how you are using the receiver (see
The Other Setup
menu on page 92).
Manual speaker setup
This receiver allows you to make detailed settings to
optimize the surround sound performance. You only need
to make these settings once (unless you change the
placement of your current speaker system or add new
speakers).
These settings are designed to customize your system,
but if you’re satisfied with the settings made in
Automatically setting up for surround sound (MCACC &
Full Band Phase Control) on page 9, it isn’t necessary to
make all of these settings.
Caution
• The test tones used in the
Manual SP Setup are
output at high volume.
1
Select ‘Manual SP Setup’, then press ENTER.
See Making receiver settings from
The System Setup
menu above if you’re not already at this screen.
Note
1 You can’t use the
HOME MENU when either the HOME MEDIA GALLERY input source is selected (in either the main or sub zone) or the
headphones are connected. When you set
ZONE 2, ZONE 3 or ZONE 2&3 to ON (page 66), you can’t use the HOME MENU.
AUDIO
PARAMETER
TOP MENU
BAND
iPod CTRL
PTY
SEARCH
EXIT
TOOLS
STATUS
PHASE CTRL
CH LEVEL
MENU
T.EDIT
VIDEO
PARAMETER
SOURCE
TV
RCV
INPUT
MUTE
MUTE
VOL
VOL
TV CONTROL
CH
RETURN
TUNE +
TUNE
ST
ST +
HOME
MENU
RETURN
ENTER
SOURCE
TV
RCV
1. Advanced MCACC
2. MCACC Data Check
3. Data Management
4. System Setup
Exit
Return
HOME MENU
A/V RECEIVER
A/V RECEIVER
Exit
Return
a.Manual SP Setup
b. Input Setup
c. OSD Language
d. Other Setup
4.System Setup
A/V RECEIVER
Exit
Return
a.Manual SP Setup
b. Input Setup
c. OSD Language
d. Other Setup
4.System Setup
1. Surr Back System
2. Speaker Setting
3. Channel Level
4a.Manual SP Setup
4. Speaker Distance
5. X-Curve
6. THX Audio Setting
A/V RECEIVER
Exit
Return
SCLX81_71.book Page 56 Monday, June 2, 2008 6:16 PM