Speaker distance x-curve thx audio setting, The system setup menu 08, Speaker distance – Pioneer SC-LX81 User Manual
Page 59: X-curve, Thx audio setting
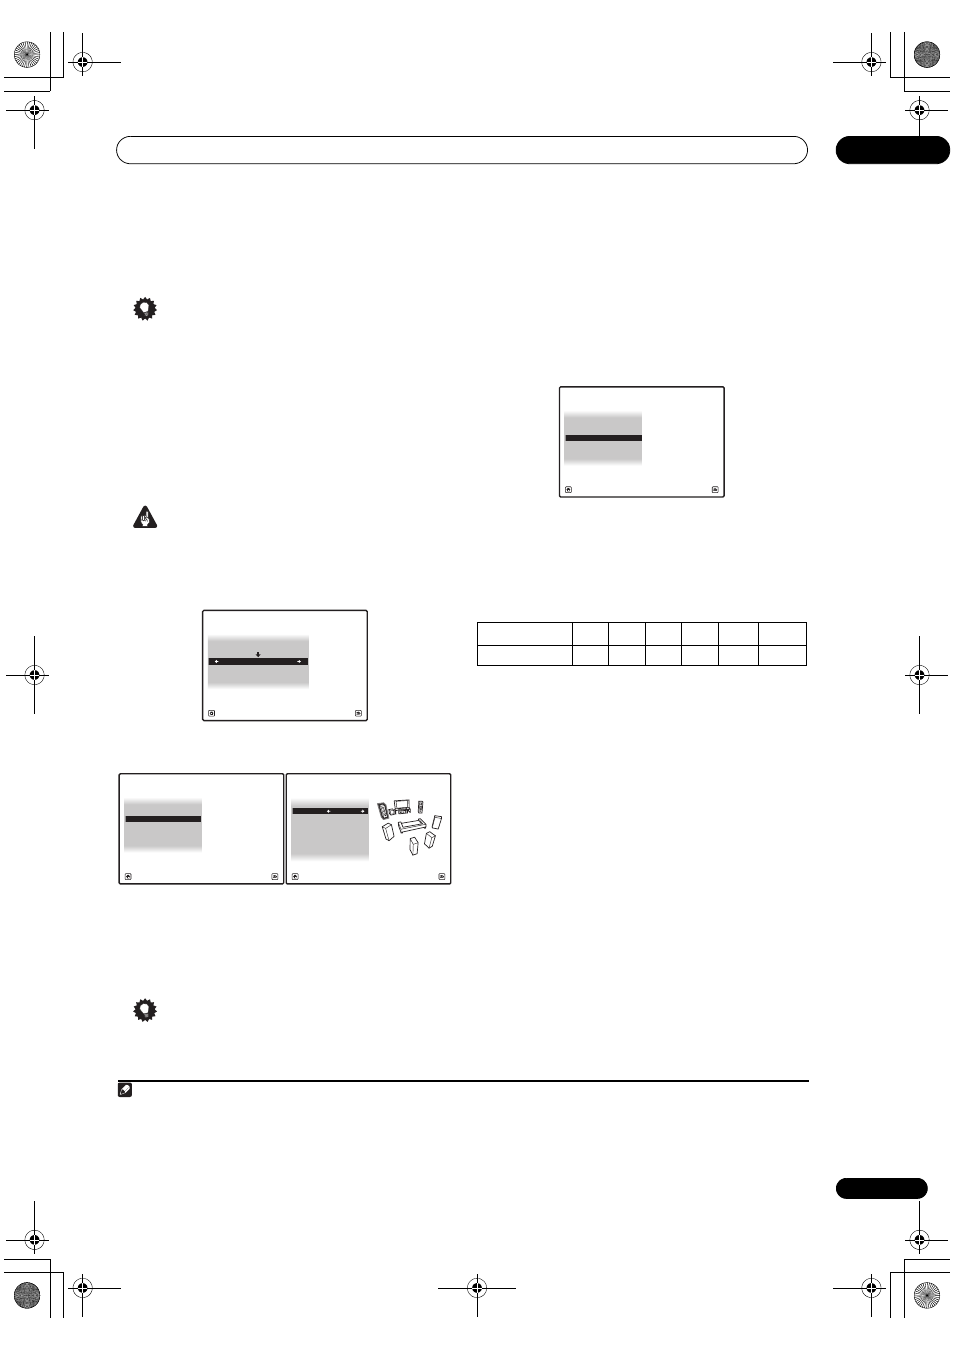
The System Setup menu
08
59
En
5
When you’re finished, press RETURN.
You will return to the
Manual SP Setup menu.
Tip
• The channel level can be changed at any time. Set the
operation selector switch to
RCV, then press CH
LEVEL on the remote control, and then use
/ to
adjust the level.
Speaker Distance
For good sound depth and separation from your system,
you need to specify the distance of your speakers from
the listening position. The receiver can then add the
proper delay needed for effective surround sound.
Important
• When Speaker Distance is selected while
MCACC is
set to
OFF, the selection screen for the MCACC
memory appears. Select a memory to adjust
manually.
1
Select ‘Speaker Distance’ from the Manual SP
Setup menu.
2
Adjust the distance of each speaker using
/.
You can adjust the distance of each speaker in 0.01 m
increments.
3
When you’re finished, press RETURN.
You will return to the
Manual SP Setup menu.
Tip
• For best surround sound, make sure the surround
back speakers are the same distance from the
listening position.
X-Curve
Most soundtracks mixed for cinema sound too bright
when played back in large rooms. The X-Curve setting
acts as a kind of re-equalization for home theater
listening, and restores proper tonal balance of movie
soundtracks.
1
1
Select ‘X-Curve’ from the Manual SP Setup menu.
2
Choose the X-Curve setting you want.
Use
/ to adjust the setting. The X-Curve is expressed
as a downwards slope in decibels per octave, starting at
2 kHz. The sound becomes less bright as the slope
increases (to a maximum of
–3.0dB/oct). Use the
following guidelines to set the X-Curve according to your
room size:
• If you select
OFF, the frequency curve will be flat and
the X-Curve has no effect.
3
When you’re finished, press RETURN.
THX Audio Setting
When the THX Loudness Plus function is used, sound
can be played with the full surround effect even when the
volume is low.
For the most effective results when using the THX Ultra2/
Select2
2
Cinema, THX Ultra2/Select2
2
Music Mode and
THX Ultra2/Select2
2
Games Mode listening modes (see
Using the Home THX modes on page 36) with the
Advanced Speaker Array (ASA) system (see
About THX on
page 122), it is required that you make the setting. See
Placing the speakers on page 26 for more on THX speaker
placement.
3
With some speaker setups, depending on the position of
the subwoofer and the walls in your listening area, you
may experience overly resonant frequencies in the bass.
If you have this problem use the THX Ultra2/Select2
2
subwoofer setup to switch on BGC (boundary gain
compensation) (see
About THX on page 122 for more on
this).
4
A/V RECEIVER
Exit
Cancel
Select MCACC memory.
MCACC OFF
4a4.Speaker Distance
M1.MEMORY 1
1. Surr Back System
2. Speaker Setting
3. Channel Level
4. Speaker Distance
5. X-Curve
6. THX Audio Setting
4a.Manual SP Setup
A/V RECEIVER
Exit
Return
A/V RECEIVER
Exit
Finish
MCACC : M1.MEMORY 1
L :
3.61m
4a4.Speaker Distance
C :
3.69m
R :
3.67m
SBR : 5.77m
SR :
2.74m
SBL : 5.13m
SL :
2.26m
SW : 3.54m
Note
1 Since the principal is the same, X-Curve isn’t applied when you’re using any of the Home THX modes (see
Using the Home THX modes on
page 36).
Room size (m
2
)
≤36
≤48
≤60
≤72
≤300
≤1000
X-Curve (dB/oct)
–0.5
–1.0
–1.5
–2.0
–2.5
–3.0
2 Ultra2 for the SC-LX81, Select2 for the SC-LX71.
3 If you don’t have surround back speakers, or just have one, you won’t be able to select this setting.
4 •
THX Ultra2/Select2 SW can only be selected when SW at Speaker Setting is set to YES or PLUS.
• The BGC setting can only be selected when
THX Ultra2/Select2 SW is set to YES.
4a.Manual SP Setup
A/V RECEIVER
Exit
Return
1. Surr Back System
2. Speaker Setting
3. Channel Level
4. Speaker Distance
5. X-Curve
6. THX Audio Setting
SCLX81_71.book Page 59 Monday, June 2, 2008 6:16 PM