Olympus E-20N User Manual
Page 137
135
8
6
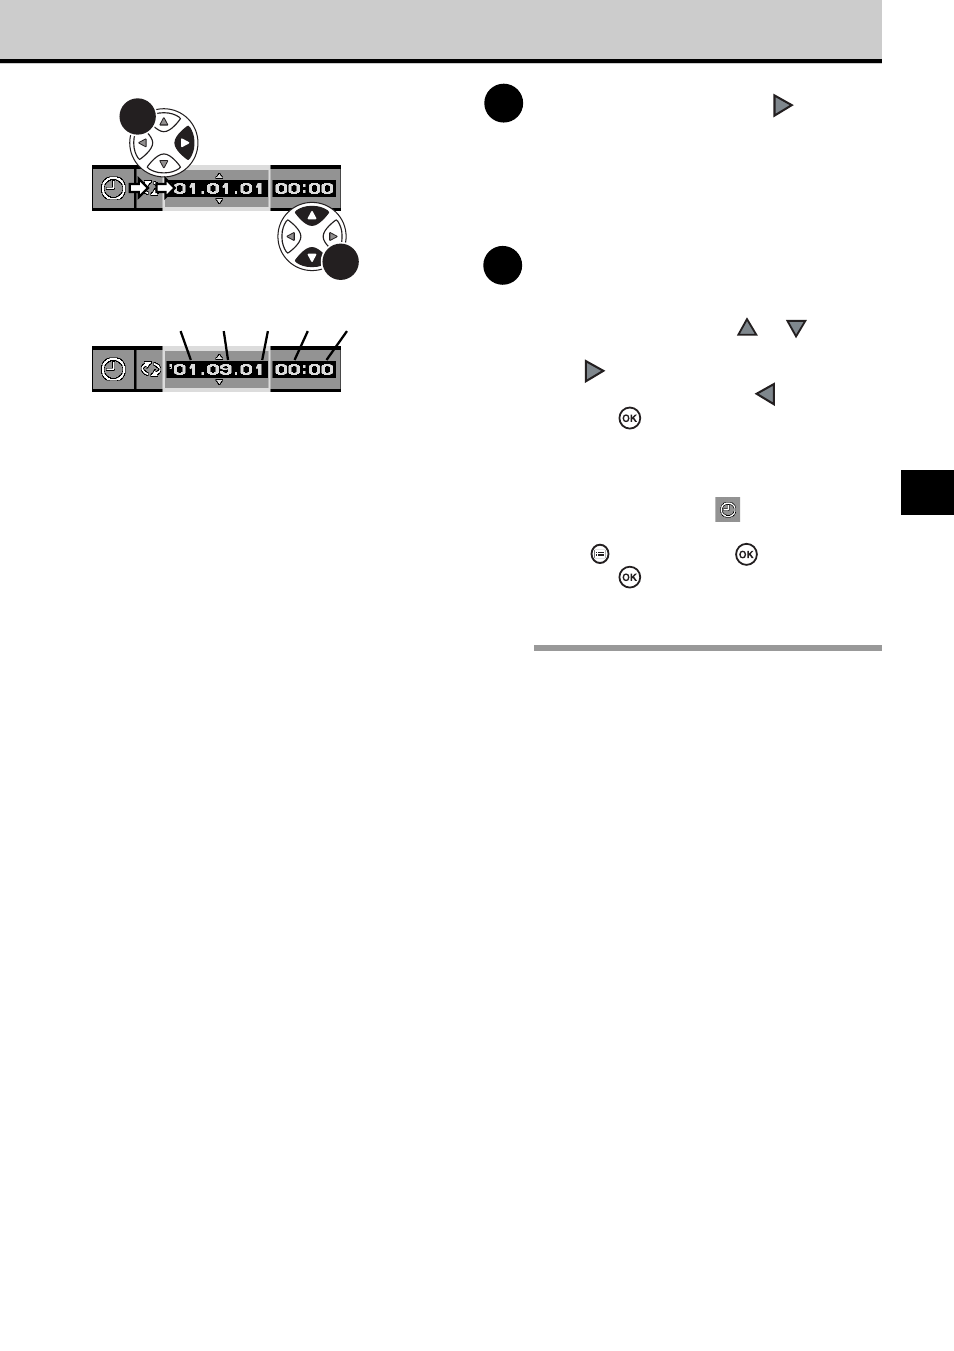
On the arrow pad, press
to move
the green highlight to the date
display.
Two pointers appear above and below the
first setting.
7
Set the year, month, day, hours,
and minutes with 2-digit numbers.
On the arrow pad, press
or
to
increase or decrease the number, then
press
for the next setting. (To return to
the previous setting, press
.)
Press the
button when you finish
settings.
The date format, date, and time are set
and the green highlight moves to the date
and time setting mark
.
(To cancel the setting, press the menu
button
instead of the
button.)
Press the
button again to close the
menu.
Note
• When the image is processed with a graphic
software application on a computer, the
information of image that contains the date
setting is erased, and when you save the
image after processing, you must be careful
not to write over files of the same name.
However, if you use CAMEDIA Master, this
information is not lost after you save the
image.
Year Month Day Hour Min.
6
7
- OM 10 (51 pages)
- D-380 (133 pages)
- C-120 (172 pages)
- Stylus 500 Digital (170 pages)
- Stylus 500 Digital (2 pages)
- Stylus 500 Digital (100 pages)
- D-545 Zoom (138 pages)
- C-480 (100 pages)
- C-480 Zoom (2 pages)
- C-40Zoom (203 pages)
- C-1 Zoom (40 pages)
- TOUGH-3000 EN (83 pages)
- C-50 Zoom (156 pages)
- C-50 (2 pages)
- D-230 (116 pages)
- Stylus Verve (192 pages)
- Stylus Verve (2 pages)
- Stylus Verve (163 pages)
- D-550 Zoom (178 pages)
- C-730 Ultra Zoom (266 pages)
- C-1 (158 pages)
- Stylus Verve S (2 pages)
- Stylus Verve S (124 pages)
- MJU-II Zoom-170 (5 pages)
- Stylus 410 Digital (2 pages)
- Stylus 410 Digital (72 pages)
- Stylus 410 Digital (228 pages)
- E-500 (12 pages)
- E-500 (216 pages)
- C-2500L (31 pages)
- C-2500L (95 pages)
- E-300 (211 pages)
- C-860L (32 pages)
- D-390 (2 pages)
- E-20p (32 pages)
- 3000 (2 pages)
- D-520 Zoom (180 pages)
- C-750 Ultra Zoom (238 pages)
- C-3040 Zoom (40 pages)
- C-5050 Zoom (268 pages)
- C-5050 Zoom (2 pages)
- E-1 (2 pages)
- EVOLT E-300 (1 page)
- E-1 (5 pages)
- E-1 (180 pages)