De-activating an anti-tamper lock, Removing a hard disk drive from a drive carrier, De-activating – Lenovo Secure Managed Client User Manual
Page 29: Anti-tamper, Lock, Removing, Installing, Hard, Disk, Drive
Note:
Do
not
turn
the
lock
more
than
half
a
turn;
otherwise,
the
drive
carrier
may
be
damaged.
3.
Remove
the
screwdriver.
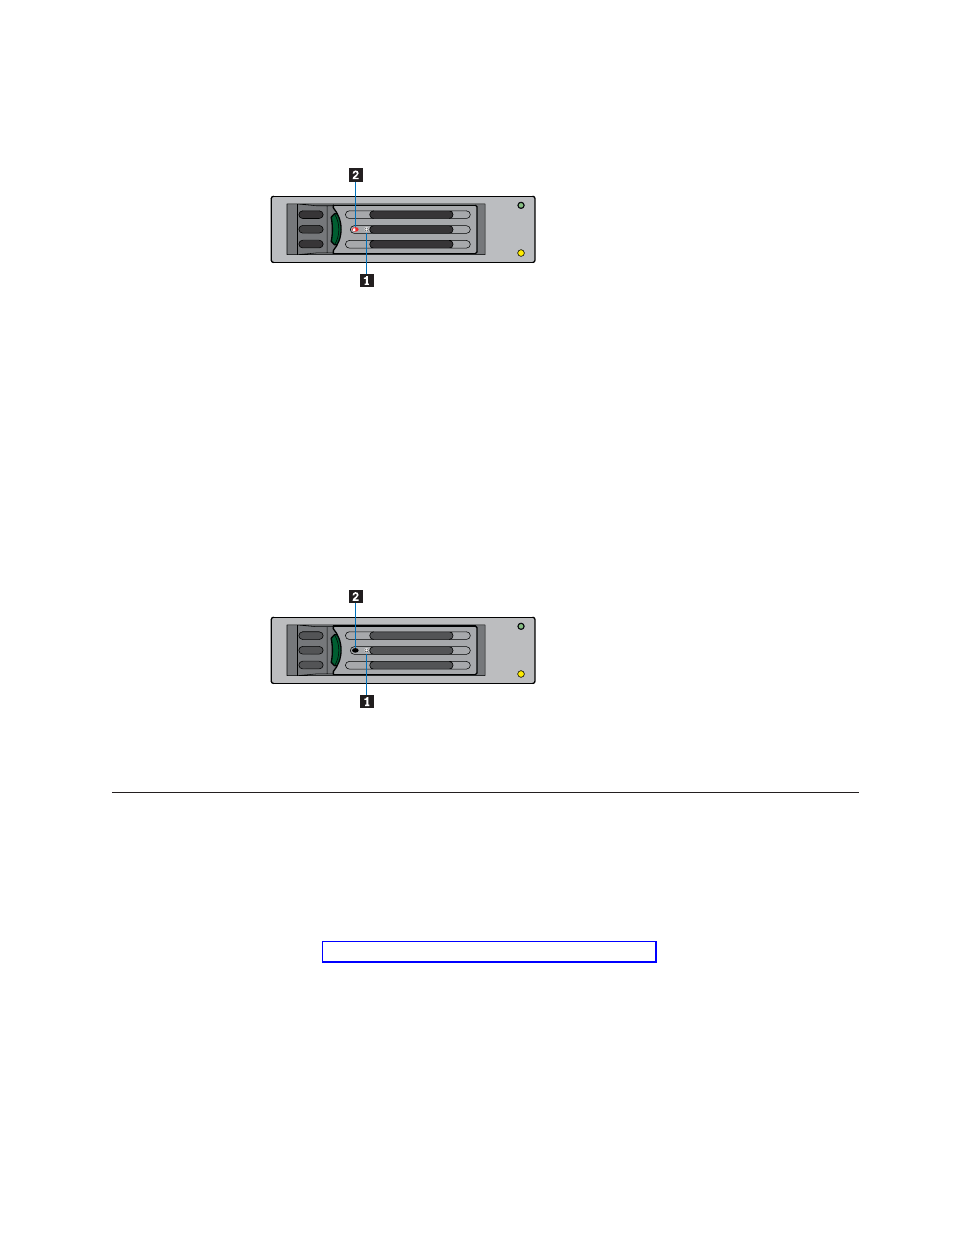
De-activating
an
anti-tamper
lock
To
deactivate
an
anti-tamper
lock,
do
the
following:
1.
Carefully
insert
the
TORX*
screwdriver
provided
into
the
cutout
in
the
handle
(see
1
in
the
following
figure).
2.
Turn
the
screwdriver
in
a
counter-clockwise
direction
until
the
lock
symbol
is
no
longer
visible
in
the
opening
beside
the
key
(see
2 ).
Note:
Do
not
turn
the
lock
more
than
half
a
turn;
otherwise,
the
drive
carrier
may
be
damaged.
3.
Remove
the
screwdriver.
Removing
and
installing
a
hard
disk
drive
into
a
drive
carrier
To
remove
and
install
a
hard
disk
drive
into
a
drive
carrier,
do
the
following:
Removing
a
hard
disk
drive
from
a
drive
carrier
To
remove
a
hard
disk
drive
from
a
drive
carrier,
do
the
following:
1.
Observe
all
safety
and
ESD
precautions
in
the
Safety
and
Warranty
Guide.
2.
See
for
instructions
on
removing
a
drive
carrier
from
a
drive
bay.
3.
Remove
the
four
screws
securing
the
hard
disk
drive
to
the
drive
carrier
(see
1
in
the
following
figure).
Lift
the
hard
disk
drive
out
of
the
drive
carrier.
Figure
21.
Activating
an
anti-tamper
lock
Figure
22.
Deactivating
an
anti-tamper
lock
Chapter
3.
Hardware
installations
and
upgrades
21