Removing and installing a drive carrier module, Removing a drive carrier module, Removing – Lenovo Secure Managed Client User Manual
Page 25: Installing, Drive, Carrier, Module, Re-installing, Enclosure, Cover
Removing
and
installing
a
drive
carrier
module
To
remove
and
install
a
drive
carrier
module,
do
the
following:
CAUTION:
Observe
all
conventional
ESD
precautions
when
handling
modules
and
components.
Avoid
contact
with
backplane
components
and
module
connectors.
Removing
a
drive
carrier
module
To
remove
a
drive
carrier
module,
do
the
following:
Attention:
Drive
spin
down
-
Damage
can
occur
to
a
drive
if
it
is
removed
while
still
spinning.
If
possible,
use
the
operating
system
to
spin
down
a
drive
prior
to
its
removal.
If
not
possible,
perform
all
steps
of
the
following
procedure
to
ensure
that
the
drive
has
stopped
spinning
prior
to
removal.
Important:
Dummy
drive
carrier
modules
must
be
installed
in
all
unused
drive
bays.
There
will
be
inadequate
drive
cooling
if
any
dummy
modules
are
not
installed.:
1.
Observe
all
safety
and
ESD
precautions
in
the
Safety
and
Warranty
Guide.
2.
See
for
instructions
on
de-activating
the
lock
if
the
lock
as
been
activated
3.
Release
the
carrier
handle
by
pressing
the
latch
in
the
handle
towards
the
handle
hinge.
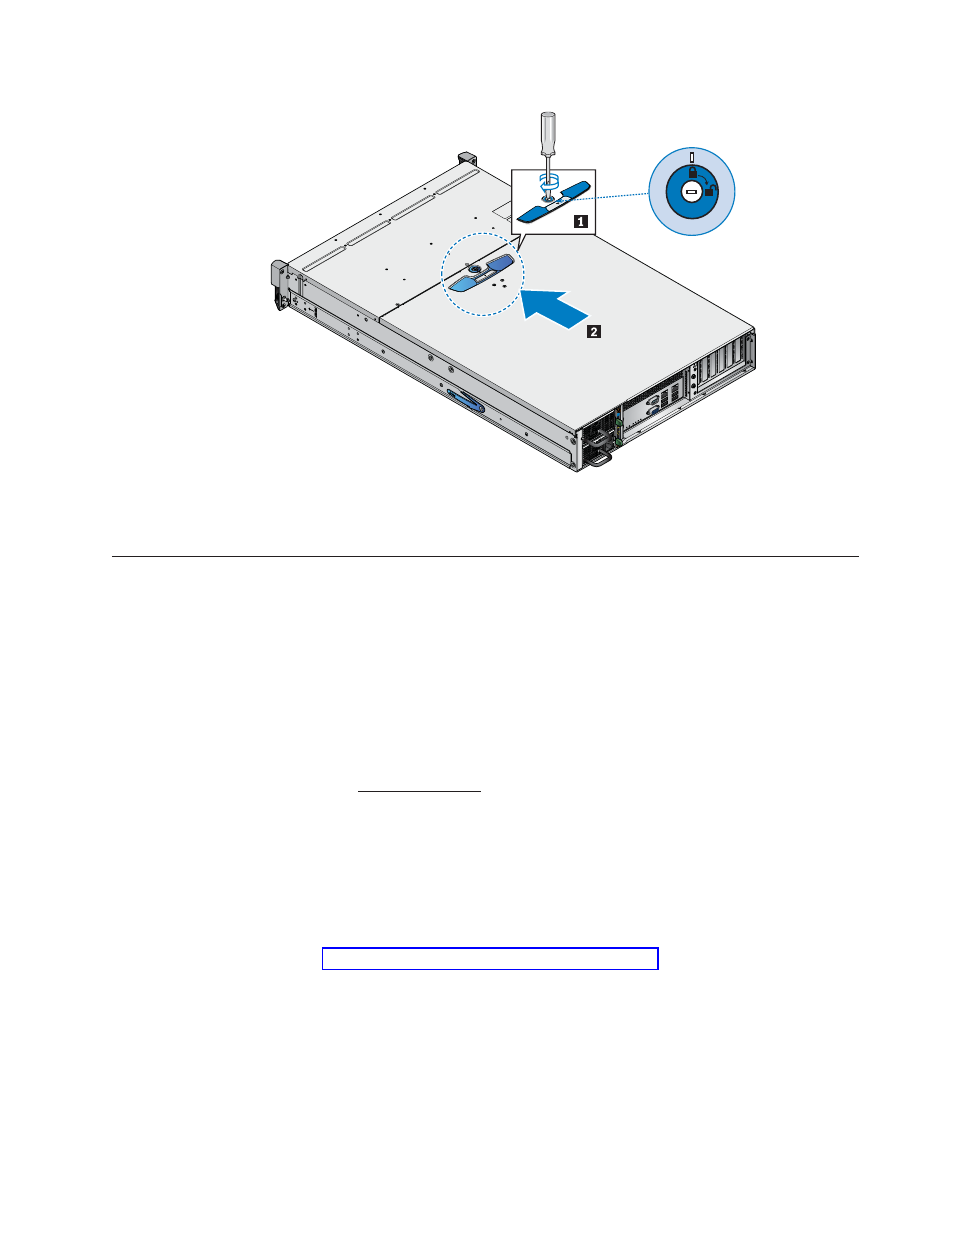
Figure
14.
Re-installing
enclosure
cover
Chapter
3.
Hardware
installations
and
upgrades
17