3 connecting to a pc, 3 connecting to a pc -4 – Cirrus Logic CK4970x4 User Manual
Page 31
Installation, Setup, and Running First Application
CK49x User’s Manual
DS898CK7
Copyright 2012 Cirrus Logic, Inc
3-4
3.1.3 Connecting to a PC
Note:
There is a possibility that the CK49x Evaluation Board may disconnect from the PC during
operation. It is recommended to short across pads of R97 and C203 by the USB connector on
the board to avoid any USB connectivity issues.
Follow these steps, to connect the PC
1. Connect the “B” end of the USB cable to P1 on the CK49x Evaluation System.
2. Connect the “A” end of the USB Cable to a USB 2.0 port on a notebook or PC running Windows XP
.
3. The LCD displays “Wait for USB enumeration…” message first and then shows the board name,”
CK49x”, “USB” which signifies that a USB connection is active, and the MCU firmware revision
number that is currently active.
4. On the PC the “Found new Hardware” message will be displayed and the necessary USB device
drivers will be installed automatically
5. In the system tray an icon called CDM (Cirrus Device Manager) will be running as shown in
.
Caution:
The Cirrus Device Manager must be running in order for the board to operate correctly.
6. The CDM icon stays gray in color until the board is detected. Once the board is detected the icon
.
Figure 3-2. Cirrus Device Manager Icon
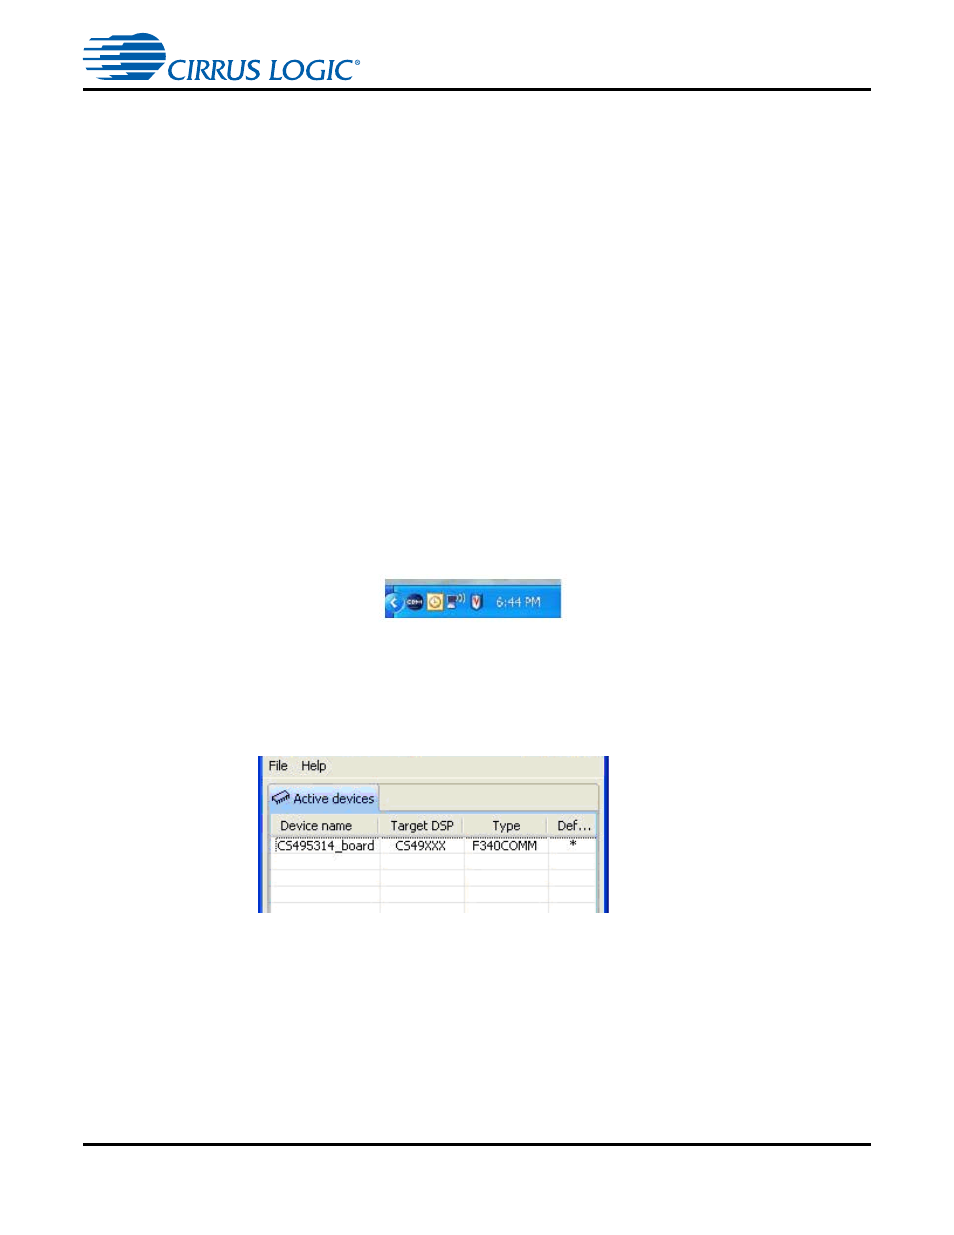
7. Double click on the icon to open up CDM and verify that the board listed is correct. An example with
DC49531 is shown
.
Figure 3-3. Cirrus Device Manager as Displayed after Double-clicking the CDM Icon
3.1.4 Opening a Console Window from the Cirrus Device Manager
1. Double click on the system tray icon to open up CDM
2. Right click on the board that is listed/detected (e.g.: CS495314_board), and click on “Start Console”
menu option, as shown in
.