3 connecting the rs-232 port, Connecting the rs-232 port, Section – Kramer Electronics TP-125EDID User Manual
Page 17: Figure 4
14
TP-121/3/5EDID, PT-110EDID - Your TP-123EDID
If necessary, set the H SYNC and V SYNC switches, on the underside
By default, both switches are set down (for negative V SYNC and H SYNC
polarity).
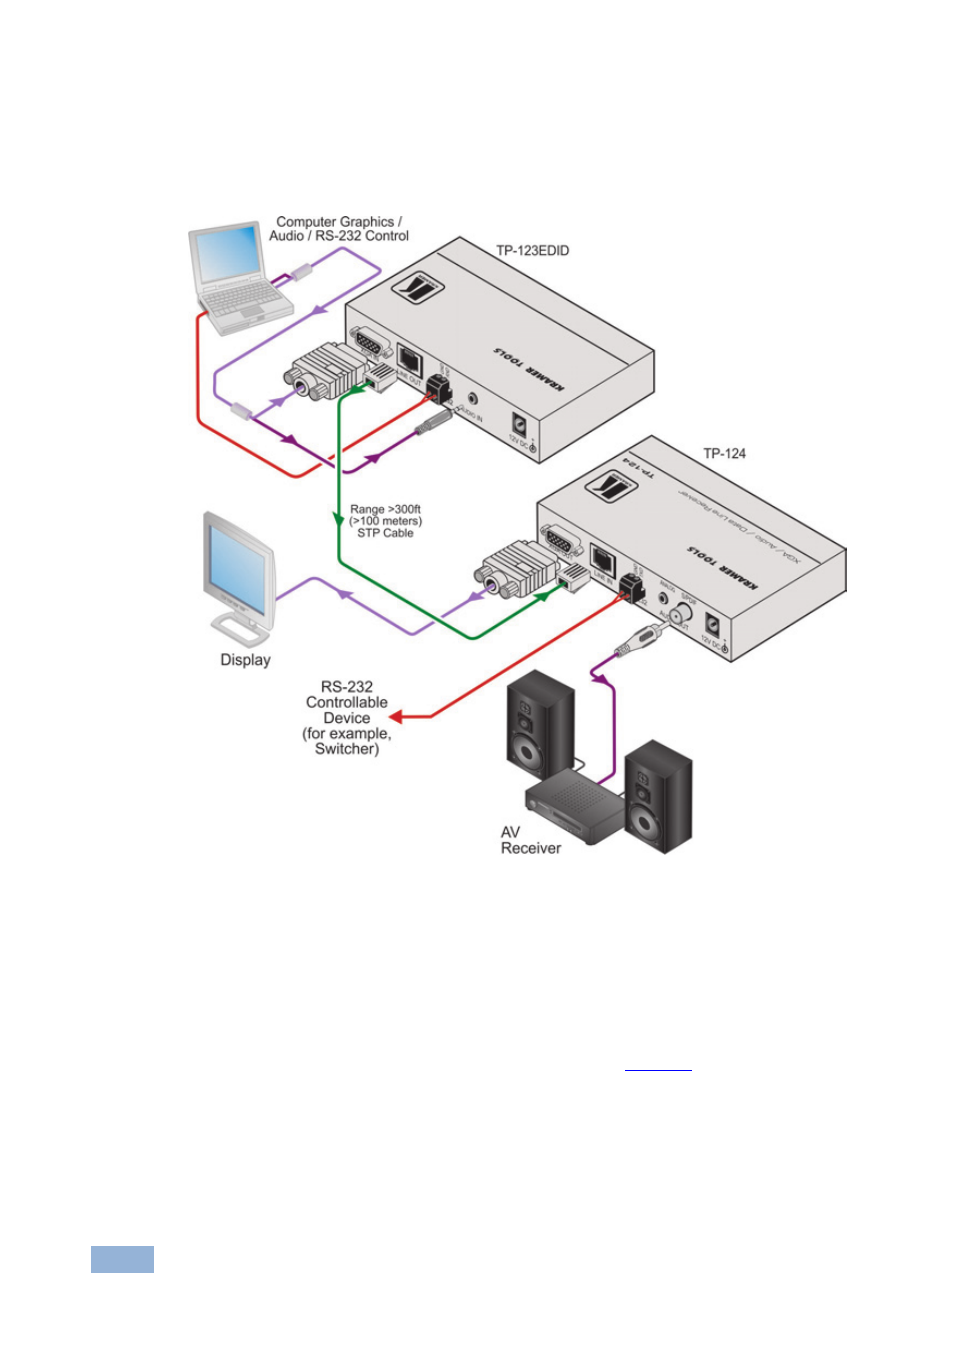
Figure 4: Connecting the TP-123EDID XGA/Audio/Data Line Transmitter
5.3
Connecting the RS-232 Port
To control an RS-232 controllable remote device from a PC or RS-232 controller,
prepare an RS-232 cable with a 9-pin D-sub connector at one end, and a 2-pin
terminal block connector at the other end, as shown in
This manual is related to the following products: