3uso de la encimera vitrocerámica, 2 elección de los recipientes adecuados, 7 general hints on preparing dishes – Fagor 4CF-564V User Manual
Page 8
6
(6
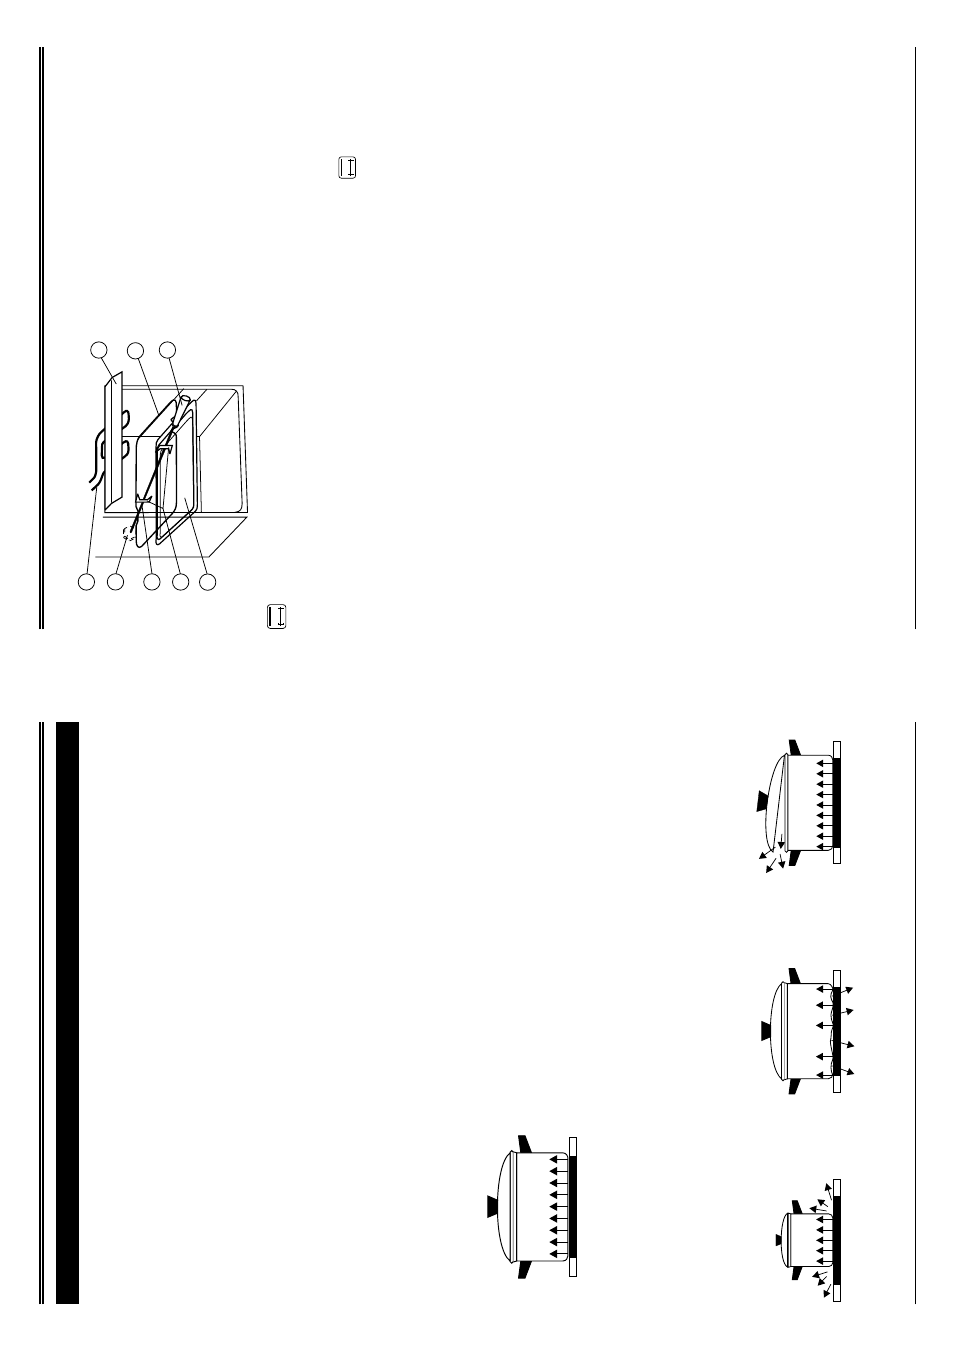
Olla
demasiado
pequeña
Fondo
de
la
olla
deformado
Tapa no ajustada
Fig. 4
3
USO DE LA ENCIMERA VITROCERÁMICA
3
.1
REGLAS GENERALES DE USO DE LA ENCIMERA VITROCERÁMICA
•
Evitar caídas de objetos duros sobre la encimera ya que esta podría romperse.
•
No rascar la superficie con puntas agudas de recipientes u objetos.
•
La superficie de la encimera es resistente pero puede rayarse. Por ello es
aconsejable no rozar las ollas sino levant
arlas al mover
.
•
Los recipientes deben colocarse en medio del círculo de foco marcado.
•
Los focos pueden ponerse en marcha después de haber colocado encima la olla.
No se debe poner en marcha el foco con la olla vacía o con una olla de fondo
deformado; corre el riesgo de avería.
•
En la encimera no pueden prepararse alimentos en lámina de aluminio o en
recipientes de plástico; tampoco se debe colocar objetos de plástico.
3.2
ELECCIÓN DE LOS RECIPIENTES ADECUADOS
•
La selección de los recipientes adecuados es una de las condiciones del buen
funcionamiento de la encimera vitrocerámica.
•
Las ollas deben tener fondos gruesos, planos y secos con diámetro igual o mayor
que el del foco. Si el diámetro del fondo de la olla es menor que el del foco, parte del
calor no se aprovecha.
!Correcto!
•
Poco consumo de energía
•
Buena conducción de calor
-
ollas planas
-
diámetro del fondo igual al del foco
-
tapa bien ajustada
Fig. 3
•
La superficie del fondo deformada aumenta el tiempo de cocción y el consumo de
energía eléctrica.
!Incorrecto!
•
Mucho consumo de energía
•
Mala conducción de calor
•
Largo tiempo de cocción
USO DE LA ENCIMERA VITROCERÁMICA
11
*%
Fig. 13
1 - grill heater
2 - roasting-spit drive
3 - forks
4 - spit
5 - baking tray
6 - roasting-spit frame
7 - knob protection screen
8 - handle
OVEN
3
4
5
6
7
8
1
2
4
.7
GENERAL HINTS ON PREPARING DISHES
4.7.1
HINTS ON OPERATING THE OVEN
•
When the red pilot lamp goes off, it means the oven reached the temperature
required. If beside the baking tray delivered with cooker you use other baking tins,
they shall be placed in the centre of the wire shelf.
•
When selecting the temperature of baking, consider the following rules:
Dough rolled out to thin cake - high power
, short baking time.
Thick and liquid dough - lower power
, longer baking time.
•
In order to check if the baking is ready
, a few minutes before switching of
f the oven,
a wooden rod should be put into the cake; if pastry does not stick to the rod - the
baking is ready
.
After the baking, the cake should be preferably left in the oven for
approximately 5 more minutes.
4.7.2
BAKING/ROASTING IN THE OVEN
Conventional baking/roasting shall use upper and lower heaters and specific temperature.
A dish may be put into oven immediately after the indicator
lamp goes off.
Y
ou may prepare any dish in the oven
compartment.
Meat may be roasted on the baking
tray or on the wire shelf with baking tray used to
catch
dripping fat.
WHEN YOU BAKE/ROAST IN THE OVEN, OBSERVE THE FOLLOWING RULES
Keep proper temperature of roasting!
Roasting temperature is mainly dependent of the type and size of meat.
T
ypically
, the
roasting temperature is form 200 to 250
0
C.
Below
,
T
ables 2 and 3 summarize approximate cooking timings for dough and meat.
These are indicative values, which in practice may vary up or down. They depend on the
pots used, their shapes and sizes and on the browning you prefer
.
UPPER HEATER TURNED ON
The function enables slower roasting of the food on the rotating spit; recommended
for grilling sausages. When operating the oven accomplish the same steps as in
previous point but the function selector knob turn to position
.