Choosing images to print, Print (dpof) mark – Sony DSC-W1 User Manual
Page 69
model name1[DSC-W1/W12]
[3-091-535-11(1)]
filename[Z:\#Camera#\DSCW1\3091535111DSCW1U2\10adv.fm]
masterpage:Right
69
S
till i
m
ag
e editing
Choosing images to
print
— Print (DPOF) mark
You can mark still images shot with your
camera that you want to have printed. This
function is convenient when you have
images printed at a shop or using a printer
that conforms with the DPOF (Digital Print
Order Format) standard or a PictBridge
compliant printer.
•
You cannot mark movies.
•
When you mark images shot in Multi Burst
mode, all the images are printed on one sheet
divided into 16 panels.
•
You cannot set the number of prints.
In single-image mode
a
Set the mode dial to
.
b
Display the image you want to
mark with
b
/
B
.
c
Press MENU.
The menu appears.
d
Select
(DPOF)
with
b
/
B
,
then press
z
.
The
mark is marked on the
displayed image.
e
To continue and mark other
images, display the desired
image with
b
/
B
, then press
z
.
To unmark the
mark
Press z again in step 4 or 5. The
mark disappears.
In index (nine-image/
sixteen-image) mode
a
Set the mode dial to
, then
press
(index) to display the
index (nine-image) screen.
Press
(index) twice to display a
sixteen-image index screen.
b
Press MENU.
The menu appears.
c
Select
(DPOF)
with
B
, then
press
z
.
d
Select [Select] with
b
/
B
, then
press
z
.
•
You cannot mark the
mark in [All In
This Folder].
e
Select the image you want to
mark with
v
/
V
/
b
/
B
, then press
z
.
The green
mark appears on the
selected image.
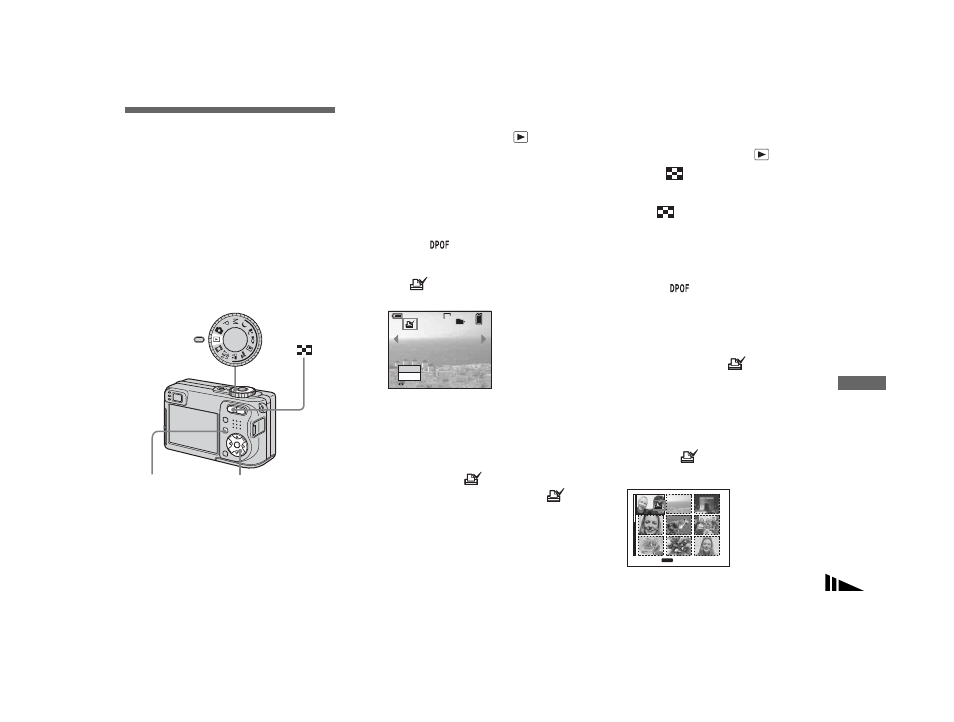
Mode dial
Control button
MENU
VGA
101
2/9
DPOF
Exit
BACK/NEXT
TO NEXT
MENU
•
SELECT