On the map – Nikon AW120 User Manual
Page 115
85
U
sin
g
Locati
on Data Fu
nc
ti
o
n
s/
D
isp
la
y
in
g
Ma
p
s
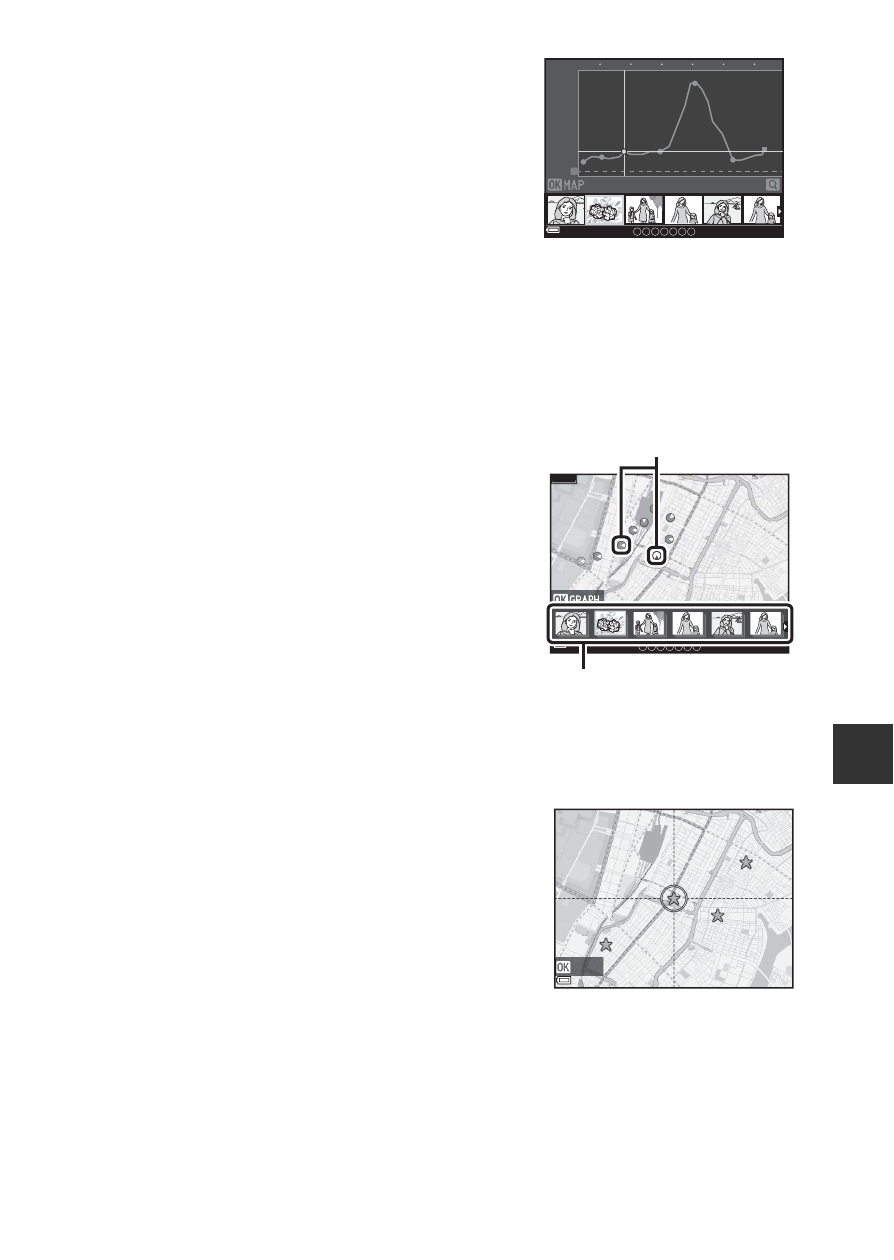
• The following operations can be performed
when you press the
k button while
thumbnails are displayed.
- Scroll map: Return to the map display screen
- Altitude/depth logs: Display the altitude
log or water depth log graph (
A88) when
you play back images shot while the altitude
log or water depth log was recorded using
Create log (
A88).
- Save location: Save the shooting location of
the image displayed as a location.
- Center on saved location: Move the map
by selecting a location you have saved
(
A85). You can cancel a location you have saved.
• The image shooting location and a rough
direction are indicated by
C
on the map (
C
indicates north), and the selected image is
highlighted in yellow.
• Press the multi selector JK to select the
image.
• Operate the zoom control toward g (i) to
enlarge the image. Operate the zoom control
toward
f (h) to return to the map display.
C
Notes About Saving Locations
You can save up to 30 locations.
• When you select Center on saved location, the
map scrolls to the closest saved location from the
center of the screen.
• Use the multi selector HIJK to move to other
saved locations.
• Press the l button to cancel a location.
• When you press the k button, the monitor
display returns to the previous screen.
m / time
0
10
20
30
40
50
60
20
40
60
80
100
0
Altitude log or water
depth log
Graph display
Image shooting location
and direction
Thumbnail display
500m
MAP