Installing a switch in a rack – Allied Telesis AT-GS900/8E User Manual
Page 39
AT-GA900/8 and AT-GA900/8E Gigabit Ethernet Switches Installation Guide
39
Installing a Switch in a Rack
To install the AT-GS900/8 or AT-GS900/8E switch in a rack, perform the
following procedure:
1. If attached, remove the rubber feet using a flat-head screwdriver.
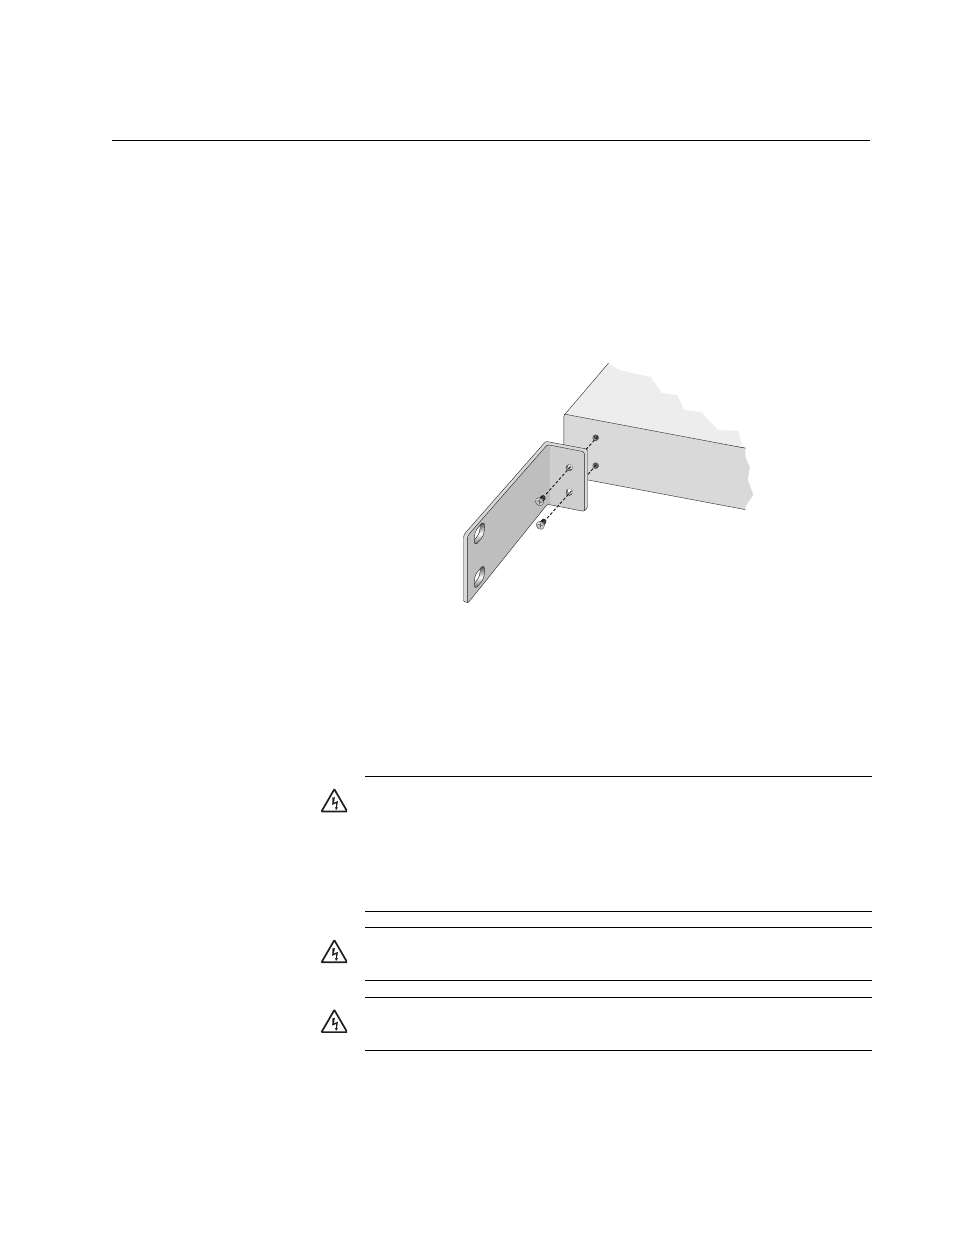
2. Install a bracket on one side of the switch using a Phillips screwdriver
and two of the rack-mount screws included with the switch, as shown
in Figure 14.
Figure 14. Attaching the Rack-Mount Bracket
3. Repeat step 2 to attach the remaining bracket to the other side of the
switch.
4. Mount the switch in a 19-inch rack using appropriate screws (not
provided).
Warning: To prevent electric shock, do not remove the cover. No
user-serviceable parts inside. This unit contains hazardous
voltages and should only be opened by a trained and qualified
technician. To avoid the possibility of electric shock, disconnect
electric power to the product before connecting or disconnecting
the LAN cables.
3
Warning: Do not work on equipment or cables during periods of
lightning activity.
4
Warning: Power cord is used as a disconnection device. To de-
energize equipment, disconnect the power cord.
5