Campbell Scientific Sentek TriSCAN® Manual v 1.2a User Manual
Page 41
TriSCAN Manual Version 1.2a
Copyright © 1991 – 2004 Sentek Pty Ltd All rights reserved
Page 34
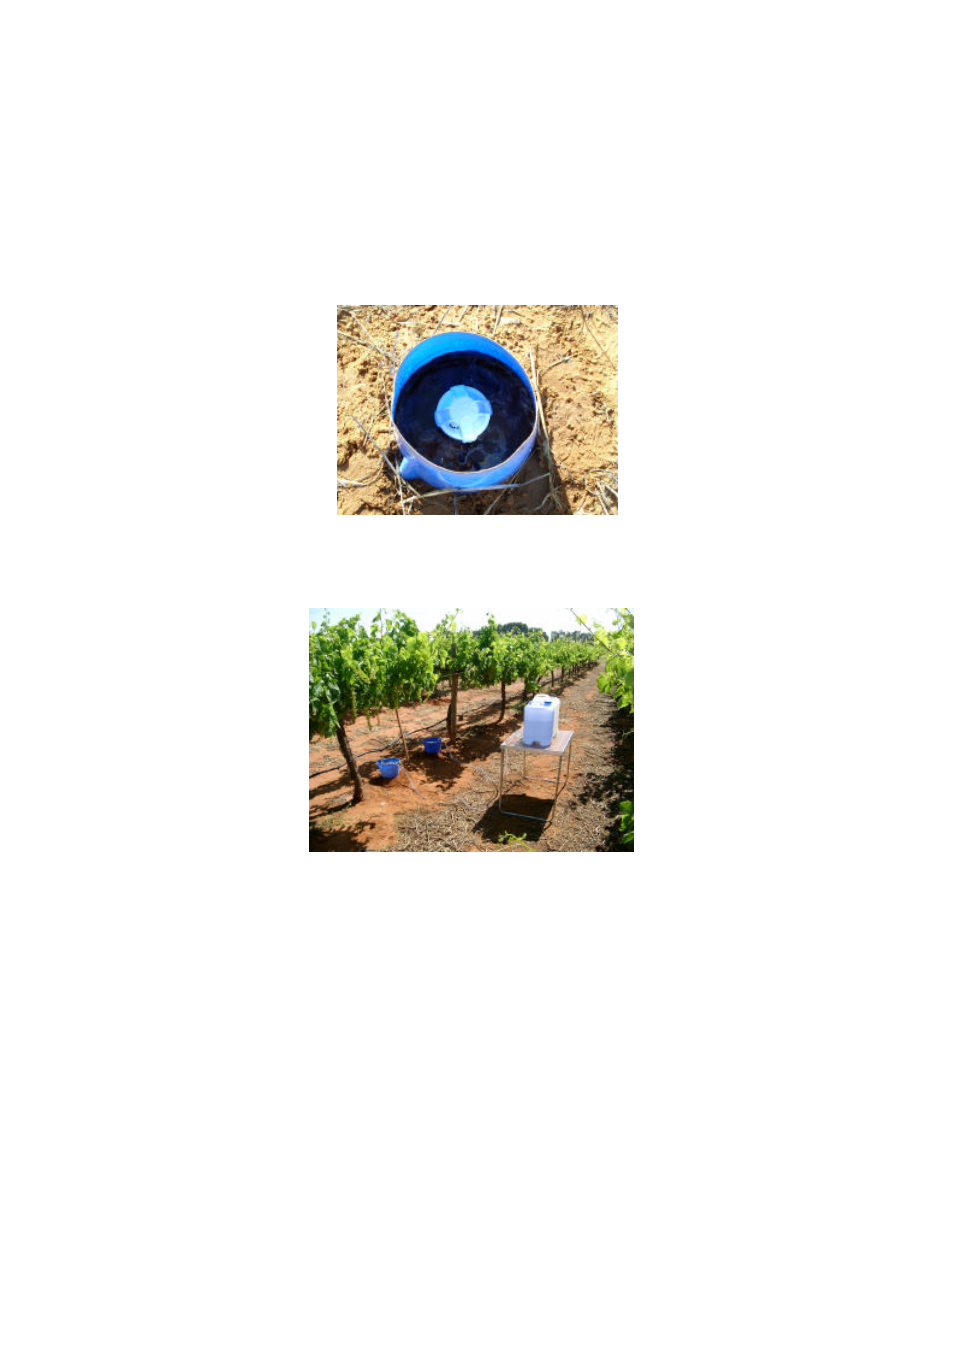
Step 3
Place a drum or bucket with the bottom cut out around each probe, with the base buried slightly to minimize
lateral movement of water. Add 25 litres of normal irrigation water (low EC) around one probe (Probe 1 -
P1). Apply this in stages so that there is no overflow and such that it is continuous, with no air infiltration.
Add 25 litres of irrigation water mixed to 5-10 dSm
-1
, with NH
4
NO
3
fertilizer, to the other probe (Probe 2 -
P2). Only 1-2 cups of fertilizer are required for this volume of water (depending on N content). This amount
added should be sufficient that the wetting front moves past the bottom sensor. The soil moisture reading
from the TriSCAN should be used to check this. A greater volume can be added to each treatment if this
proves insufficient.
If the infiltration rate is slow, then use elevated water containers with fitted taps and drain the water to each
probe adjusting the flow so that the head of water remains at a steady state (as illustrated).
Step 4
Allow the soil to drain for 24 - 48 hours depending on infiltration rate.
Place the TriSCAN probe into the low EC treatment access tube. Allow the probe to continue logging for 10
minutes with the logging interval set to one minute. Then insert the probe into the high EC treatment access
tube and record 10 readings at 1 minute intervals. Record the times at which you make these probe
movements for alignment of the data. If your data logger requires more time to fully inquire of the probe,
then set this collection time to a minimum not greater than 10 minutes. Check the data collection. Record the
average for each depth of these final VIC and moisture values for the two treatments.
Step 5
Take 3 soil samples (1-2 cups each) per sensor depth around each access tube.
Be accurate with taking soil samples at exactly the depths required. For example, when collecting for the 30
cm depth, auger down to 25 cm and remove 2 cups of soil not exceeding a depth of 35 cm. Collect soil
samples from immediately adjacent to the access tube. Make sure that no topsoil falls into the augered
hole. Place soil samples into a plastic sealable plastic bags. Note on the bag the location of bench marking,
EC treatment, depth level, replicate and collection date.