Step 3 – getting the configuration from the probe, Step 4 – changing the sensor depths – Campbell Scientific Sentek TriSCAN® Manual v 1.2a User Manual
Page 20
TriSCAN Manual Version 1.2a
Copyright © 1991 – 2004 Sentek Pty Ltd All rights reserved
Page 13
Step 3 – Getting the configuration from the probe
To detect the probe configuration, click on the Auto-detect Sensors button. This will automatically detect all
the sensors on the probe. After the sensors are detected the configuration information will be displayed in
the list.
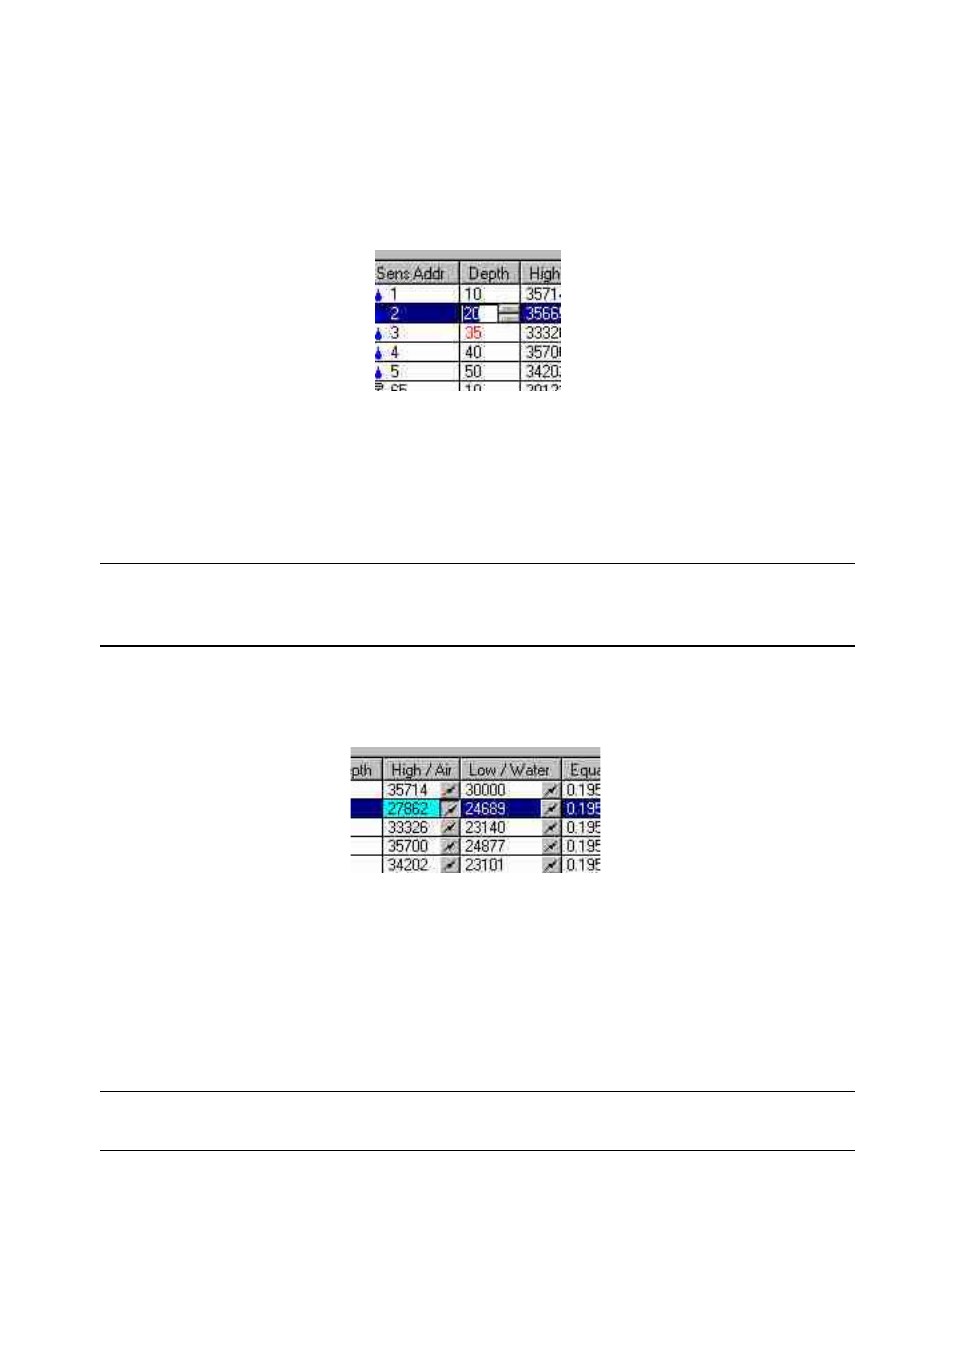
Step 4 – Changing the sensor depths
1. Click on the sensor depth when it is selected and it will go into edit mode as shown above.
2. Type the new depth or use the up/down arrows to increase or decrease the depth value 10 units at
a time. The minimum allowable depth is 5.
3. To accept the new depth, click outside the cell or press Enter. The new depth will not be set in the
probe’s configuration until you use the Write to Probe button. If you want to discard the changes,
press Escape and the depth will change back to the old value.
Note:
The depth number is not associated with any units and is just a stored value for informative purposes.
Therefore the value may mean "inch", "cm", etc.
Step 5 – Normalizing the sensor air and water counts
The effective range of each sensor needs to be set between a high and low value. To achieve this each
sensor is normalized under identical conditions.
To normalize the air counts:
1. With the probe inside an access tube and held in the air, click on the buttons in the “High / Air”
column one at a time to start direct sensor reading. Ensure that the probe is held well away from
any objects when obtaining the air counts.
2. Wait for a few seconds at each sensor while the reading stabilizes before clicking on the next one.
To normalize the water counts:
1. Insert the probe into the tube in the normalization container filled with reverse osmosis (RO) water
(EC less than 300µScm
-1
), so that the sensor that you wish to take the water counts from is in the
centre of the tube.
Note:
The water in the normalisation container must be RO water for TriSCAN sensors, as other water supplies
may contain ions that affect the reading of the sensor.
2. Click the button in the “Low / Water” column that refers to that sensor to start direct sensor reading
mode. Wait until the reading stabilizes and the value displayed is updated. To accept the new water
count value click the button again to stop direct sensor reading.