Setting up pc communication ports – Vaisala Spectrum 4.0 User Manual
Page 23
Veriteq Spectrum 4.0 User’s Guide
17
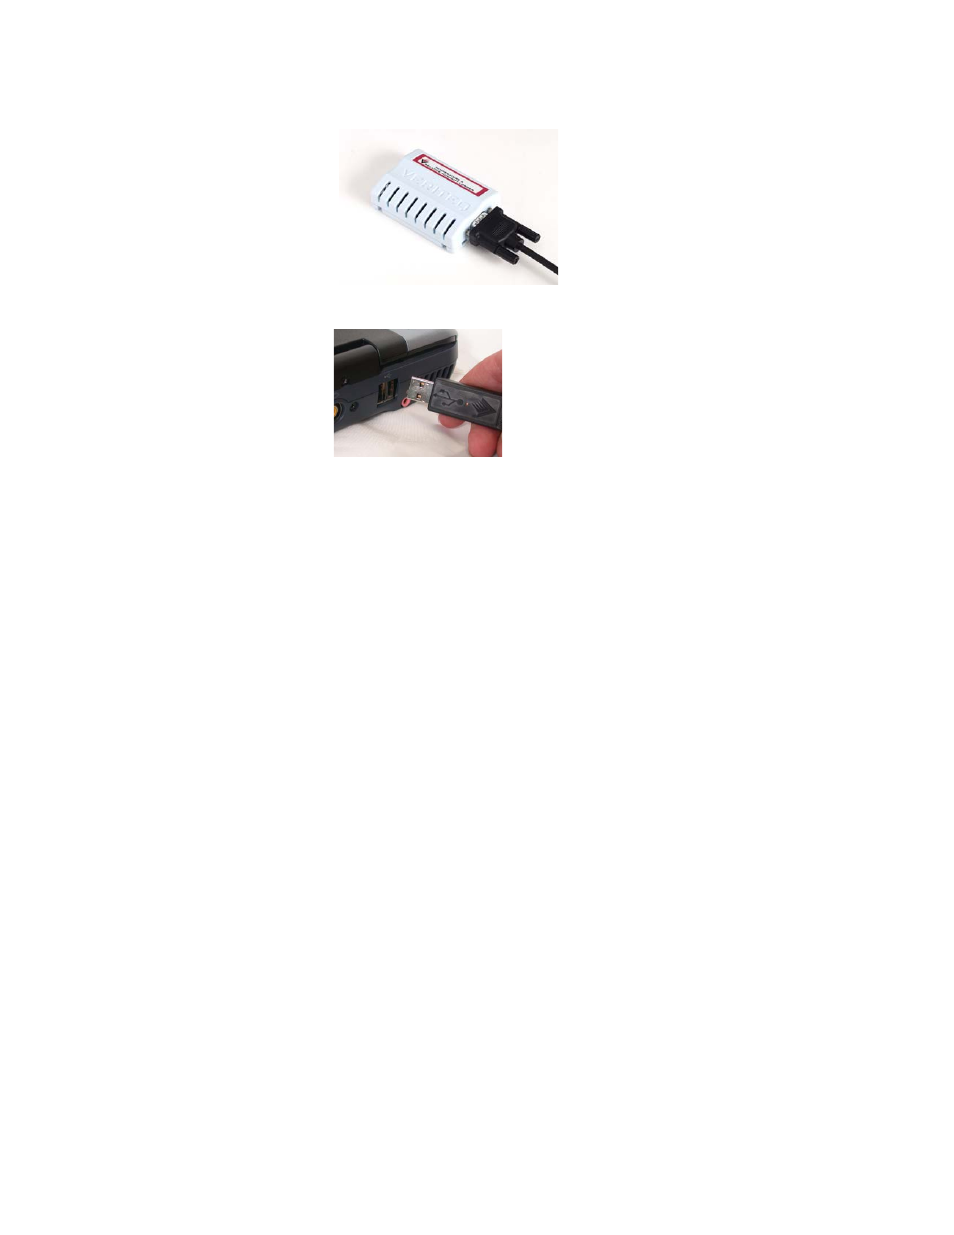
2. Connect the data logger to a Veriteq USB or Serial cable.
3. Attach the other end of this cable to the PC (as shown below) connecting
to the USB port.
To connect your data logger to a PC using a Digi or vNet device:
1. Connect Digi or vNet device (will be referred to as device, following) to
power supply and Ethernet outlet.
2. Connect data logger to device (Digi requires Veriteq cable).
3. Obtain static IP address for device from your IT department. If your net-
working policy requires you to reserve IP addresses using DHCP, see
www.veriteq.com/digi for instructions.
4. Insert device driver CD into PC. The Device Setup Wizard launches auto-
matically. Click
NEXT
.
5. Select device that matches the MAC address from the bottom of your de-
vice. Click
NEXT.
6. In the Configure Network Settings window, enter a Static IP address. Click
NEXT
two times.
7. In the Configure Real Port Settings screen, select “Install Digit Real Port
on this computer”. Click
NEXT
.
8. Click
NEXT
again. The settings are saved.
9. Click
FINISH
. Drivers required to connect to your data logger through the
device have been installed.
Setting up PC Communication Ports
Before using a data logger with Veriteq Spectrum, you must select the correct
PC serial communication (COM) port. Veriteq Spectrum can support up to
4096 COM ports, numbered COM1 to COM4096.
To select a COM port:
1. Using Windows Device Manager, determine which COM port has been al-
located to your data logger. Make a note of it.