Figure 10, Comparing dewpoint readings on mi70 – Vaisala DPT145 User Manual
Page 48
User's Guide _______________________________________________________________________
48 ___________________________________________________________________ M211371EN-D
NOTE
In the procedure below, the readings of the transmitter and the reference
probe are checked simultaneously. You can also check the reference
probe and the DPT145 separately if they cannot be connected at the
same time.
Perform the check as follows:
1.
Place the reference probe and the DPT145 in the reference
environment.
2.
Connect the reference probe and the DPT145 to the MI70 indicator:
- Reference probe to Port I
- DPT145 to Port II
3.
Turn on the MI70 indicator.
4.
Check and adjust the environment settings if prompted. Refer to the
DM70 User’s Guide for the settings of the DMP74C probe.
5.
Disable the Auto power off function of the MI70 indicator to
prevent the indicator from powering off in the middle of the check.
Check the setting in the Settings - User Interface menu, and
change if necessary.
6.
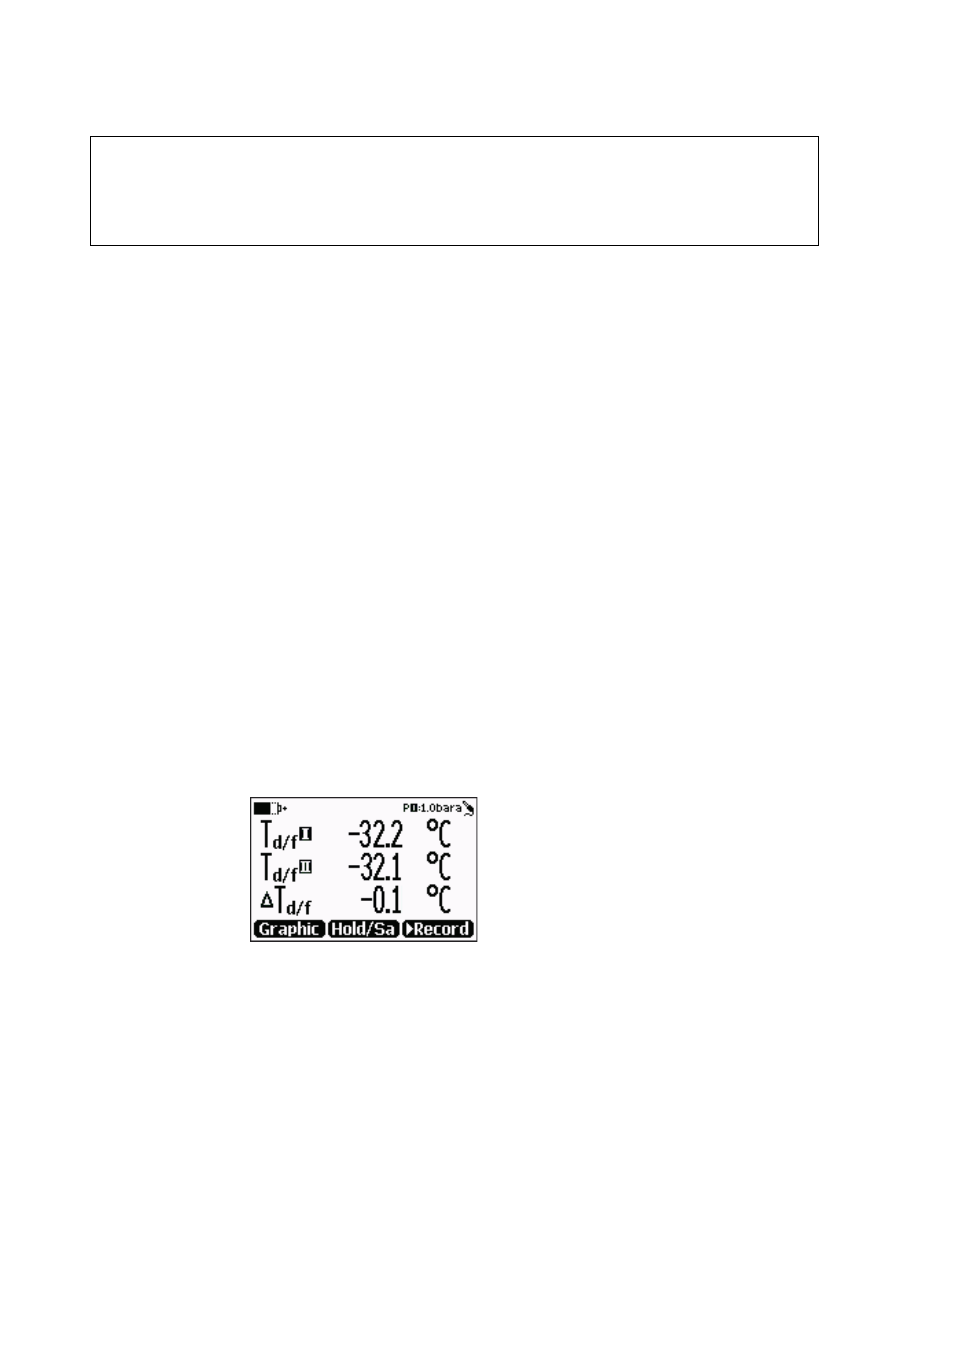
The MI70 can display three parameters at one time. To compare
the readings of the DPT145 and the reference probe, select the desired
parameter from the Display – Quantities and Units menu of the MI70.
Select the same parameter from port I and II, and the delta parameter that
shows the difference between the two. For example, ∆T
d/f
shows the
difference in dewpoint between the two probes.
1108-039
Figure 11
Comparing Dewpoint Readings on MI70
7.
After the measurement has stabilized, check the difference between
the readings. It will give you an indication of the approximate drift
of the DPT145 and its need for calibration. The difference between
the readings should be no greater than the combined measurement
uncertainty of the DPT145 and the reference probe.
8.
Write down the results and repeat the comparison for each
parameter you want to check.