DAVIS Vantage Pro2 with Fan/Shield User Manual
Page 4
Preparing the Fan-aspirated Shield for Installation
4
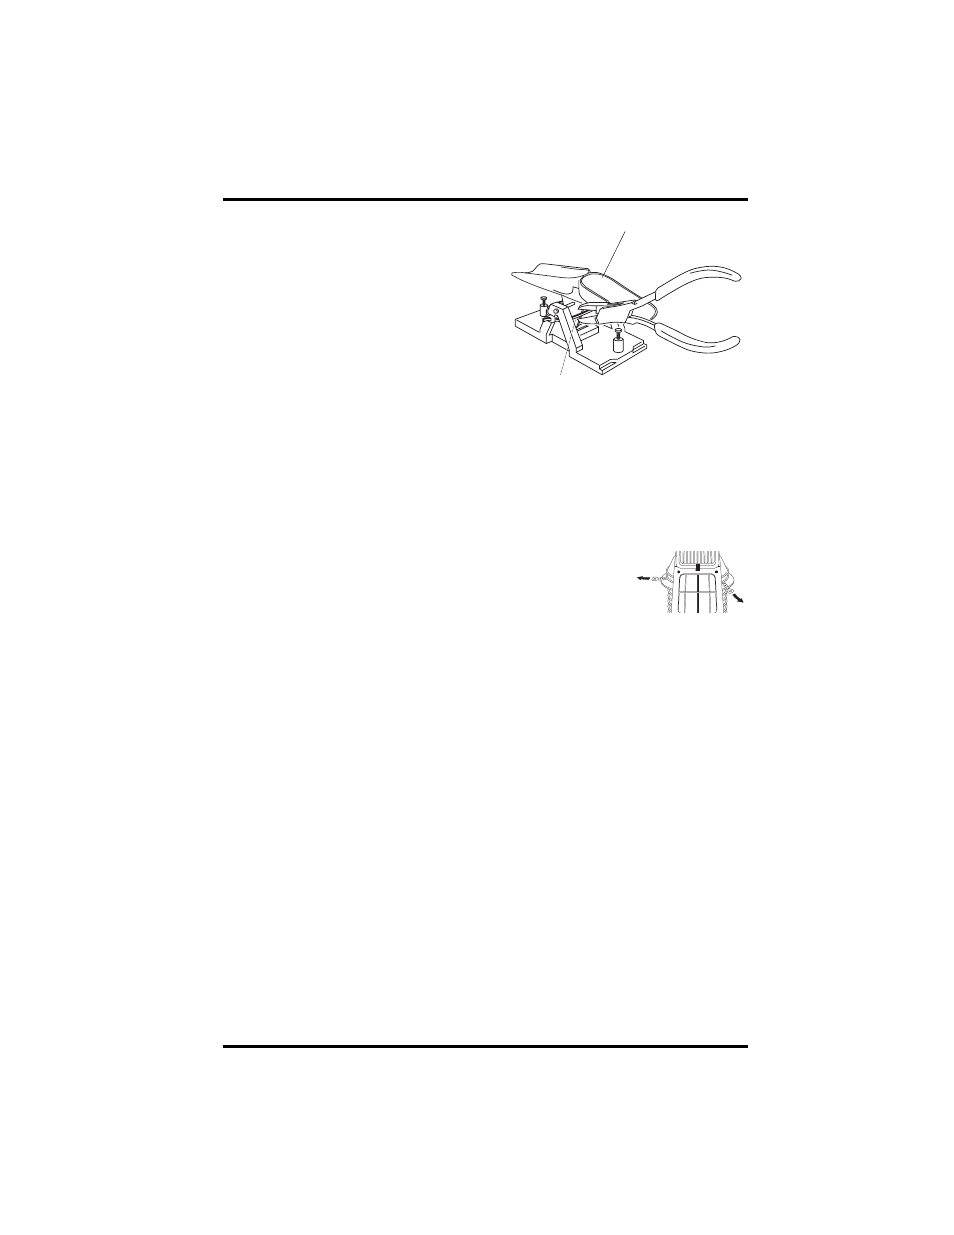
2. Carefully cut and remove the plas-
tic tie (usually black in color) that
holds the two-sided tipping bucket
mechanism in place during ship-
ping.
3. See the ISS Installation Manual for
instructions on inserting the
optional metric measurement
adapter.
Preparing the Fan-aspirated Shield for Installation
The radiation shield, fan, and solar panel used to power the fan come pre-
assembled with the ISS unit and require no additional assembly. However, the
fan requires initial power from the pre-installed batteries. Tabs are included to
ensure that the batteries installed in the fan-aspirated housing do not power the
unit during shipping. To power the fan-aspirated unit:
1. Pull the battery tabs out slowly.
2. Listen for a slight whir coming from the bottom of the
ISS unit. This sound signifies that the fan is running.
Applying Power and Testing Communications
Refer to the Wireless ISS Assembly section in your ISS Installation Manual
for the rest of the procedures required to power and test the ISS.
Locating the ISS and Anemometer
Refer to this section in your ISS Installation Manual.
Mounting the ISS
Refer to this section in your ISS Installation Manual.
Additional Mounting Options
Refer to this section in your ISS Installation Manual.
Fan-Aspirated Shield Batteries
The Fan-Aspirated shield is solar powered and is supplied with two NiCad C-
cell batteries that come pre-installed. The following options for battery power
exist:
• Use two fan batteries for maximum length of overnight aspiration but with
slightly lower average daytime aspiration.
Tipping bucket mechanism
Cut the plastic tie
Preparing the Rain collector