Pc 5150, Rmc 7150 – Acnodes RMC 7150 User Manual
Page 42
© Copyright 2011 Acnodes, Inc.
All rights reserved. Product description and product specifications
are subject to change without notice. For latest product information,
please visit Acnodes’ web site at
PC 5150
15-inch touch panel PC
14628 Central Blvd,
Chino, CA91710
tel:909.597.7588, fax:909.597.1939
42
RMC 7150
14” short depth rack server
6-4
Drive Bay Installation/Removal
Accessing the Drive Bays
DVD-ROM/Serial ATA Drives: For installing or removing the DVD-ROM or SATA drive, you will need to gain access to the
inside of the server by removing the top cover of the chassis. Note: Only a "slim" DVD-ROM will fit in the 6016T-MR.
Serial ATA Drive Installation
The SATA drive is not hot-swappable, meaning system power must be turned off before installing or removing.
1. First power down the system and then remove the top cover of the chassis as described on page 6-7.
2. Unscrew the retention screw at the top center of the drive, then push the drive tray out from the back until you can grasp
and pull it out through the front of the chassis.
3. Remove the drive from the drive tray.
4. To add a new SATA drive, install a drive into the tray with the printed circuit board side facing down and so that the
mounting holes align with those in the tray.
5. Secure the drive to the tray with the four screws.
6. Replace the top cover when finished. See Figure 6-3.
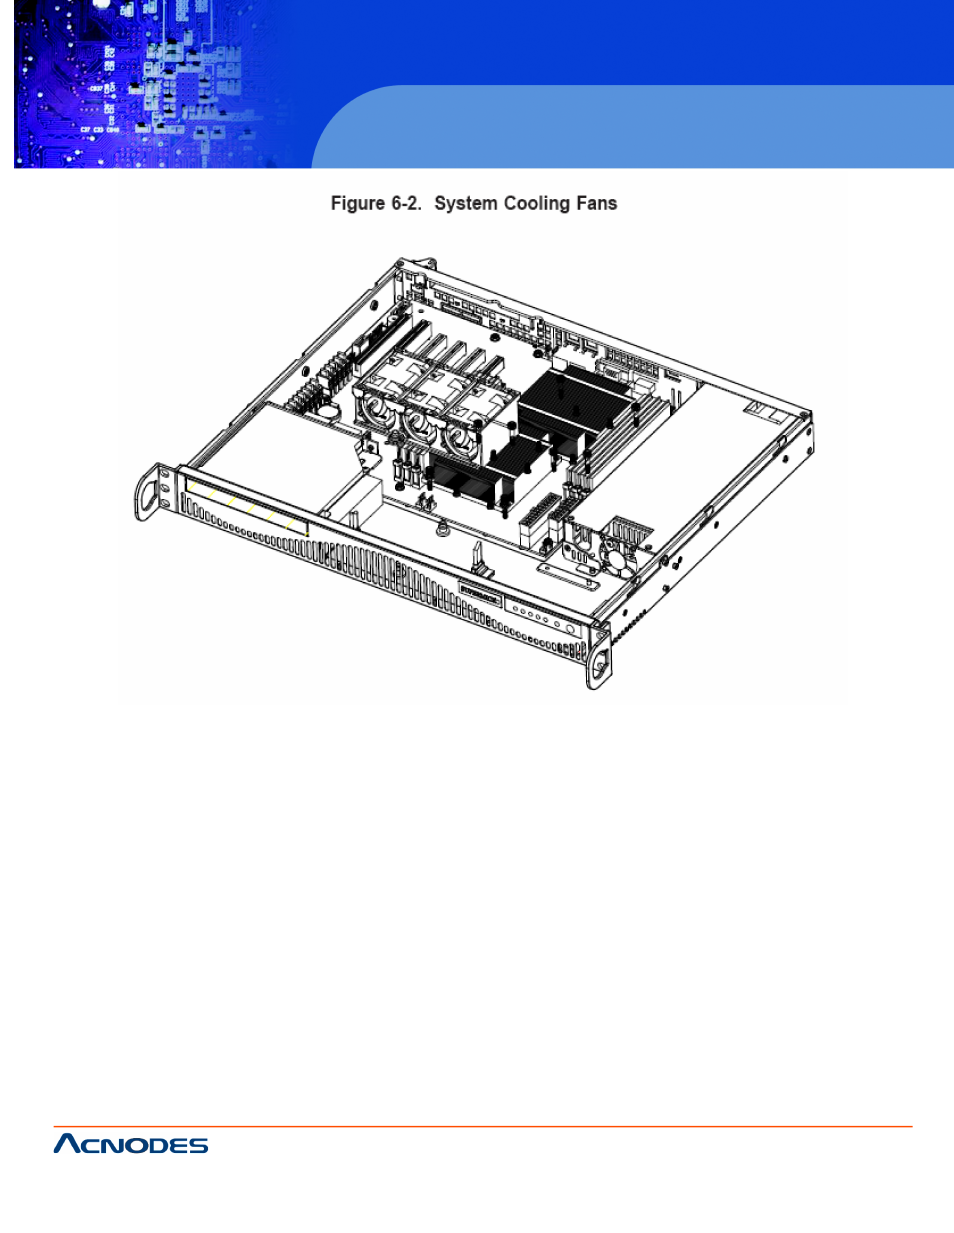
Note: it can accommodate two internal SATA hard drives, one on each side of the fans.