Telenav gps navigator menu overview, Main menu – Telenav for Cincinnati Bell Supported Devices: v5.5 Lite for Symbian phones User Manual
Page 11
2. The TeleNav Warning screen appears. If you agree to the terms,
choose Go to continue.
The first time you launch TeleNav, you will be offered a brief tour. If you decide to skip the tour now, you can always
launch it in Extras >> Product Tour.
During your first use of TeleNav, the device will download the audible and graphical content needed to build the
displays and produce audible messages. The alert screen similar to that shown on the right advises you that this is
taking place. The time it takes to complete the download depends on whether you are in GPRS or EDGE
coverage.
NOTE:
Do not interact with the Symbian device while this download is underway. Wait for it to finish. When the
download is completed, you will see the TeleNav Home Menu.
NOTE:
If, after you press the scroll key, the TeleNav application indicates that it cannot reach the TeleNav servers,
the most likely reason is that your carrier data service plan is not yet active. If so, you will be notified at this point
and will be directed to go
your service agreement. You will not be able to progress
beyond this point until your account is returned to current status. You may also see an important message from
TeleNav regarding upgrades, scheduled downtime, pending account expiration, etc.
When the device reaches the TeleNav servers with a valid and active phone number and PIN, the device will be
registered to use TeleNav and will not present any of the above screens except the splash and Warning screens in
the future. Visi and changing the PIN will require you to repeat the above registration process.
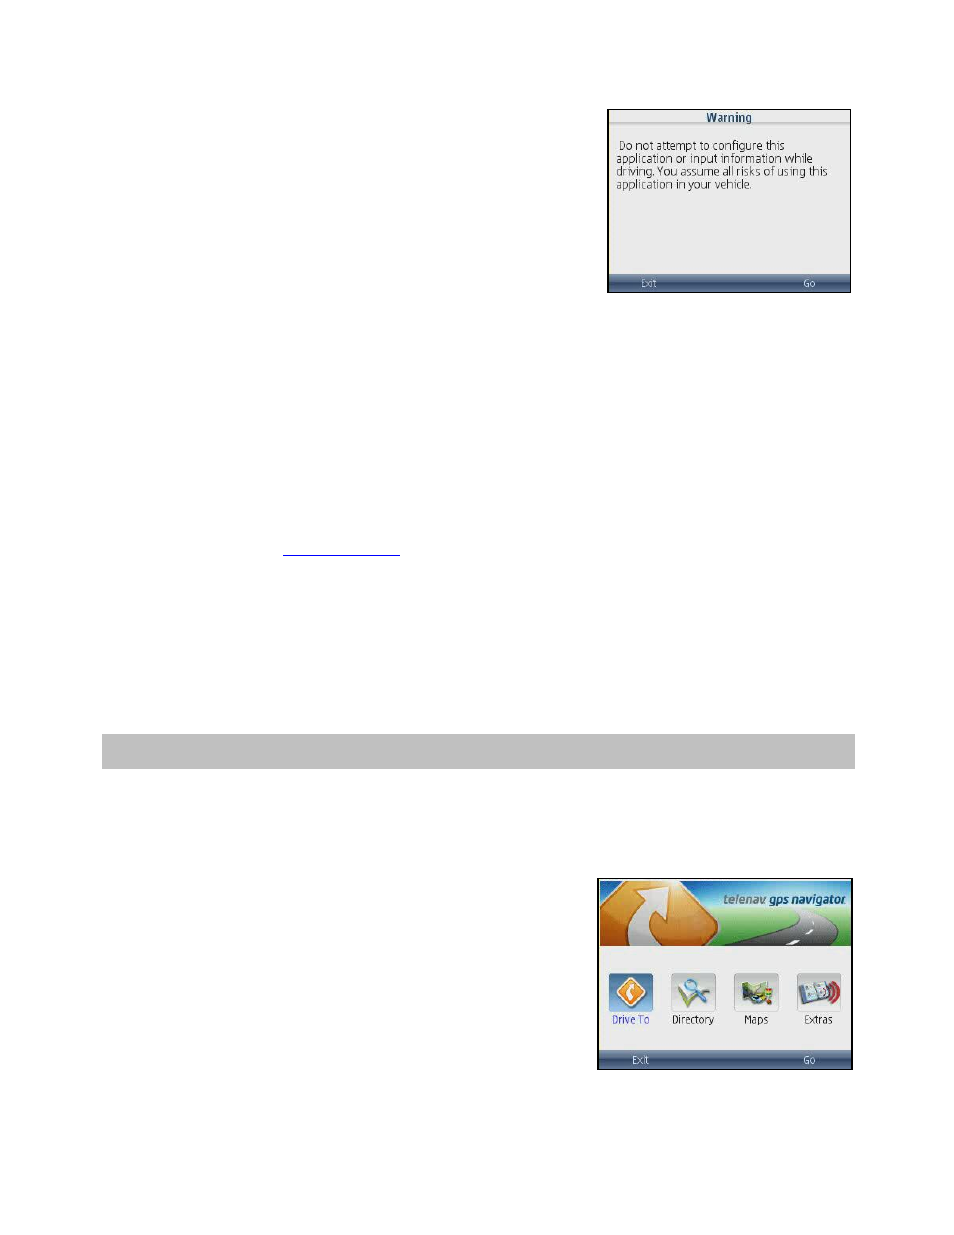
7. TeleNav GPS Navigator Menu Overview
This section gives you a brief overview of the TeleNav GPS Navigator menus.
Main Menu
The TeleNav GPS Navigator Main Menu options are:
• Drive
To
• Directory
• Maps
• Extras
© TELENAV, INC. 2003-2009
PAGE 11 OF 59