Fixing a parity group – HP XP P9000 Auto LUN Software User Manual
Page 32
4.
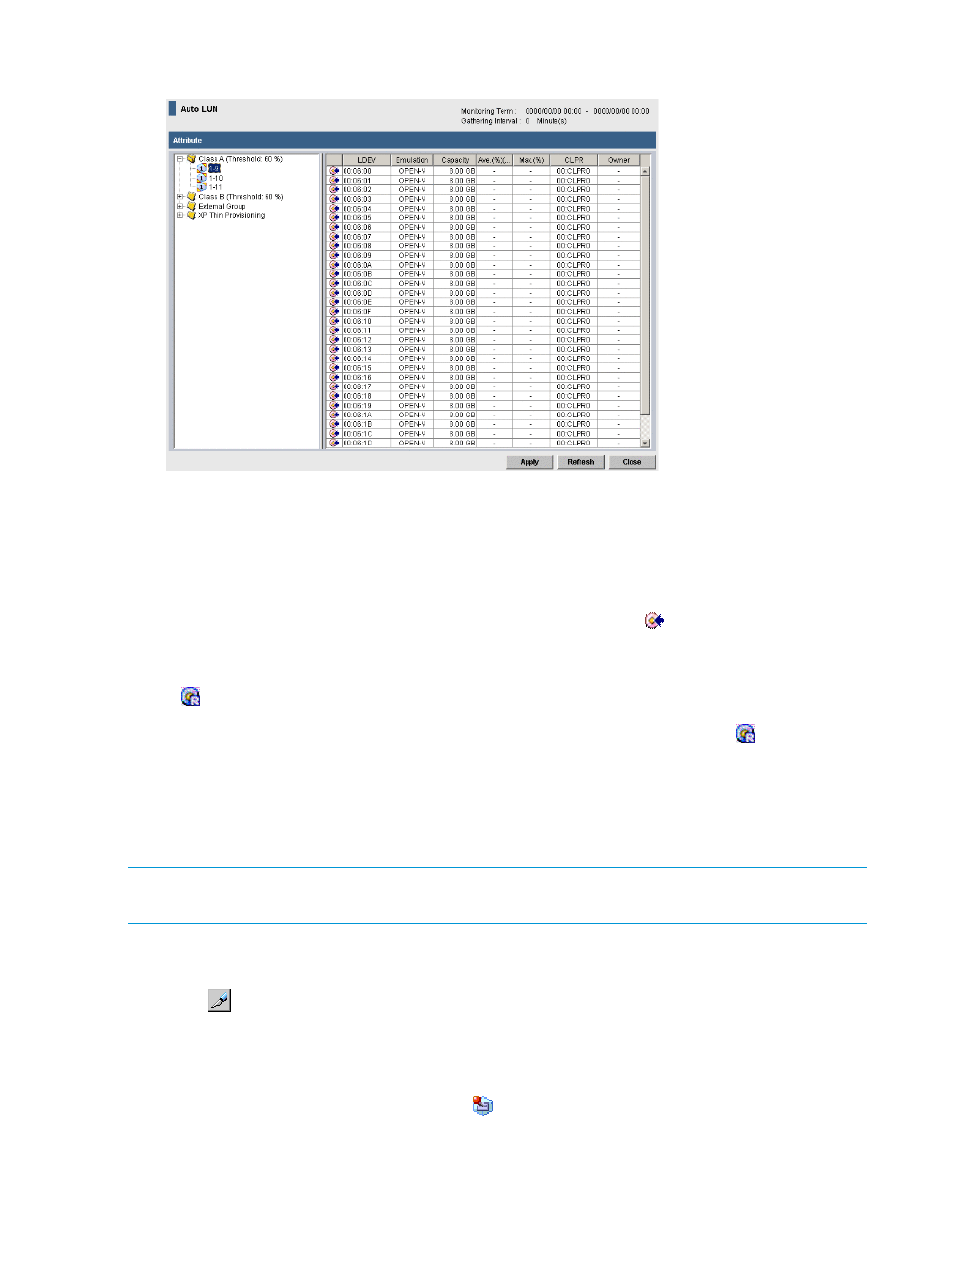
Click the Attribute tab to display the
.
5.
In the navigation tree, double-click the HDD class in which you would like to reserve a volume.
The HDD class folder expands and parity groups in that HDD class can be viewed.
6.
In the expanded HDD class folder, select a low-usage parity group.
The volumes contained in the selected parity group load in the
.
7.
In the
, right-click a volume with the
icon to reserve that volume
as a target volume candidate, and then select Reserved LDEV from the pop-up menu.
8.
Click Apply to reserve the volume.
A
icon should appear adjacent to the volume.
To change a reserved volume to a normal volume, right-click a reserved volume (
), and then,
select Normal LDEV from the pop-up menu.
Fixing a parity group
If you specify a parity group as fixed, the parity group will not experience degraded I/O speeds
as auto migration will not be possible to or from this parity group.
NOTE:
A volume in a fixed parity group can be selected as a target or source volume for a
manual migration plan.
Procedure 8 To fix a parity group
1.
Click Actions
→Other Function→Auto LUN to open the Auto LUN window.
2.
Click
to change to Modify mode.
3.
In the Auto LUN window, click Auto LUN. A different window appears.
4.
Click the Attribute tab to display the
.
5.
In the navigation tree, double-click an HDD class folder to view parity groups.
6.
Fixed parity groups are indicated with a
icon, so select a parity group without this icon
that you want to exclude from auto migration operations.
7.
Right-click the parity group and select Fixed PG from the pop-up menu.
8.
Click Apply.
32
Auto LUN operations