Setting – Canon LV-7292S User Manual
Page 47
47
Setting
Setting
Note:
• During
Auto input is in progress, If the MENU
button or the POWER button is pressed,
Auto
input will stop. If the COMPUTER button or
VIDEO or COMPONENT or S-VIDEO button is
pressed,
Auto input will stop and go back to the
button's input signal.
•
Auto input and Auto PC can not be set Off at the
same time.
•
Fine sync, Total dots, Horizontal position and
Vertical position of some computers cannot
be fully adjusted with the Auto PC Adjustment
function. When the image is not provided properly
with this operation, manual adjustments are
required (pp. 32-33).
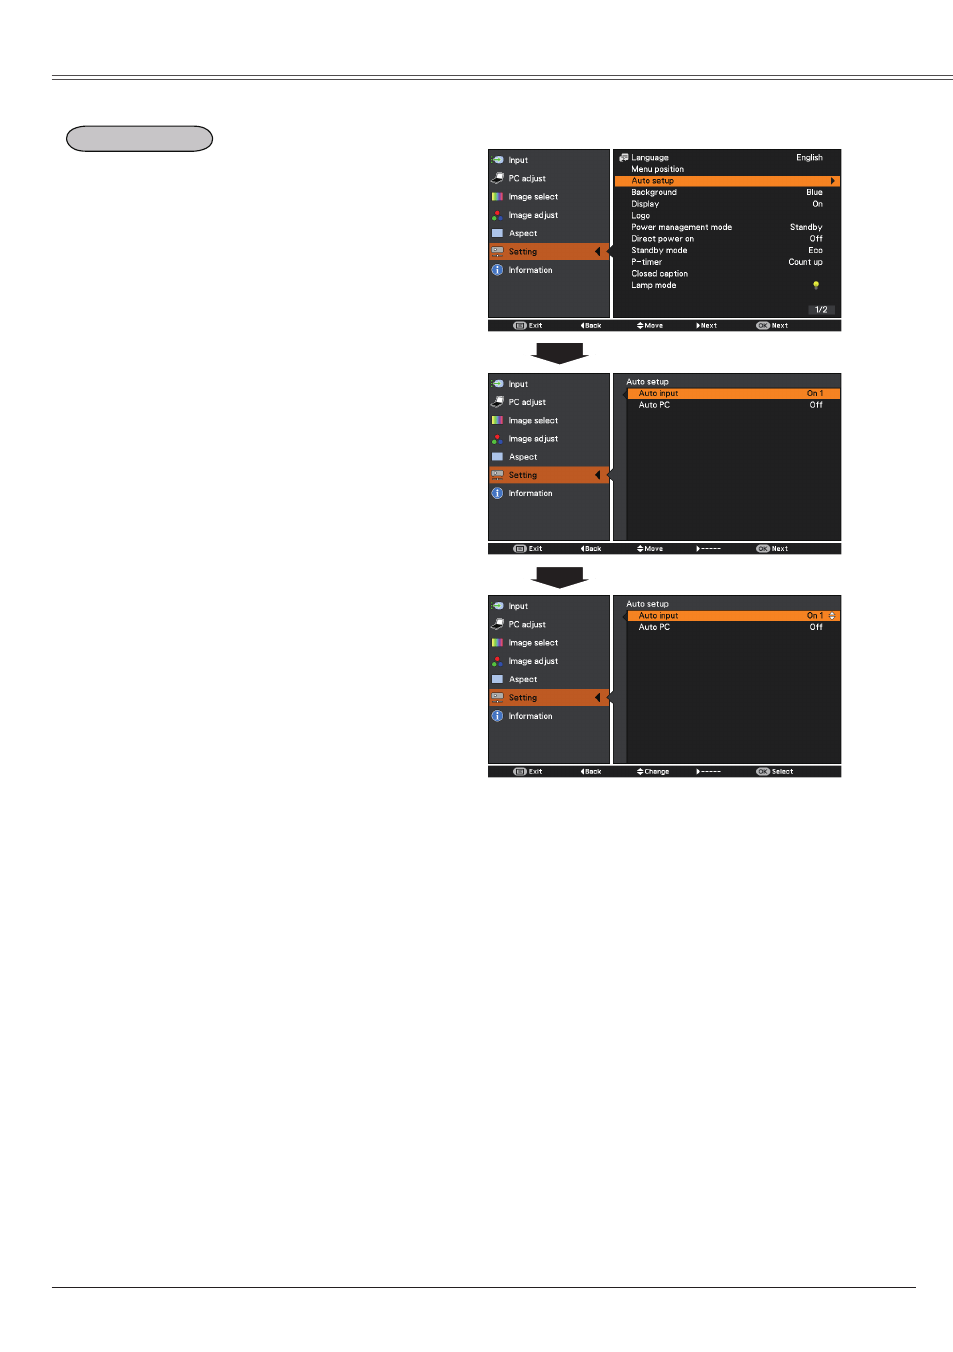
Auto setup
Auto input
This function detects the input signal
automatically. When a signal is found, the search
will stop. Use the Point ▲▼ buttons to select
one of the following options.
Off ....... Auto input does not work.
On 1..... Auto input works under the following
situation.
– When pressing the AUTO SET button
on the top control or the remote
control unit.
On 2..... Auto input works under the following
situation.
– When turning on the projector by
pressing the POWER button on the
top control or the remote control unit.
– When pressing the AUTO SET button
on the remote control unit or the top
control.
– When the current input signal is cut
off.*
* If the Blank or Freeze function is active,
cancel it to activate the Auto input. It is
also unavailable when On-Screen menu is
displayed.
Auto PC
On.............Enables Auto PC Adjustment when
pressing the AUTO SET button on
the remote control unit or the top
control.
Off.............Disables Auto PC Adjustment.
Auto setup
Note:
• While
Auto input is set to On 1 or On 2, the
status of Input and Lamp are displayed every time
the signal is switched.
• Only the last selected input source can be
detected.
This function enables Auto input and Auto PC
adjustment by pressing the AUTO SET button
on the top control or the remote control unit.
Settings for those functions can be altered as
follows: