HT instruments SOLAR I-V User Manual
Page 26
I-V400 - SOLAR I-V
EN - 24
5. In case of inverters provided with more than one power tracker (MPPT), only leave the
string corresponding to the first MPPT connected, as shown in Fig. 4. Then, it will be
necessary to repeat the operations described below by only leaving the string corresponding
to the second MPPT connected, then to the third, etc.
6. Bring SOLAR I-V and SOLAR-02 nearer (maximum distance of 1m between them). All
instruments must be switched on (see the User Manual of SOLAR-2 for further details)
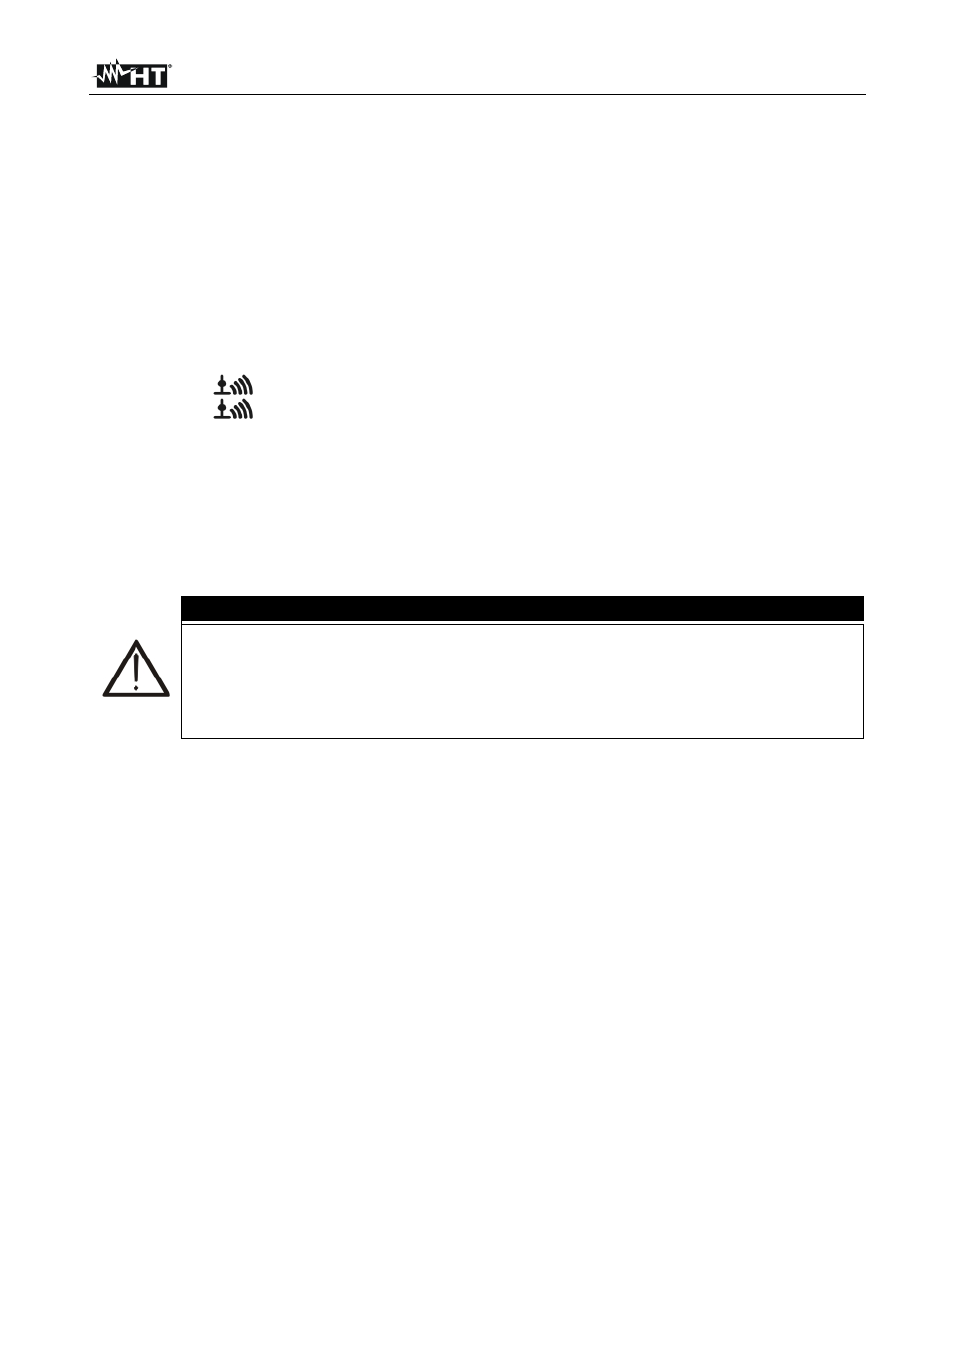
7. On SOLAR I-V, press the MENU key, select the function EFF and press ENTER; wait for
the two units to start communicating with each other. This condition is highlighted by the
contemporary presence of the following indicators:
Symbol
steady (not flashing) on the display of SOLAR I-V
Symbol
steady (not flashing) on the display of SOLAR-02
8. Connect the C2 and C1 inputs respectively to the positive and negative polarity of the
output string. Connect the P1 and P2 inputs to the phase and neutral conductors
respecting the colors as shown in Fig. 4
9. Connect the output connector of the DC clamp to the IDC1 input.
CAUTION
BEFORE CONNECTING THE DC CLAMPS TO THE CONDUCTORS
Switch on the clamp, check the LED indicating the status of the clamp’s
internal batteries (if present), select the correct range, press the ZERO key
on the DC clamp and check on the display of SOLAR I-V the actual zeroing
of the corresponding Idc value (values up to 0.02A are acceptable).
10. Connect the DC current clamp to the positive string output conductor by respecting
the direction of the arrow on the clamp itself as indicated in Fig. 4. Position the DC
clamp in point so far fron the inverter and avoid that the jaws stay close to the negative
conductor
11. Connect the AC current clamp to the Phase L1 conductor by respecting the direction
of the arrow on the clamp itself as indicated in Fig. 4. Position the AC clamp as far as
possible from the inverter and avoid that the jaws stay close to the neutral conductor.
Connect the output of the clamp to the IAC input of the instrument
12. Power on the system on test