Detcon SmartWireless CX User Manual
Page 21
Sentinel CX
Sentinel CX Sensor Station IM
Rev. 1.4
Page 17 of 26
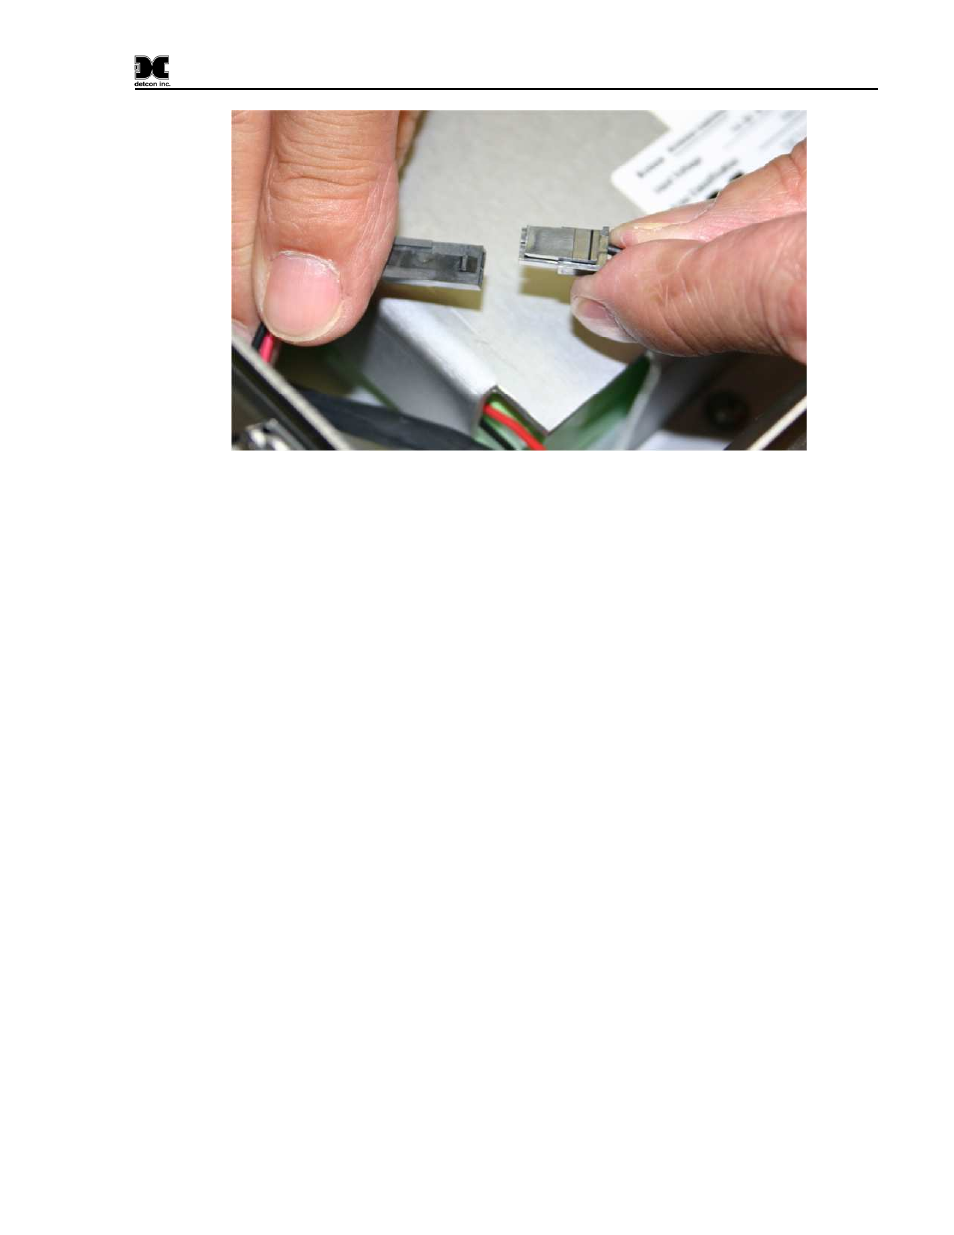
Figure 16 Battery Connections
15. Re-install the connector to the transceiver (removed in step 10).
16. Cycle power to ensure that the unit powers up. The LED on the top of the unit should illuminate to
indicate power is applied. Close the front door panel and screw the front cover down. The screws
should be tightened down to a ‘snug’ fit.
These screws do not need to be tightened down
completely, but need to be tightened down enough to give the front door a water tight seal.
17. Turn power on to the unit. The LED on the top of the unit should illuminate to indicate power is
applied.
See also other documents in the category Detcon Equipment:
- 12B (16 pages)
- FL-10 (7 pages)
- 10C Facilities (18 pages)
- 10C (29 pages)
- 10B (10 pages)
- 1212-N4X (9 pages)
- 812-N4X (9 pages)
- 1212B (5 pages)
- 612B (5 pages)
- 1610-N4X (28 pages)
- 1010-N4X (14 pages)
- 610-N4X (12 pages)
- 1610-N1 (4 pages)
- 810-N1-24VDC (10 pages)
- 410-N1-24VDC (4 pages)
- MCX-32-N1P (55 pages)
- RD-64X-N4X (41 pages)
- 880RA-N4X (23 pages)
- 880RA-N4X (36 pages)
- 880A-N1R (45 pages)
- 880A-N4X (43 pages)
- 880A-N4X (50 pages)
- X40-08-N4X (70 pages)
- 240 (33 pages)
- SW-AV1-N4 (12 pages)
- SW-AV2-DV1 (12 pages)
- A1V1 (9 pages)
- RXT-300 (47 pages)
- RXT-320 (31 pages)
- CXT-N4X (28 pages)
- SW-HMI-32-N4X (24 pages)
- SW-V1-DV2 (11 pages)
- SW-AV1-DV1 (14 pages)
- SW-AV2-DV2 (12 pages)
- SW-AV1-DV2 (12 pages)
- SmartWireless CXT (49 pages)
- CX-IR (38 pages)
- CX-DM (44 pages)
- CXT-IR (48 pages)
- CXT-DM (56 pages)
- P-1000 (28 pages)
- 1000 (32 pages)
- 1000_CO2 (32 pages)
- 1000_H2S (34 pages)